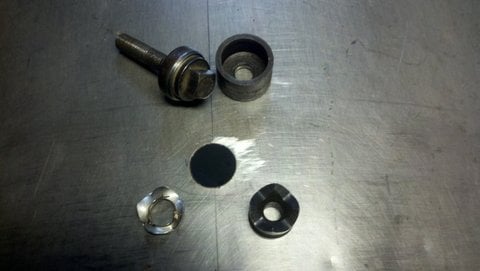
Don't have pic of that handy. There are several on this site (somewhere). But very easy to explain.
You make legs for the grates. Each leg would require 2 "fender washers" (which are just large ones), a 8 or 6 inch long carriage bolt that is large enough to not fall through the grate below, but small enough so the bolt part fits through the grate it's going to be attached to. 2 nuts (one of which could be butterfly). If you don't use carriage bolt, you can use some regular bolt and create "feet" for it on the bottom using 2 more fender washers and 2 more nuts. This would be to prevent the leg from falling through the grate it's standing on.
So you just put 1 nut on the bolt and thread it maybe 1 inch, then a fender washer and then poke it through the grate you're attaching, and then the other fender washer and the other nut. Tighten them just a bit for now. Do the same for the other legs.. 3 legs or 4 legs for more sturdiness. Then make sure it sits on something flat and is somewhat "level" so it doesn't wobble. tighten all the nuts just a bit. Too much and the fender washers or the grate wires will start to bend.
And there you go. Make another one for another level to put on top.


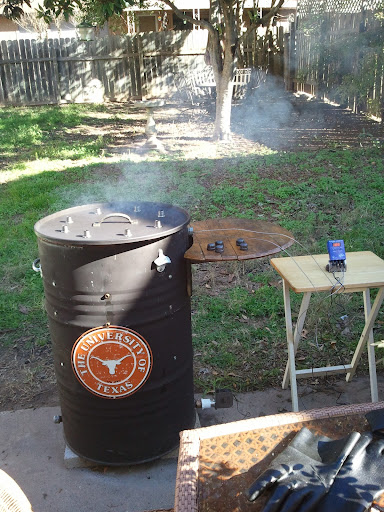
") congrats on the seasoning, enjoy. I Did my first Brisket yesterday for my second cook on my UDS, I think it satisfies that primeval urge in us all to light fire and cook meat Grrrrrrrrrr
congrats on the seasoning, enjoy. I Did my first Brisket yesterday for my second cook on my UDS, I think it satisfies that primeval urge in us all to light fire and cook meat Grrrrrrrrrr