I had to add to this thread.Wow,382 pages!
After much reading on this site and others,I decided I just had to make a UDS.I thought I'd do mine a little differently though,I made it in two pieces.I wanted easy access to the charcoal basket and I wanted easy clean out.Some people were convinced that it wouldn't work,but I'm very happy to report that it works like a charm.
I would like to thank everyone on this site for their invaluable information.It made this build so much easier and so much more enjoyable!
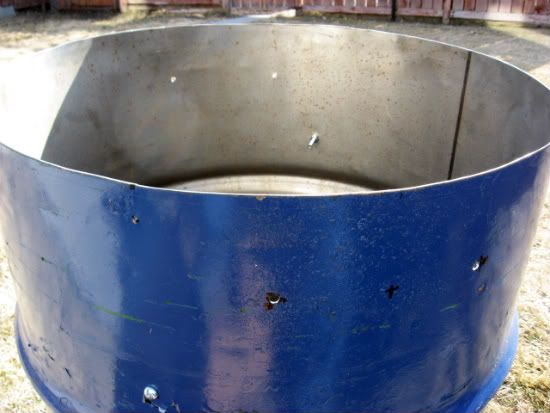
I put a chop blade on my skilsaw and cut the lip of the drum off.It came out better than I thought it would.
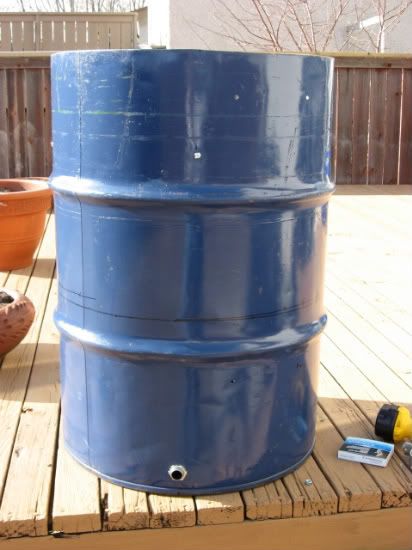
The original drum with the intakes installed
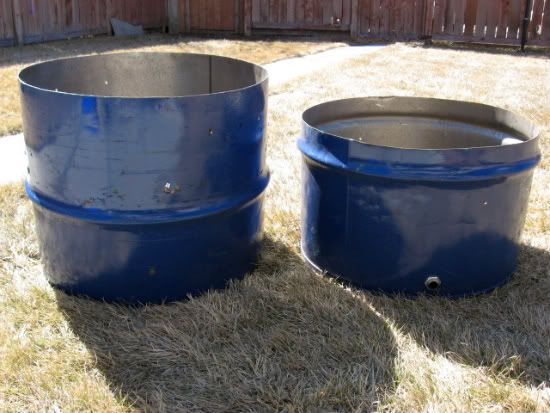
I used the skilsaw again to cut it in half.Nice clean cut but a LOT of noise.Gotta use earplugs when you do this.
I used 1/8" x 1 1/2" aluminum for the insert.Lots of high tech bending across the knee to get it to the proper shape.

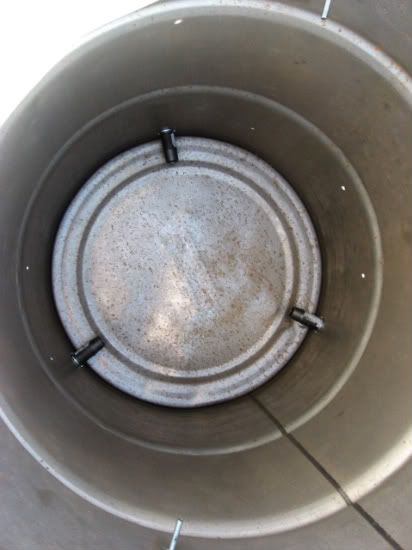
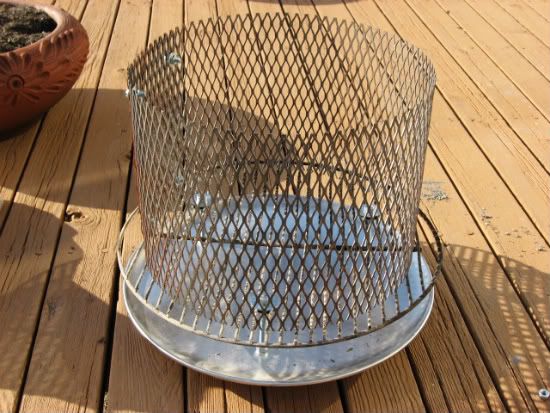
My charcoal basket is 13 x 9 and mounted on a 16" aluminum pizza pan.
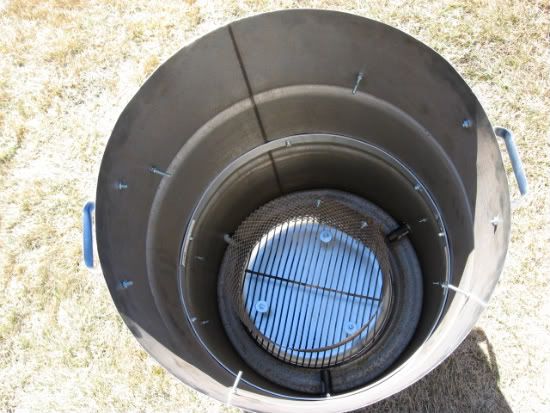
Here's why I wanted to cut it in half.Easy access to the charcoal and easy cleanout.

as opposed to bending over into this
I test fitted everything before I put on the stove gasket.I couldn't wait and just had to fire it up to see how it would work without the gaskets.The temp control wasn't bad,but not as good as I wanted.Smoke was coming out between the 2 halves and the lid.
I used 3/8" rope gasket and HT siliconed it around the inside of my old kettle lid.I had to use a crescent wrench to bend the lip out so it would fit on the drum.

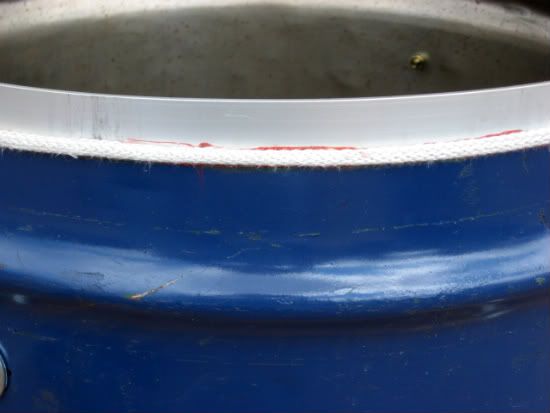
3/8" rope gasket siliconed around the bottom half of the drum.
I used 2 draw latches to snug the top and bottom halves together.

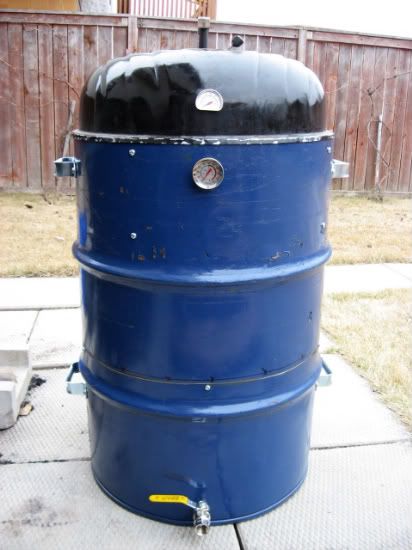
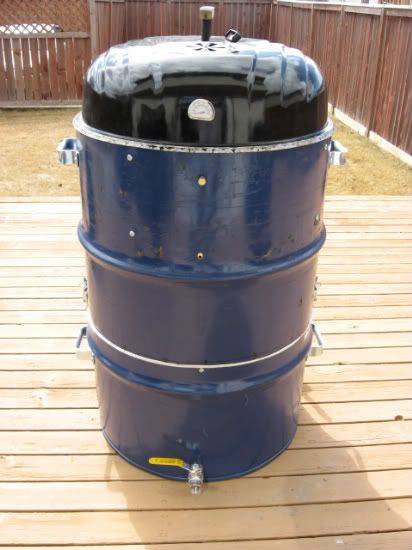
Here's the finished drum.I built it for 2 grates and there are access openings 1" under each grate for therms.All that's left to do is the fun task of wire brushing off the old paint and repainting it.
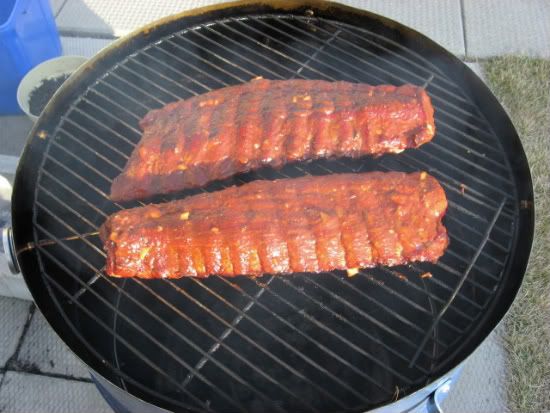
Finally,the first cook! Back ribs low and slow after a couple of hours.
The flavor that comes from the UDS is truly fantastic! I know it was more work than needed,but doing it this way was something that I wanted to try.I'm really pleased how it does work.I see no difference in temp control between this one and one that hasn't been cut in half.
I haven't figured out the total cost yet,but it's probably around $125 total so far without paint,but that's a guess.I could have spent more time scrounging for parts and pieces,but I wanted to get it done and fired up.
I put a chop blade on my skilsaw and cut the lip of the drum off.It came out better than I thought it would.
The original drum with the intakes installed
I used the skilsaw again to cut it in half.Nice clean cut but a LOT of noise.Gotta use earplugs when you do this.
I used 1/8" x 1 1/2" aluminum for the insert.Lots of high tech bending across the knee to get it to the proper shape.
My charcoal basket is 13 x 9 and mounted on a 16" aluminum pizza pan.
Here's why I wanted to cut it in half.Easy access to the charcoal and easy cleanout.
as opposed to bending over into this
I test fitted everything before I put on the stove gasket.I couldn't wait and just had to fire it up to see how it would work without the gaskets.The temp control wasn't bad,but not as good as I wanted.Smoke was coming out between the 2 halves and the lid.
I used 3/8" rope gasket and HT siliconed it around the inside of my old kettle lid.I had to use a crescent wrench to bend the lip out so it would fit on the drum.
3/8" rope gasket siliconed around the bottom half of the drum.
I used 2 draw latches to snug the top and bottom halves together.
Here's the finished drum.I built it for 2 grates and there are access openings 1" under each grate for therms.All that's left to do is the fun task of wire brushing off the old paint and repainting it.
Finally,the first cook! Back ribs low and slow after a couple of hours.
The flavor that comes from the UDS is truly fantastic! I know it was more work than needed,but doing it this way was something that I wanted to try.I'm really pleased how it does work.I see no difference in temp control between this one and one that hasn't been cut in half.
I haven't figured out the total cost yet,but it's probably around $125 total so far without paint,but that's a guess.I could have spent more time scrounging for parts and pieces,but I wanted to get it done and fired up.