S
Smokinator
Guest
Hello,
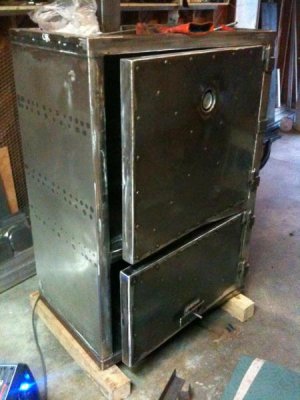
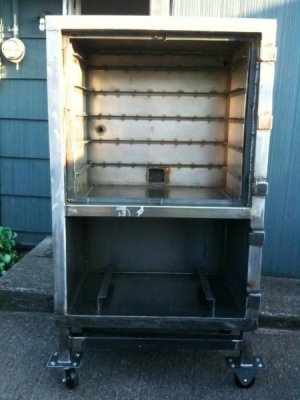
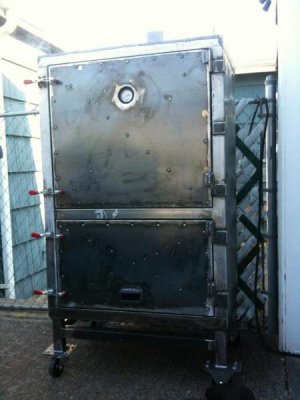
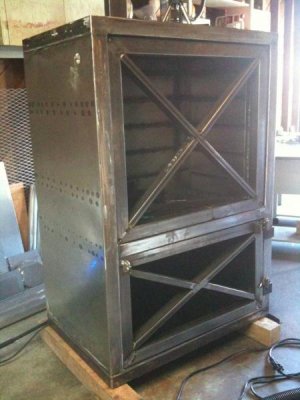
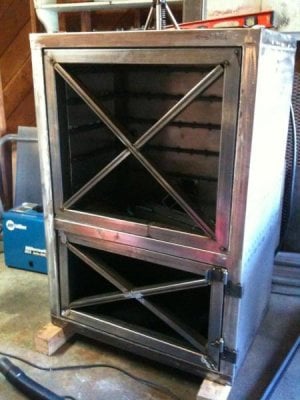
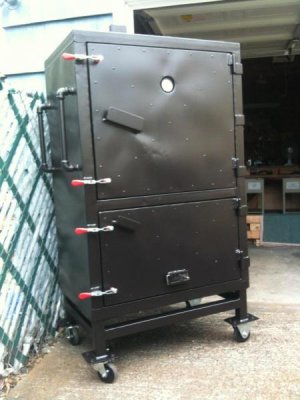
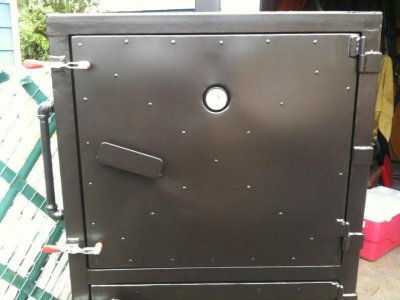
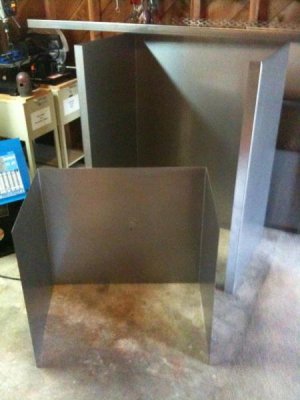
I don't post much but have read a bit on the UDS thread and researched the reverse flow smoker on here. I got inspired by all of it and set out to build my own reverse-flow smoker. I wanted to share my build pics with you all in hopes of adding to this site and maybe someone else could use any of it as inspirational fuel. (I am a fabricator/welder and mainly work with Aluminum in the marine industry, so steel is a bit more challenging for me in the sense that it takes more "labor" to work with, finish and cut if you don't have a plasma cutter.)
Anyhow this is by no means meant to be a tutorial. I forgot how much time and $$ I have into this but I planned and planned and planned and and then I dumped the plans and just started and went with the flow, this was on a budget so I had to work with what I had. I paid to have some of the pieces bent since I wasn't able to use my work facilities/tools to aid in my project. The guys who bent my stuff came up 3/16th short. A real bummer when you are working with 16 gauge. Anyhow, rather than making a big stink I took the parts and really only used two of the pieces. The other bent pieces will be used for another project, possibly an Argentinian style grill.
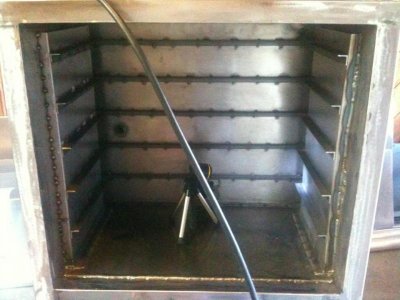
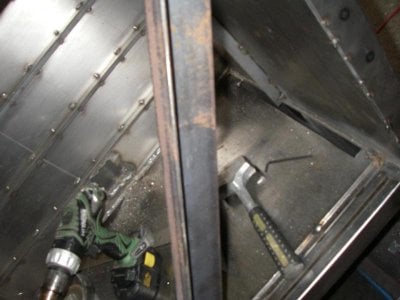
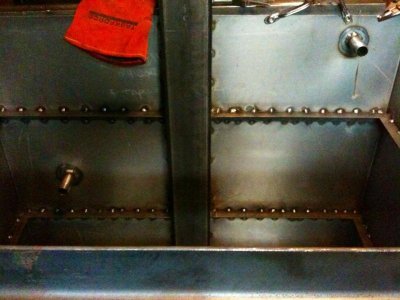
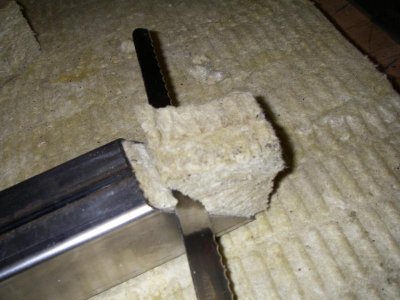
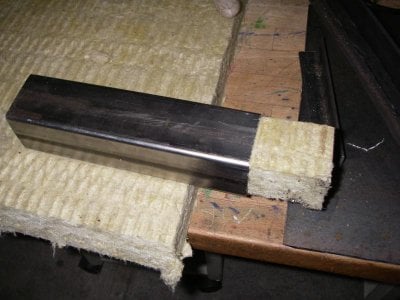
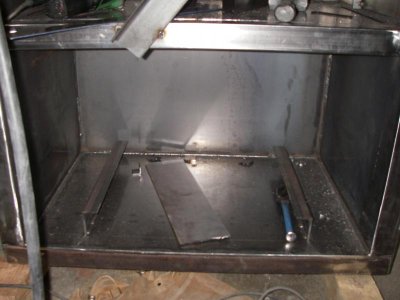
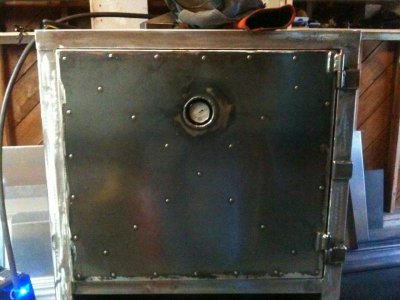
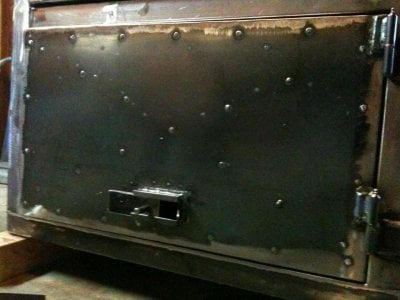
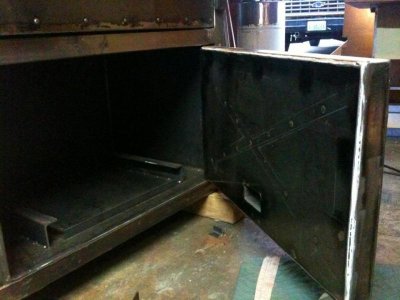
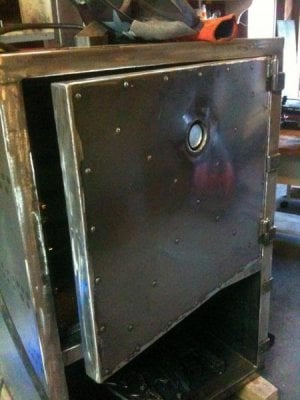
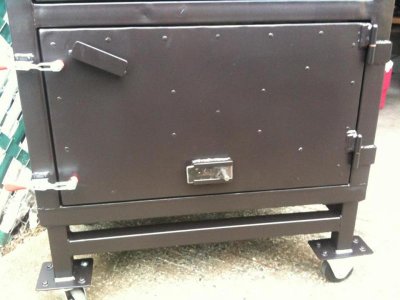
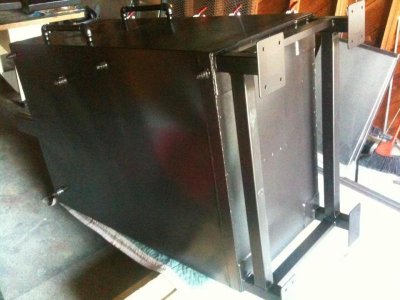
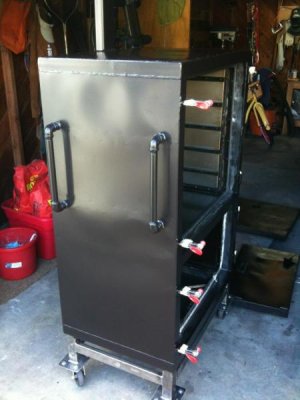
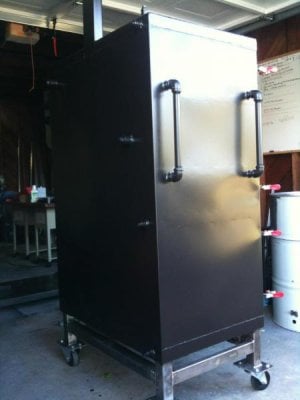
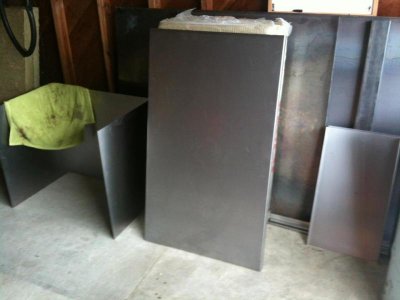
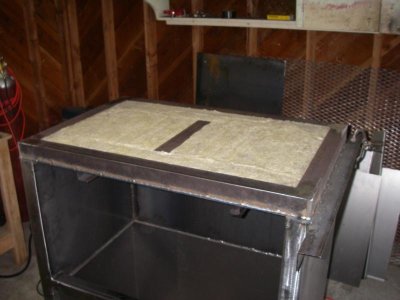
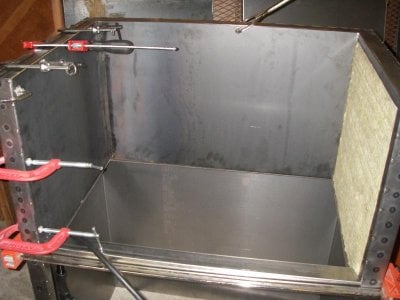
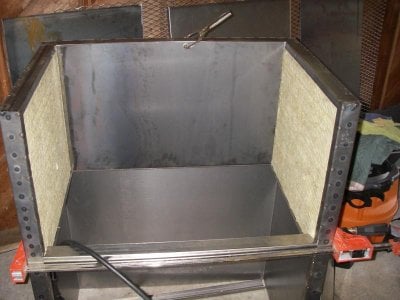
Some Specs: The entire outer shell is 16 gauge sheet metal, the inner top shell is 16 gauge as well. The bottom inner shell (the firebox) is 3/16th. I used 2" Roxul board for insulation.
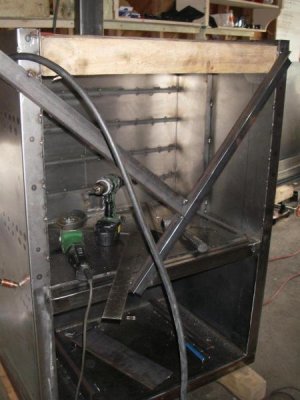
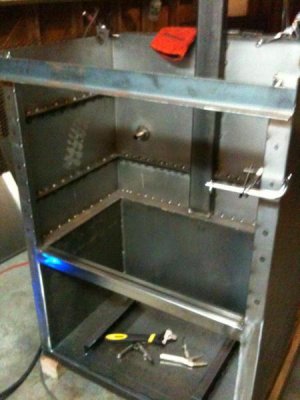
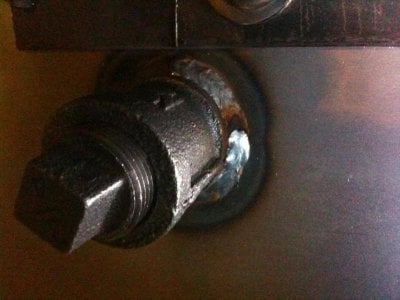
Tools used: Grinder with cutting disks and grinding disks, Evolution Chop Saw and Circular Saw, Miller Welder, (heavy) Steel Hammer, small dead blow, Drill with various hole saws, clamps and 4x4 wood as spreaders (works great), level and various measuring tools.
I don't post much but have read a bit on the UDS thread and researched the reverse flow smoker on here. I got inspired by all of it and set out to build my own reverse-flow smoker. I wanted to share my build pics with you all in hopes of adding to this site and maybe someone else could use any of it as inspirational fuel. (I am a fabricator/welder and mainly work with Aluminum in the marine industry, so steel is a bit more challenging for me in the sense that it takes more "labor" to work with, finish and cut if you don't have a plasma cutter.)
Anyhow this is by no means meant to be a tutorial. I forgot how much time and $$ I have into this but I planned and planned and planned and and then I dumped the plans and just started and went with the flow, this was on a budget so I had to work with what I had. I paid to have some of the pieces bent since I wasn't able to use my work facilities/tools to aid in my project. The guys who bent my stuff came up 3/16th short. A real bummer when you are working with 16 gauge.
Anyhow, rather than making a big stink I took the parts and really only used two of the pieces. The other bent pieces will be used for another project, possibly an Argentinian style grill.Some Specs: The entire outer shell is 16 gauge sheet metal, the inner top shell is 16 gauge as well. The bottom inner shell (the firebox) is 3/16th. I used 2" Roxul board for insulation.
Tools used: Grinder with cutting disks and grinding disks, Evolution Chop Saw and Circular Saw, Miller Welder, (heavy) Steel Hammer, small dead blow, Drill with various hole saws, clamps and 4x4 wood as spreaders (works great), level and various measuring tools.
Attachments
-
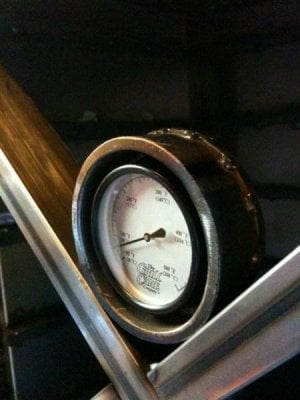
 1.jpg39.3 KB · Views: 619
 -
 Bottom of Firebox Insulated and ready to seal off.jpg46 KB · Views: 596
 -
 Insulation Installed Firebox 4.jpg52.1 KB · Views: 590
 -
 Insulation Installed Firebox 3.jpg59 KB · Views: 591
 -
 Testing 316 Pannels 3.jpg51 KB · Views: 594
 -
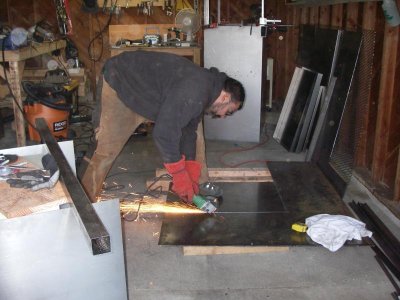 Cutting Firebox Pannels 2.jpg65.8 KB · Views: 598
 -
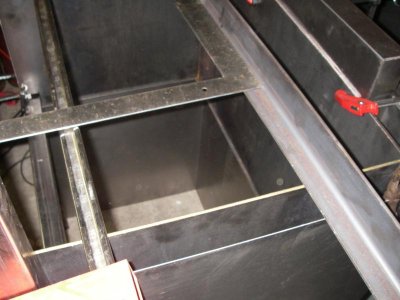
 Angle Frame Firebox Divider.jpg27.8 KB · Views: 598
 -
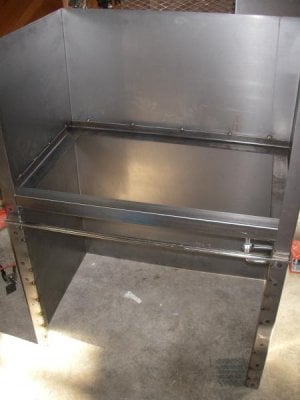
 Testfit 1.jpg59.7 KB · Views: 605
 -
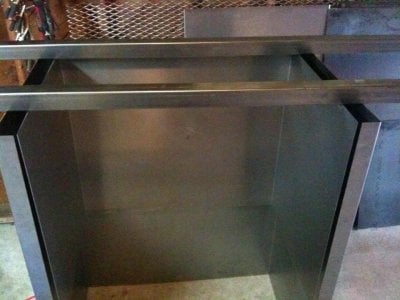
 3.jpg35.1 KB · Views: 594
 -
 2.jpg61.3 KB · Views: 607