Does any one have info on how to build one of these??

J/K :twisted:
WOW!!
What an epic thread. I just finished reading the whole thing.
By page 20 I knew I had to have one, by page 30 I was building it. When I got into the 70's I recieved my permissions and went back through so I could see the pictures.
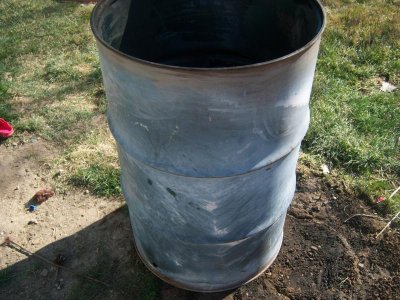
I have kept the original context of this thread and made an Ugly Drum Smoker.
Tale of the tape:
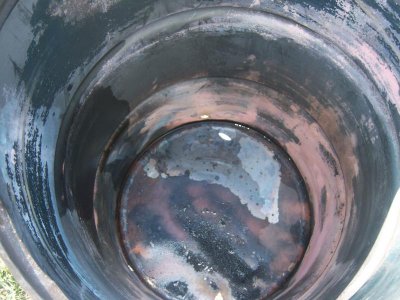
Lined barrel burned out with weed burner took about a half hour.
Went with four half inch nipples for intake because the 1" hole saw was more than the price of the barrel.
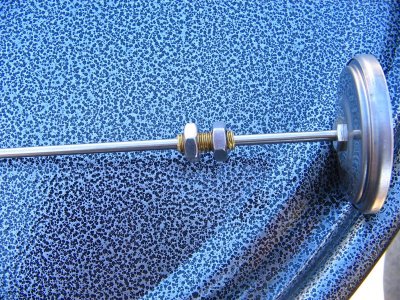
Eight 1/2 inch holes for exhaust in original top.
If you would have told me last week that this drum would burn so steady and I could just set it and leave it alone I would have thought you belonged in a looney bin.
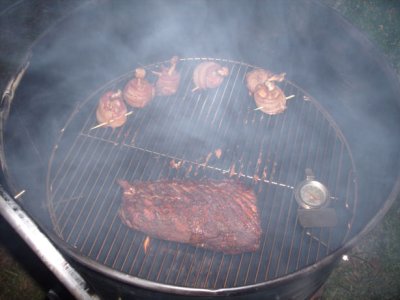
First trial burn, no meat, held temps for about 17hrs but I had to give it the Norco boot method because I made my basket out of 1/2 inch FEM and it was clogging with ash. Rebiult it using the 3/4-9 with a webber coal grate and there is a pork loin on it cooking now.
Pron to come gotta get it outta the card and onto the net.
Here it is,

Thanks to the entire R & D team for working out the bugs before I got here you have truly made it too easy.
Loved the Norcoredneck statue by the way.