Thanks for all the kind words of encouragement and inspiring ideas everyone!
Got a bit more done today.....
We welded a 2" piece of steel on the inside edge of the firebox to keep the airspace around the actual firebox seperate from the firebox (where the wood will be burning) and this also gave us a collar to insert in the smoker and weld around.
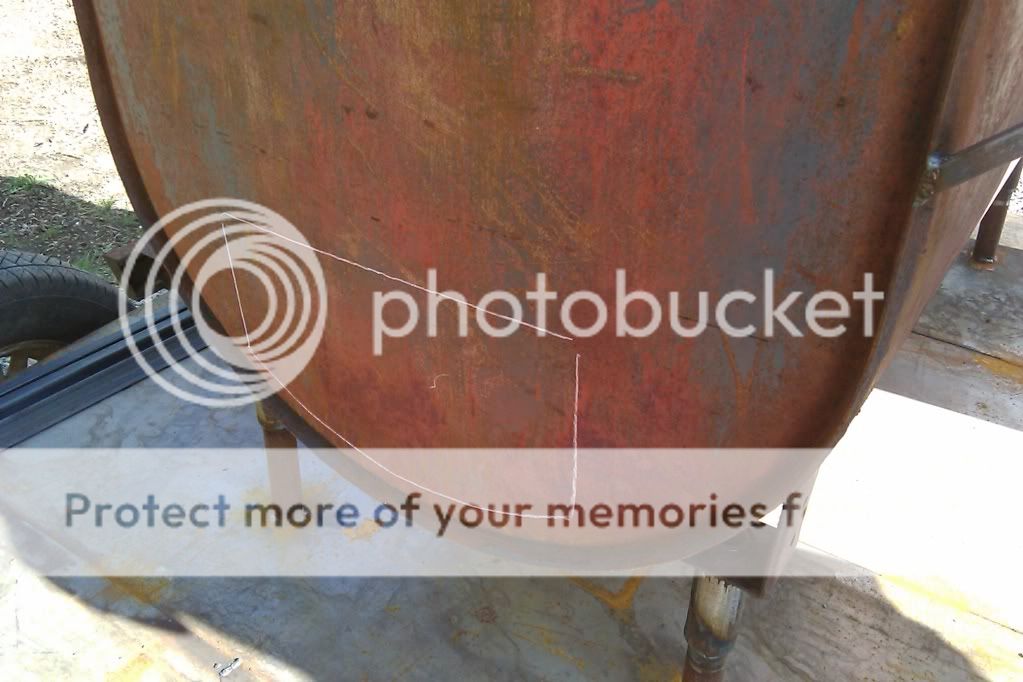
Scribed around the firebox collar onto the smoker body.
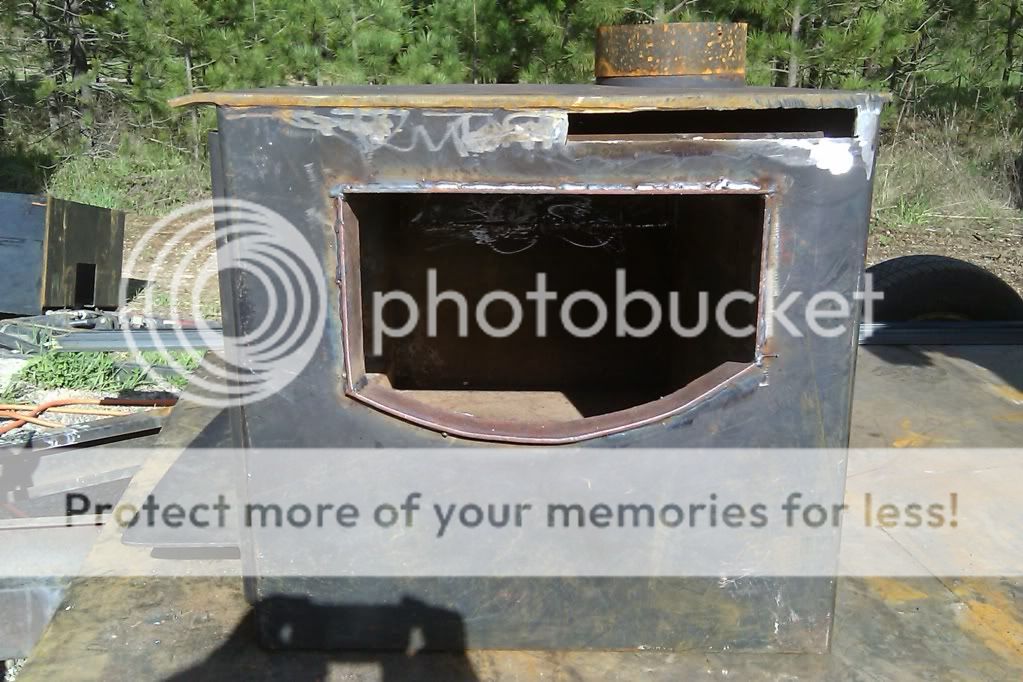
Hole cutout of the smoker body...ready for the firebox to be attached!

Got a handle welded to our damper rod.
It's official! Firebox is now attached to the smoker! Woo Hoo!!


View looking from inside the smoker, into the firebox. Sorry if this one is blurry...I think I forgot to focus....these were all taken on my cell phone.
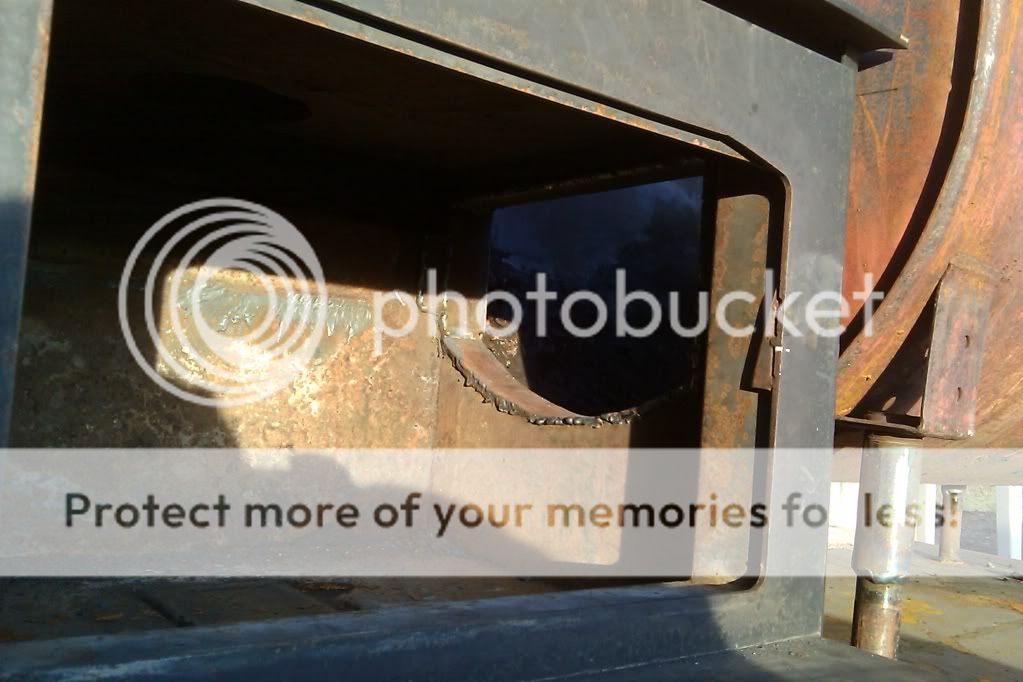
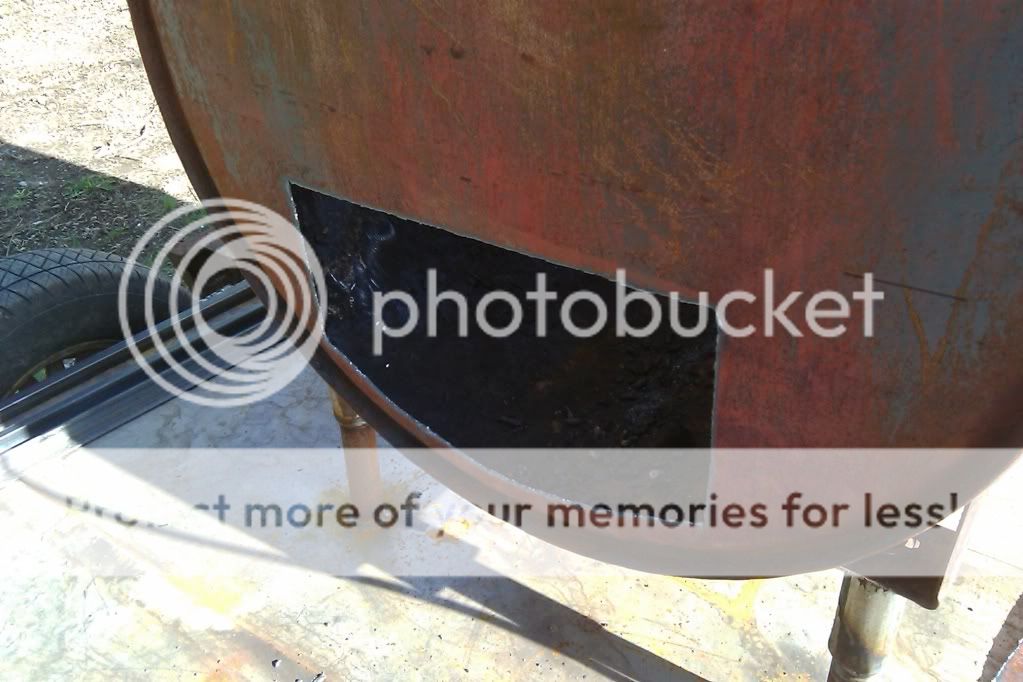
View looking from firebox into smoker.
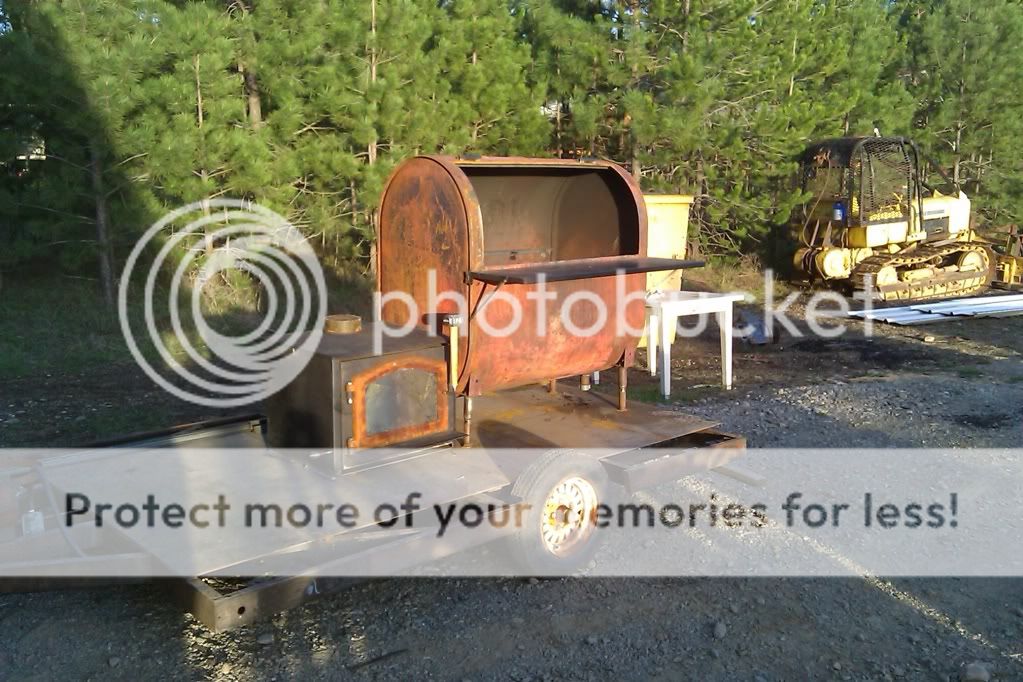
Backside of firebox. The hole towards the bottom is where the combustion air enters (it then travels along the bottom of the firebox, through the damper, then comes out in the firebox above the door).
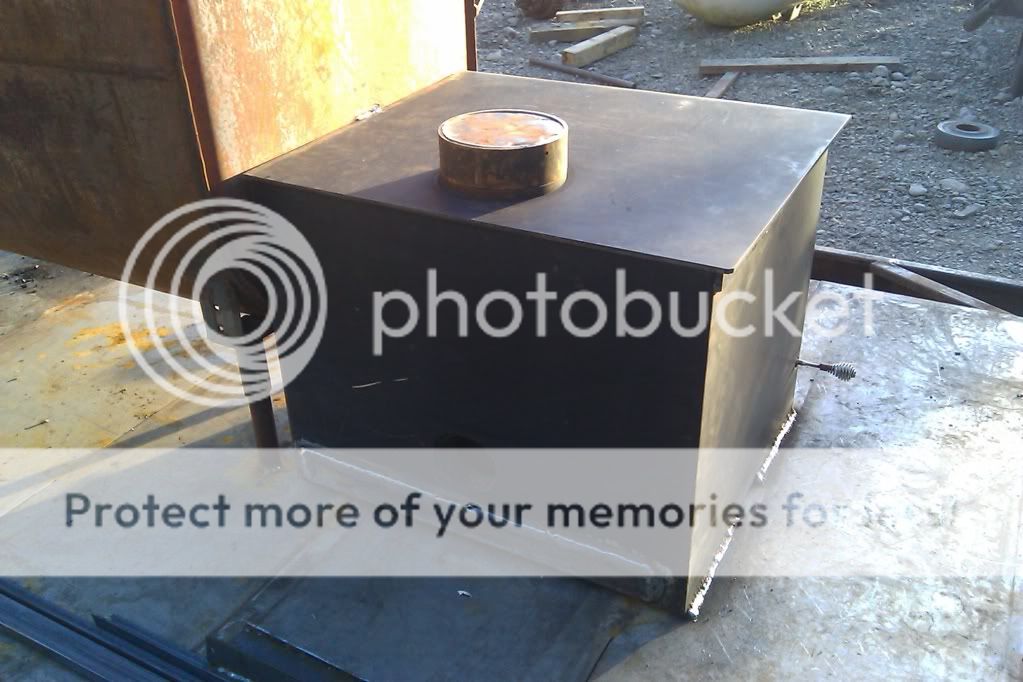
The 6" cap you see at the top is just for temporary. We are planning on building a holding cabinet on top of the firebox (to hold full size insert pans and keep them warm), so I just cut out a piece of steel and tacked it in place on the inside of the collar. I will also be running some high temp silicone around it just to make sure it is airtight for now and able to come apart easily in the future.
We are kind of in a hurry to get the smoker operational at this point because our first competition is May 15th, but we know there are certain things we need to do now, to make life easier (like install the water coil). We should be able to finish the smoker and get it operational next week. Here's what we have left:
- Fabricate and weld in smoke damper.
- Put the finishing touches on the door and fabricate a counterweight system.
- Fabricate and hang hot water coil.
- Fabricate a 2 halves cooking grate out of 3/4" square tubing & #9 expanded metal.
- Fabricate a log rack out of 3/4" square tubing & #9 expanded metal
- Install exhaust stack.
- Prep for paint.
- Paint!!!
I also managed to get the angle iron welded in for the cooking grates to sit on and weded up the door latch system for the firebox door. Still have to get some rope gasket material and secure it to the firebox door and possibly around the smoker door. Probably won't get the burner in before the first competition. Sink will come soon.
Thanks for following along everybody!
Oh...and for a little pron.....we also managed to cook a marinated pork roast and 7 moose burgers while building today!!