Smokendink71
Full Fledged Farker
UDS bolts
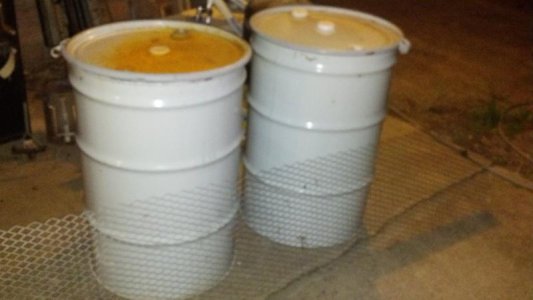
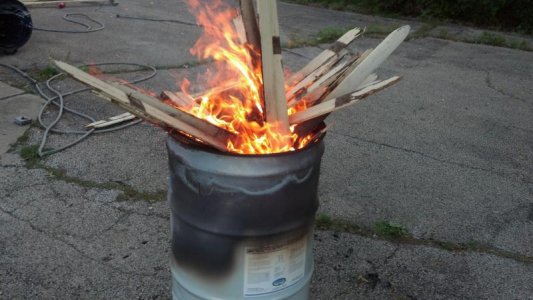
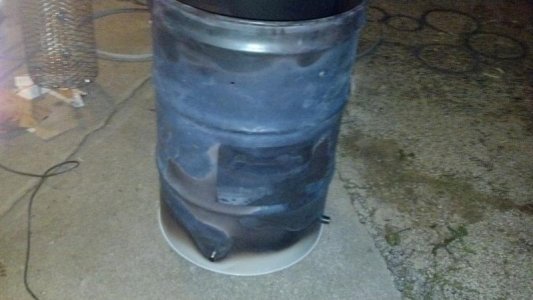
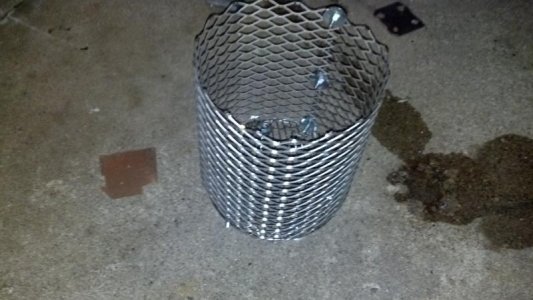
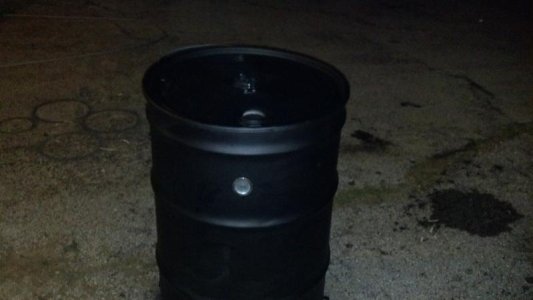
Okay, got me 2 drums today for $20 and 8'x16" expanded stainless steel that a friend gave me but I have a questions about the bolts that I need for it, can you use zinc bolts and nuts? HD doesn't seem to carry stainless steel hardware in very large sizes and I have not got a welder so bolting the fire basket is the only way I have of doing it.
Okay, got me 2 drums today for $20 and 8'x16" expanded stainless steel that a friend gave me but I have a questions about the bolts that I need for it, can you use zinc bolts and nuts? HD doesn't seem to carry stainless steel hardware in very large sizes and I have not got a welder so bolting the fire basket is the only way I have of doing it.
")