landarc
somebody shut me the fark up.
Pizza Throwdown Entry reportage. From the blog, but, by now you should all know I just copy and paste the entire thing here.
I have been pondering my lack of a wood stove or dedicated pizza cooker for some time, and have been playing around with different configurations for making pizza. I have tried fires on the bottom of the kettle, offset, in the middle, and decided I would try building the fire on the back side of the cooking grill, to see if that worked. It did not work well enough, the pizza stone, in this case a cast iron version, never got hot enough to cook the crust as I would like. But the overall pizzas were still pretty good.
The Dough:
To start off with, I had planned to do this cook on Saturday, then Sunday, but, plans kept evolving, so I ended up with cooking on Monday. The Biga, basically a packet of Red Star dry yeast, 1.5 cups warm water, 2 tablespoons olive oil and 1 cup of flour was started on Thrusday afternoon, and was refreshed with water and flour on Saturday and Sunday. By Monday afternoon, it looked like this.

By Monday, the Biga was bubbled up nicely and upon turning out, I could see that the overall texture was that of, well, batter. But, this was encouraging, as the gluten had clearly matured during the long rest, witnessed by the bubbles and gasses entrained throughout the battery Biga.

To this, I added another 1-1/4 cups of Antimo Caputo 00 flour and worked the dough lightly to incorporate the flour. Although cooking by feel, I was still shooting for a ratio of water to flour of 70% to 80% water versus total amount of flour. Once the dough was well incorporated, I gave it a few minutes of kneading to 'wake up' the gluten. I was hoping for a very soft dough. I think this was the most successful part of the cook.

As you can see, the dough balls were quite soft, spreading just a bit when just formed. I did a quick proof under a kitchen towel, the dough actually went through a soft rise to about, gaining about 50% more volume. These four dough balls would eventually be enough for four 9"-10" pizzas. In terms of toppings, the basic list.
Toppings Available:
Ricotta Cream, fresh ricotta whipped with whey liquid
Fresh Bufalo Mozzarella, shredded by hand
Wild Arugula, tossed with a little olive oil
Curly Kale, salt wilted and well rinsed
Sliced Mushrooms
Melted Onion
Pancetta
Sliced scallions
Tuscan Olive Oil
Pomi Tomato Sauce
Basically, all things were tossed onto the pizza crusts before shoving into the kettle. The higher fire, as you will see, got some of the toppings and crusts done nicely, but, the bottoms were too soft. The cool stone complicated and lengthened cooking times. Here are the pies.
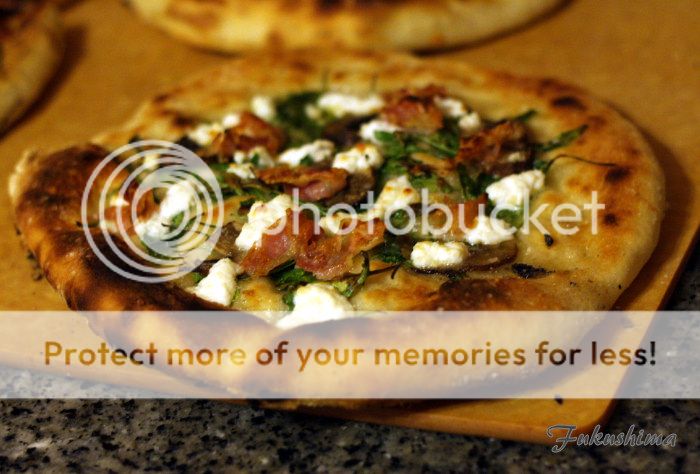


All of these were delicious, although I found the Arugula was a little too bitter for my taste. I have to say, the idea of some Meyer lemon juice or a Meyer lemon preserve drizzle might have helped. I would have eaten all of these, but, by the time I was done, I really just wanted a bit of each.


The sliced pictures show the crust texture, which was amazing. A crisp crackle on the top side, a springy, tender interior, a thin but resistant bottom (which, if the stone had gotten hot would have been even better). I did brush the crusts with a high quality extra virgin Tuscan olive oil and a random sprinkling of kosher salt, which made the crusts the best part of these pies.
As for the kettle experiment, it continues...
I have been pondering my lack of a wood stove or dedicated pizza cooker for some time, and have been playing around with different configurations for making pizza. I have tried fires on the bottom of the kettle, offset, in the middle, and decided I would try building the fire on the back side of the cooking grill, to see if that worked. It did not work well enough, the pizza stone, in this case a cast iron version, never got hot enough to cook the crust as I would like. But the overall pizzas were still pretty good.
The Dough:
To start off with, I had planned to do this cook on Saturday, then Sunday, but, plans kept evolving, so I ended up with cooking on Monday. The Biga, basically a packet of Red Star dry yeast, 1.5 cups warm water, 2 tablespoons olive oil and 1 cup of flour was started on Thrusday afternoon, and was refreshed with water and flour on Saturday and Sunday. By Monday afternoon, it looked like this.
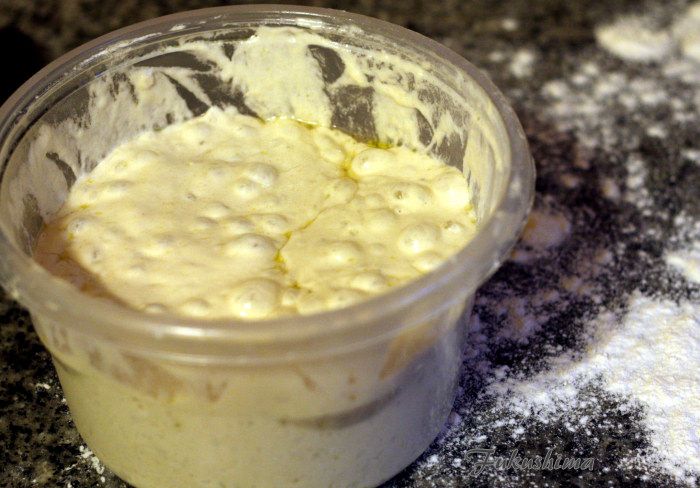
Biga at room temperature
By Monday, the Biga was bubbled up nicely and upon turning out, I could see that the overall texture was that of, well, batter. But, this was encouraging, as the gluten had clearly matured during the long rest, witnessed by the bubbles and gasses entrained throughout the battery Biga.
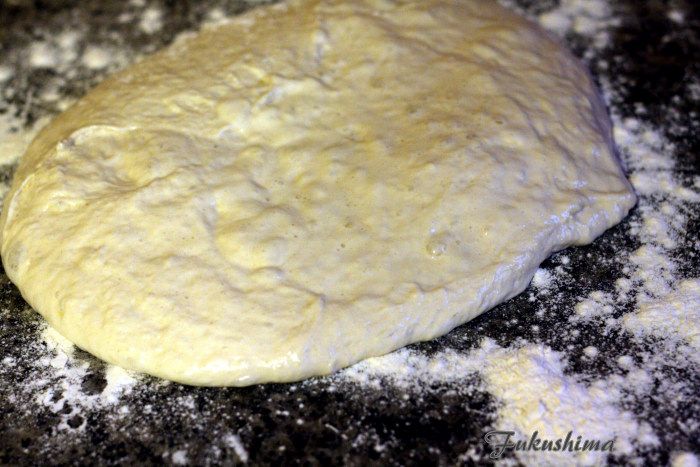
Batter Biga Baby
To this, I added another 1-1/4 cups of Antimo Caputo 00 flour and worked the dough lightly to incorporate the flour. Although cooking by feel, I was still shooting for a ratio of water to flour of 70% to 80% water versus total amount of flour. Once the dough was well incorporated, I gave it a few minutes of kneading to 'wake up' the gluten. I was hoping for a very soft dough. I think this was the most successful part of the cook.
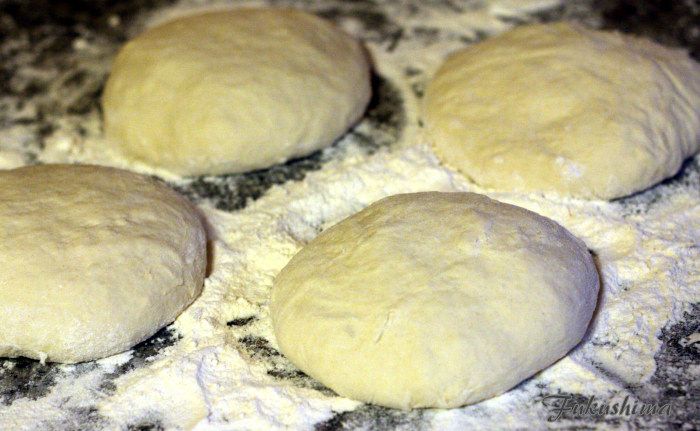
Dough Balls
As you can see, the dough balls were quite soft, spreading just a bit when just formed. I did a quick proof under a kitchen towel, the dough actually went through a soft rise to about, gaining about 50% more volume. These four dough balls would eventually be enough for four 9"-10" pizzas. In terms of toppings, the basic list.
Toppings Available:
Ricotta Cream, fresh ricotta whipped with whey liquid
Fresh Bufalo Mozzarella, shredded by hand
Wild Arugula, tossed with a little olive oil
Curly Kale, salt wilted and well rinsed
Sliced Mushrooms
Melted Onion
Pancetta
Sliced scallions
Tuscan Olive Oil
Pomi Tomato Sauce
Basically, all things were tossed onto the pizza crusts before shoving into the kettle. The higher fire, as you will see, got some of the toppings and crusts done nicely, but, the bottoms were too soft. The cool stone complicated and lengthened cooking times. Here are the pies.

Arugula and Pancetta

Arugula, Melted Onion, Scallion
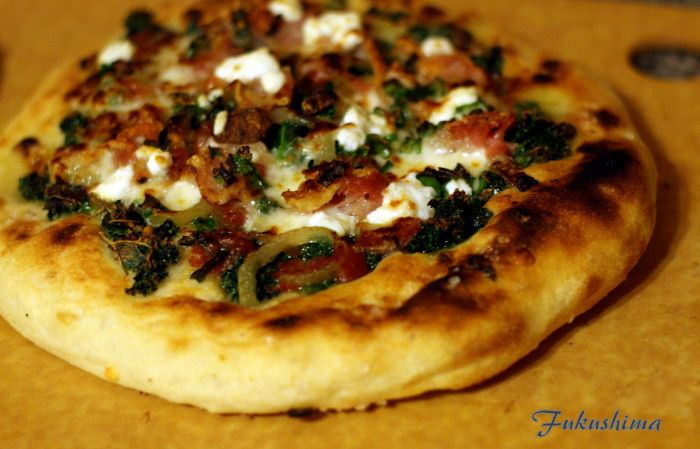
Kale, Pancetta, Melted Onion
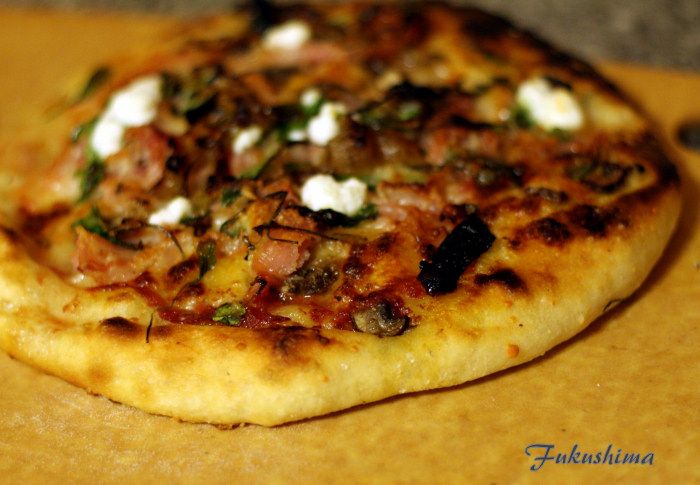
Pancetta, Melted Onion, Mushroom
All of these were delicious, although I found the Arugula was a little too bitter for my taste. I have to say, the idea of some Meyer lemon juice or a Meyer lemon preserve drizzle might have helped. I would have eaten all of these, but, by the time I was done, I really just wanted a bit of each.
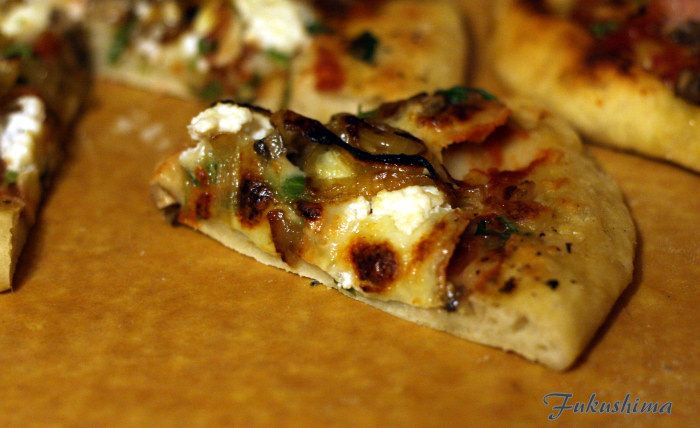
Piece of the Arugula
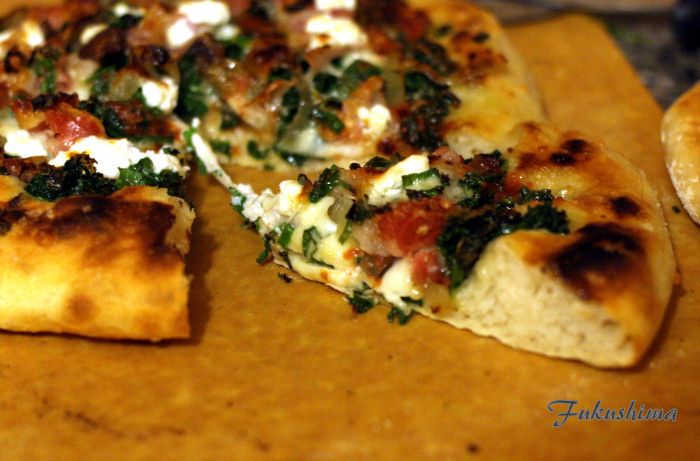
Piece of the Kale
The sliced pictures show the crust texture, which was amazing. A crisp crackle on the top side, a springy, tender interior, a thin but resistant bottom (which, if the stone had gotten hot would have been even better). I did brush the crusts with a high quality extra virgin Tuscan olive oil and a random sprinkling of kosher salt, which made the crusts the best part of these pies.
As for the kettle experiment, it continues...

