New Cooker Cart Build

colonel00

Quintessential Chatty Farker
Joined
Jun 3, 2010
Messages
5,115
Reaction score
11,492
Points
0
Age
48
Location
Shawnee, KS
Well, this is still a work in progress but it's to the point where I can at least show it. The entire album is here so anyone that wants can see the entire build. Please feel free to link back any photos that are of interest or you have questions on.

It all started off as a bored weekend last spring. I had accumulated some square steel and angle. I love using bed rails as angle as it's cheap to find bed rails. Anyway, in my boredom I decided to cut up some metal and threw together a base frame. Then I realized I had no real plan. So, I sketched up some ideas.

IMAG0222.jpg


cart5.jpg


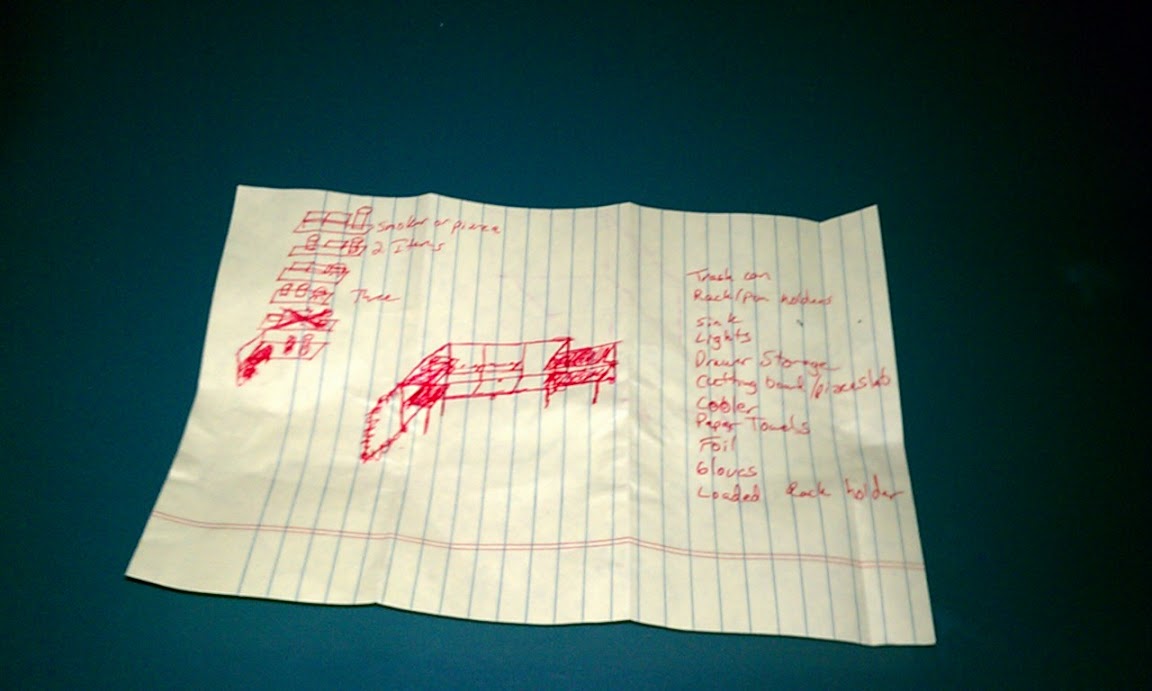
One major change form this sketchup drawing is that the top will now be attached to the cart and not the doors. However, I still intend to have it lift up in the same manner.

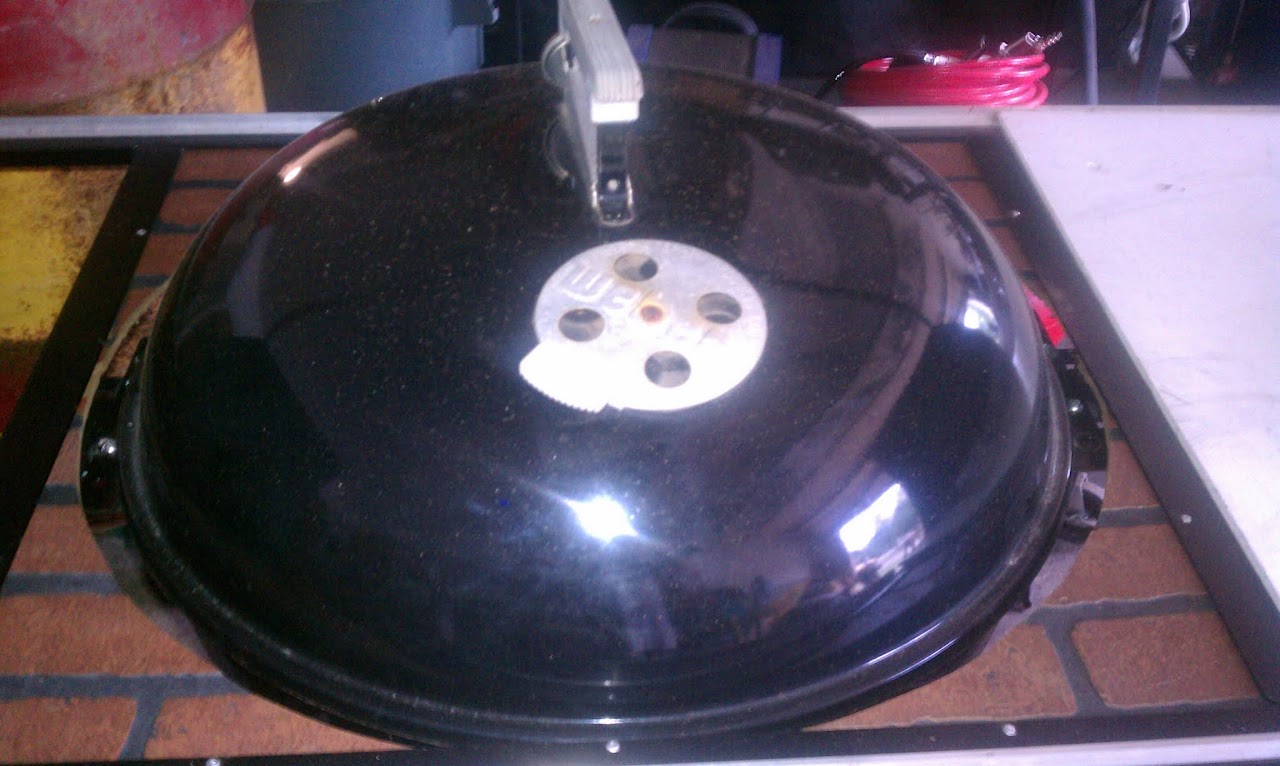
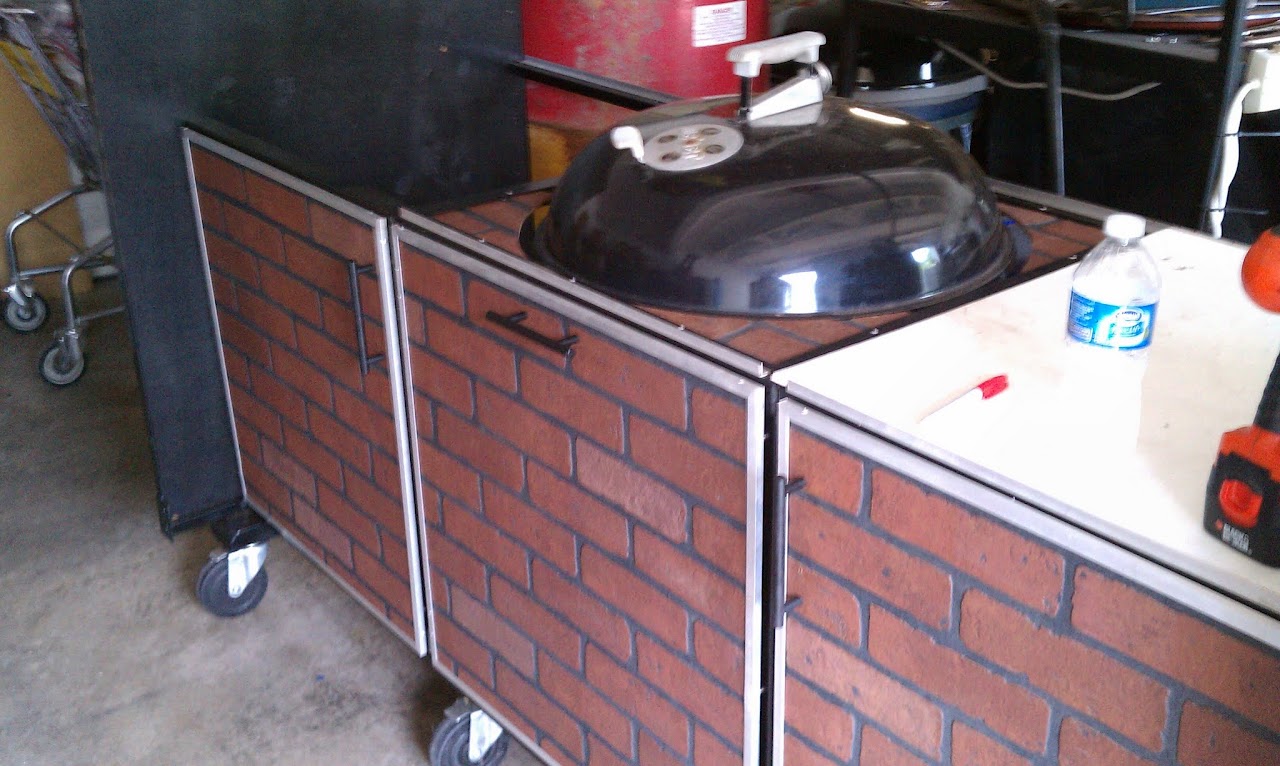
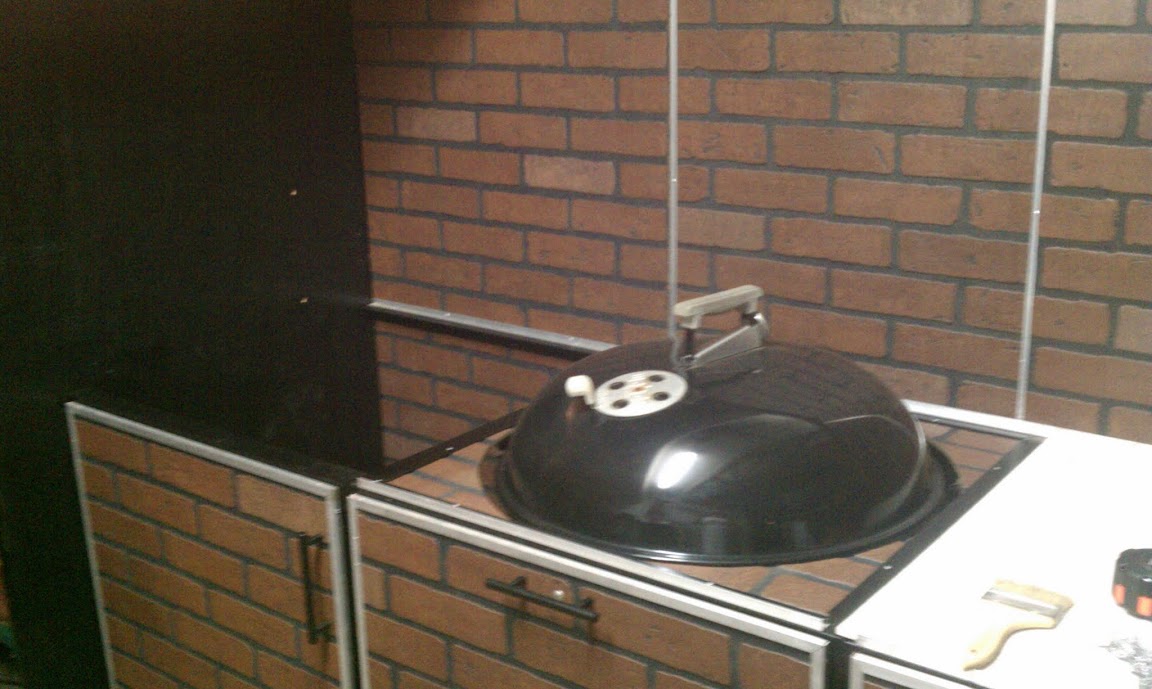
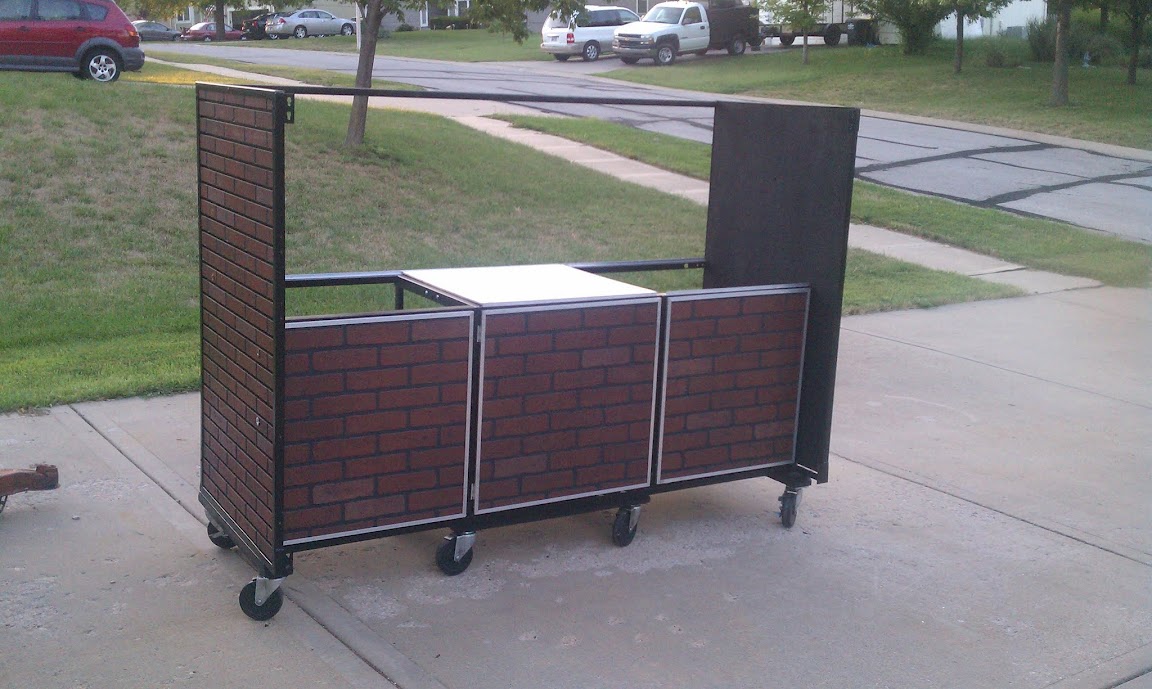
I used those as a basic plan but most of this build was good ole seat of the pants engineering. I slowly worked through what I wanted and have gotten to the point where the cart will have a "modular" design. In the center, a kettle from a performer will be mounted. On the left will be a full time spot for a UDS or WSM. The right can accomodate another UDS if necessary as well. The left and right door sections are removable to all for removal of the cookers. On top I will get work surfaces that can cover the right and center when the kettle is not in use. I am still debating what I want to do there. It will either be thick cutting board or maybe butcher block. There is still plenty to do including the back, top, large doors on the front and many other things. I just wanted to start a thread so I could update as I went along.

IMAG0539.jpg

IMAG0536.jpg

IMAG0533.jpg

IMAG0535.jpg

IMAG0537.jpg


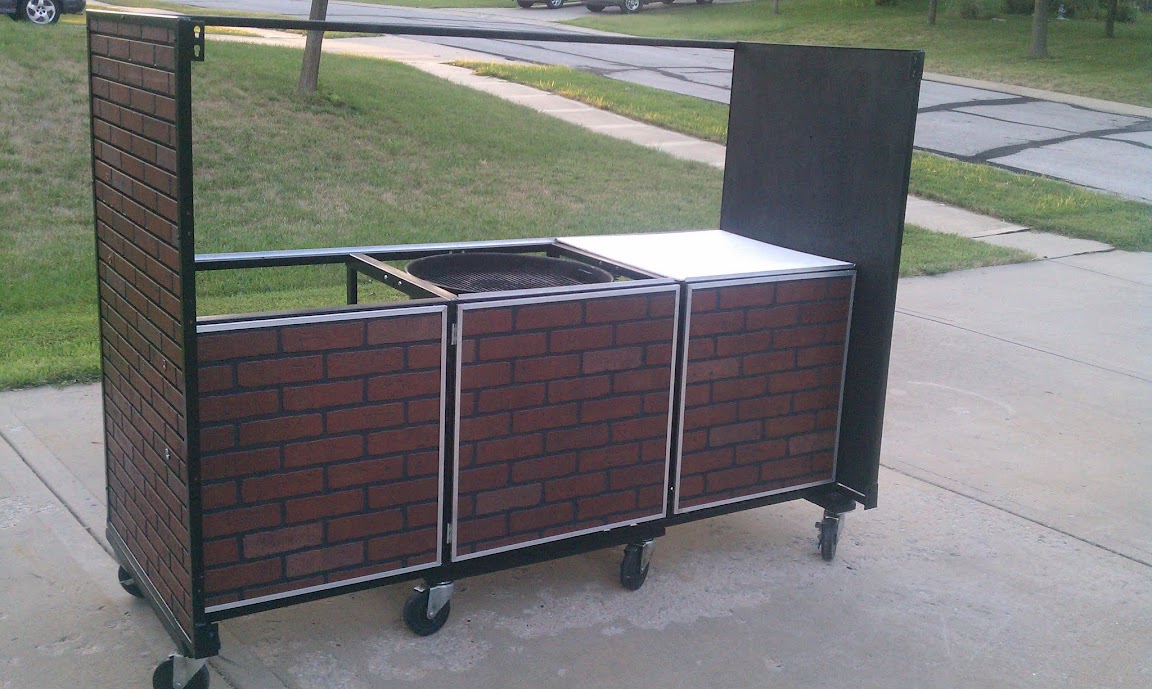
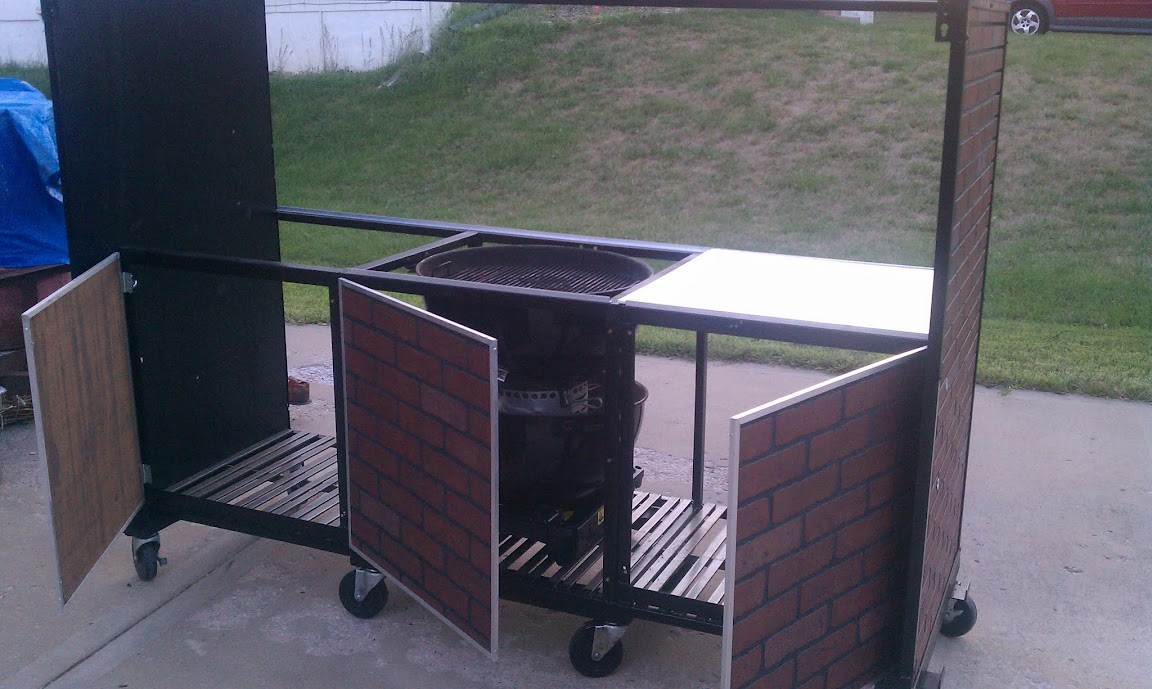
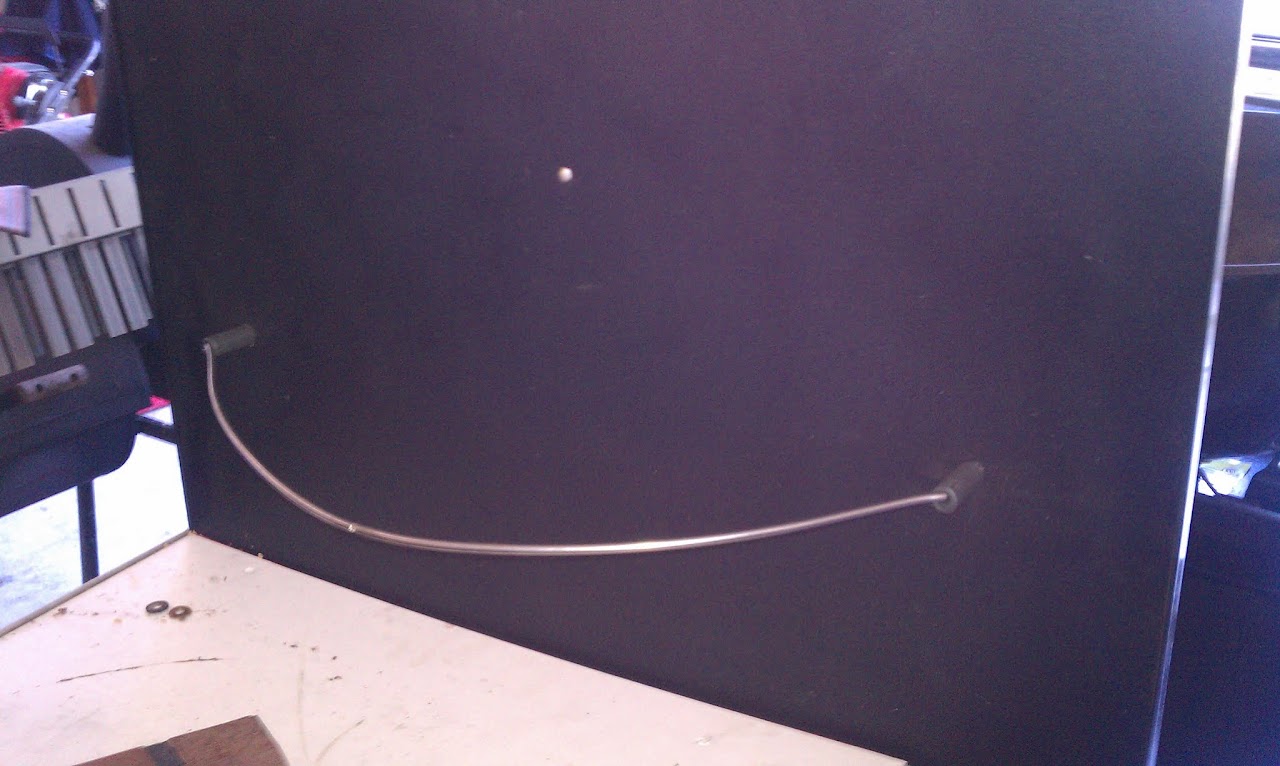
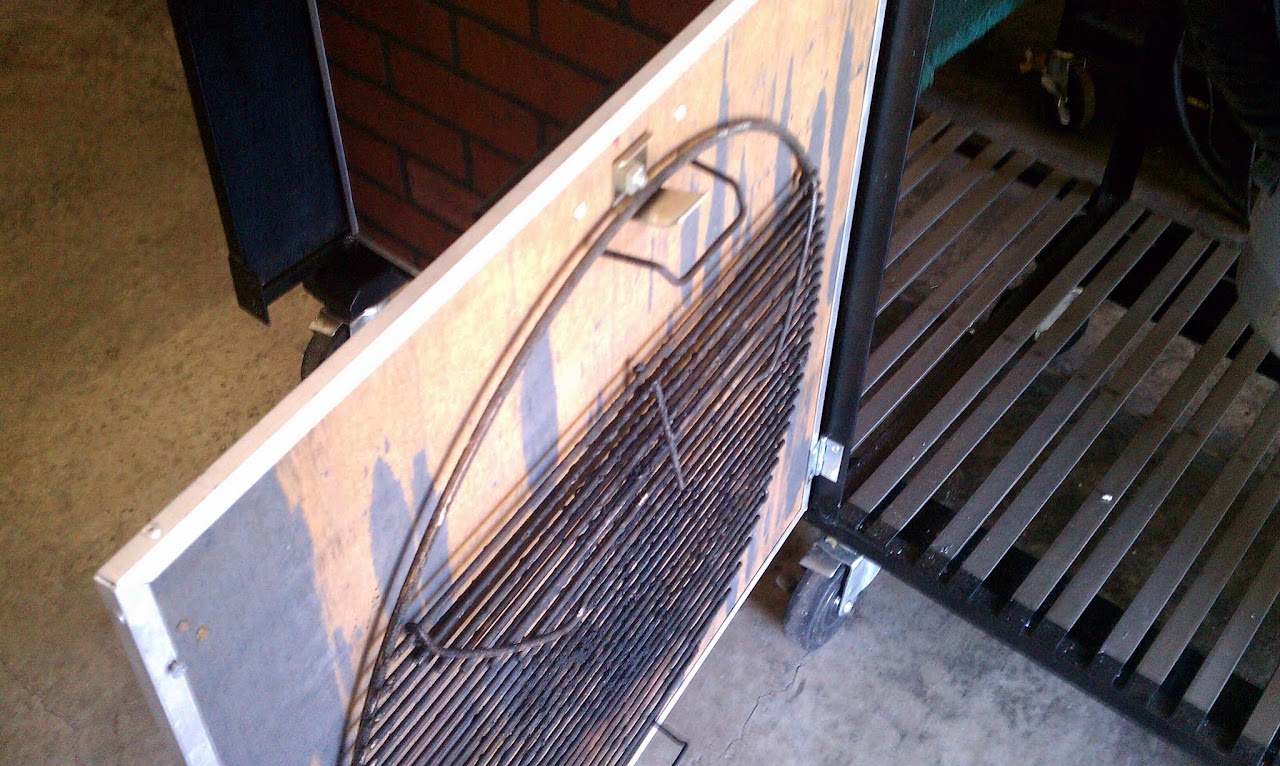
One of the things I am messing with now is how to deal with the Performer kettle lighter and the mod I made to use the small propane bottles. Basically I will need to extend the back around this once I have a plan for the back.

IMAG0532.jpg


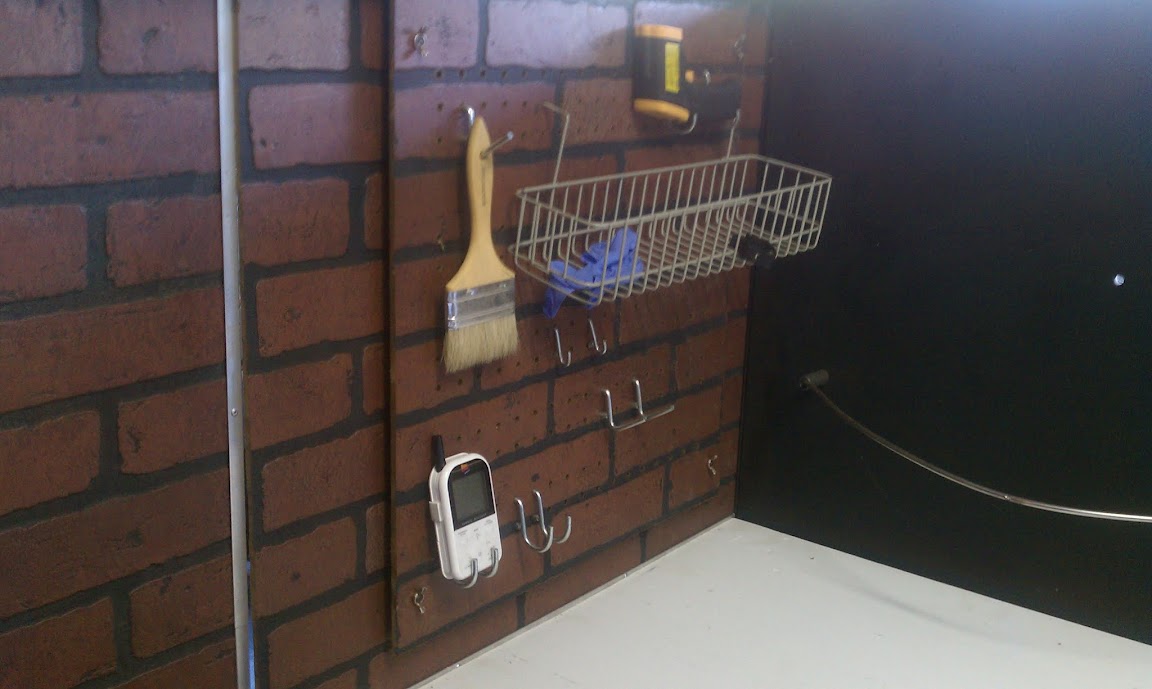
Anyway, thanks for looking. Please feel free to browse the album and let me know if you have any comments or questions on any of the other pics.

https://picasaweb.google.com/114495...&authkey=Gv1sRgCKC6qtbXkqzgIw&feat=directlink
 
I guess I should also mention that thus far most everything was built from salvaged material. I had access to some store fixtures that I used for the side brick walls and the floor. The tube steel was from store fixtures too. The rests of the frame is from bed rails except two 1"x1" sections of angle I had to buy. I did have to purchase the aluminum angle and channel as well as the brick paneling for the doors. However, so far I am really only in for $150 or less. Probably closer to $125.
 
Very nice work on the setup.:clap2::clap2:
The bar across the top...is that for an awning or to hold tools or something else???
jon

It's for both actually. There is still plenty left to do on this. That bar serves several purposes. First it adds rigidity to the frame. Second, there will eventually be a back on the cart. I am still deciding what exactly it will consist of. More that likely there will be pegboard incorporated to hold tools and other items. Also, as in the sketchup image, there will be a "lid" that will raise up. In the image the awnings are on the swing out doors but I plan now to have it hinged on that bar and raising over the cooking area.
 
I definitely plan to. I was going to start a thread a while ago but if you looked at the album you can see it was pretty dang ugly. Now that it looks a bit better I can make updates as I figure out what all I am going to add to it.
 
Nice work, especially with scrap material. Please keep updating the pics, I am curious how this turns out.
 
Minor update. I was tooling around and did a couple things. First, I took some of the paneling I had and cut it out to fill in the dead space around the kettle. This worked alright but may get redone later. I also put some handles on the doors. I have a plan in place now for the back so I can at least move forward this weekend and hopefully get that done as well. I also plan to actually cook on this thing at some point here soon.

IMAG0540.jpg


IMAG0541.jpg


IMAG0543.jpg
 
I think it looks awesome! With that many points of contact to the ground in the form of wheels, how difficult is it to keep level?
 
I think it looks awesome! With that many points of contact to the ground in the form of wheels, how difficult is it to keep level?

It does a pretty good job of leveling itself. I added the wheels in the middle because I quickly realized that this beast was gonna be heavy and just having wheels on the ends would not work. I doubt it is every perfectly level. Then again it was build in a garage with a sloping floor and will be on a sloping driveway so I think its all moot in the end.
 
That's BADA$$! I love your creativity! AND follow thru!
I've got TONS of great ideas, and have even come up with some great sketches/cad dwgs, but completely lack the follow thru! LOL

Congrats on recycling the materials too!
Ever go to the scrap yard for stuff? The ones out here have TONS and TONS of used/rusty scrap metal of all shapes and sizes! Aluminum too!
 
No, I haven't but I probably should. I do hit thrift stores from time to time to restock bed rails and to look for interesting stuff. I will probably end up hauling off the rest of the fixtures I have to a recycler and maybe I can work a deal with them to get some more useful stuff.
 
Here is another minor update. Since I had the weekend free I tinkered a bit. At this point the kettle from the Performer is committed to this build so I used the parts from the lid holder to do a few things. First I mounted the ring on the left side to hold the lid out of my way. It actually works quite well. For those that are worried, I just so happened to paint that panel with high heat paint so I think it will be alright. I have an IR thermo so I can monitor it as I cook more.

IMAG0547.jpg


I also used the smaller of the SS pieces that is part of the lid holder. With just a little bend it became a grate holder on the inside of the middle door. This should work well for holding grates for both the kettle and UDS.

IMAG0549.jpg


Lastly, I used the longer piece of SS to fashion a better bracket to reinforce the adaptation for the burner to use the small propane cans.

IMAG0566.jpg


In action for last night's burrito cook

IMAG0550.jpg
 
So this weekend I had some time to work on getting the back on. Trying to keep costs down I purchased one more panel from Lowe's. The top, center section is hinged so I can open it if necessary for lighting the gas lighter of the kettle. The bottom of the back was kind of pieced together from some of the scraps but worked out pretty good.

IMAG0581.jpg


You can see here the latch holding the center section closed as well as the cutout for the gas tank. I still need to build another enclosure to protect the tank.

IMAG0580.jpg


I also used a piece of leftover panel to create a matching pegboard. I used a regular pegboard as a template and drilled out holes as I thought I would need them. This panel is mounted with spacers to allow room to insert the hooks. It is also removable. I plan to have two that can be placed on the back panels or inside of doors when necessary.

IMAG0583.jpg


IMAG0584.jpg


So, here is where it stands as of now. There is still plenty of detail work as well as a lid and front doors that I want to do but at this point it is ready for a new UDS. Also, I still need to determine what kind of work surfaces I am going to have. I have debated using 1/2" thick cutting boards but I think regular cutting board material will do just as well. Suggestions?

IMAG0595.jpg


IMAG0593.jpg
 
Back
Top