Bgcoop8784
Well-known member
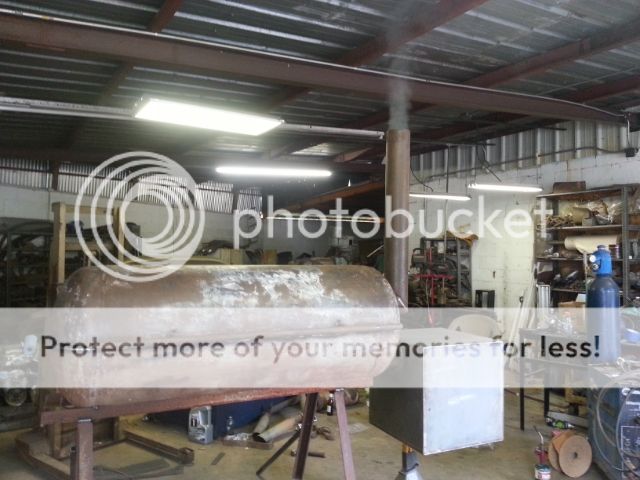
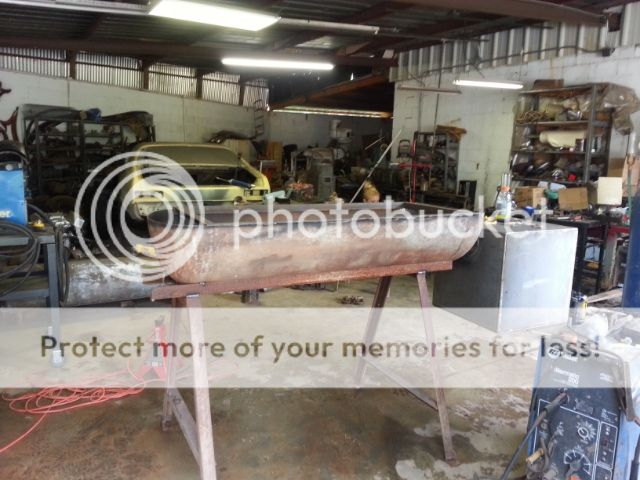
Started on my smoker Thursday night, and here's where I'm at so far in the build. Hopefully have her smoking this weekend. I know most reverse flow's have a plate in the bottom but I wanted to try something different, If it doesn't work out I'll just cut the pipe and add the plate in. Still need to mount the exhaust, weld up a couple holes and start on the trailer. She ain't pretty but that's ok with me.:mrgreen: and yes I know my shop is a mess:sad:
Tank cut in half
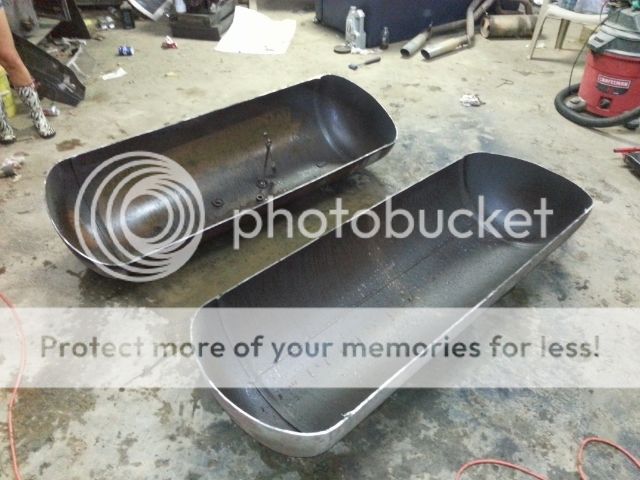
Box welded up

Box completed...let my wife do some of the final welding

Inner frame welded in with a good seal
Hinges made and welded on
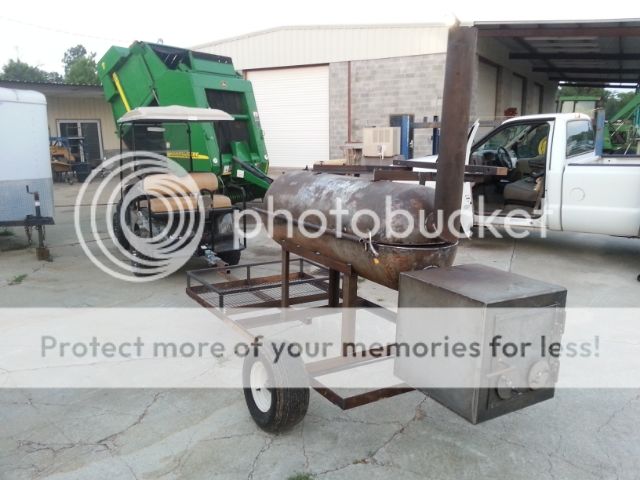
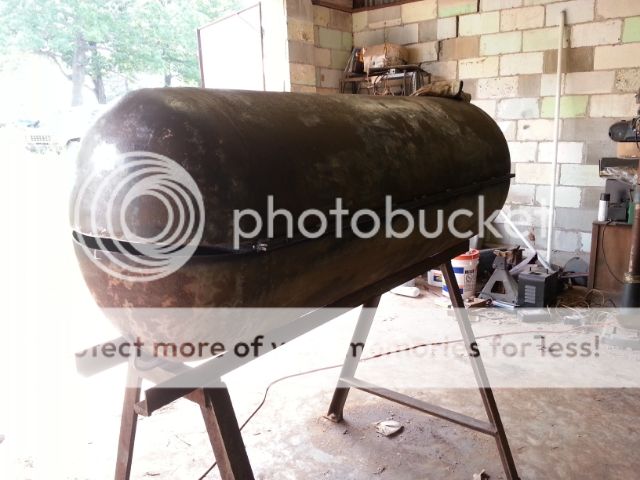
Box welded on
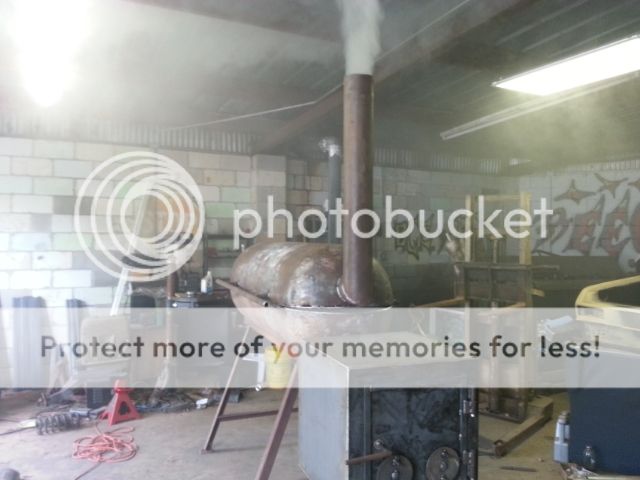
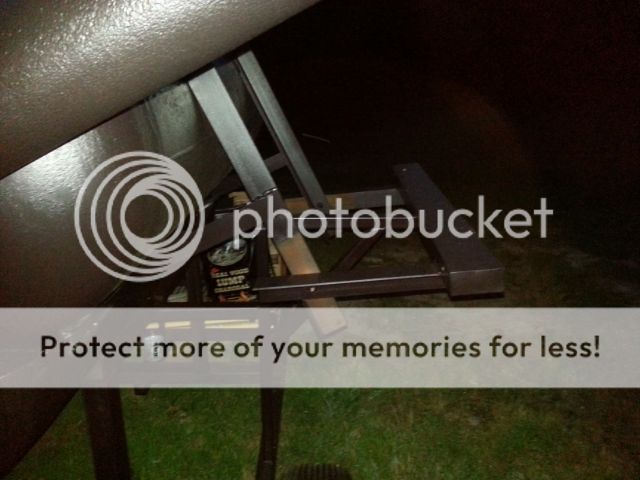
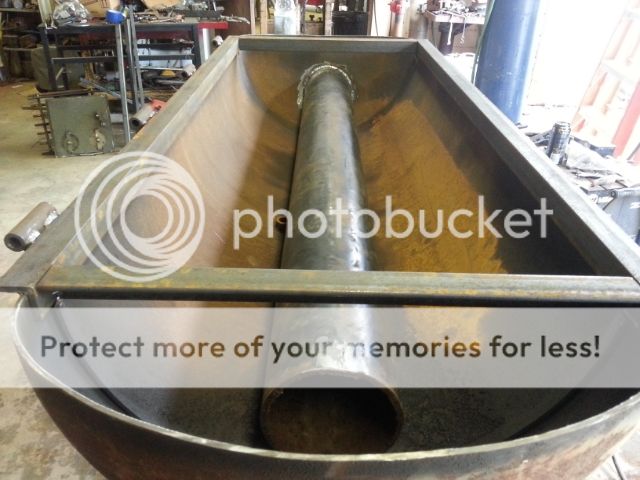
Pipe welded in for reverse flow
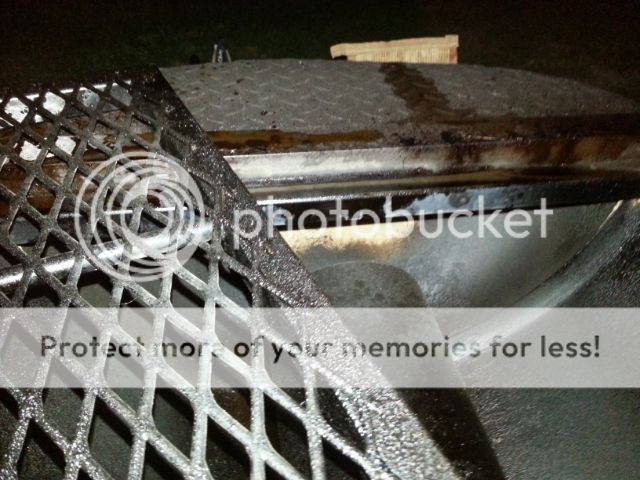
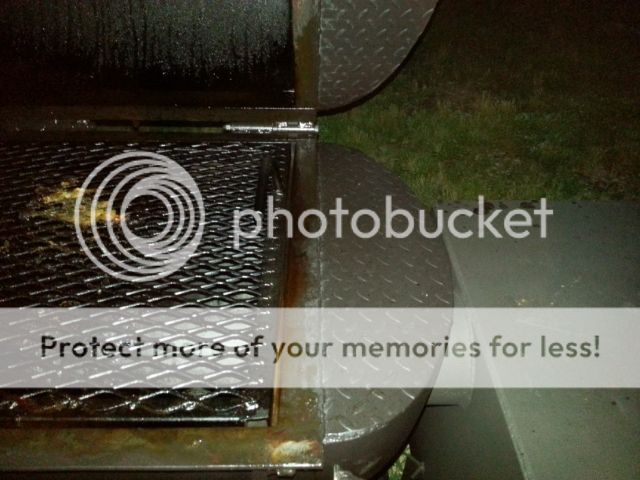
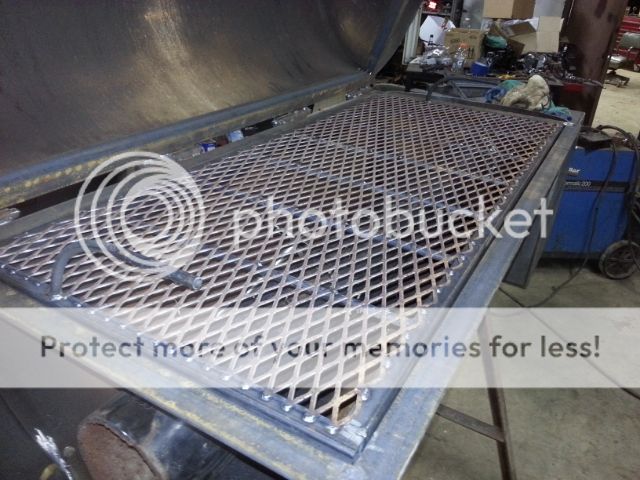
Cooking grate and handle welded up
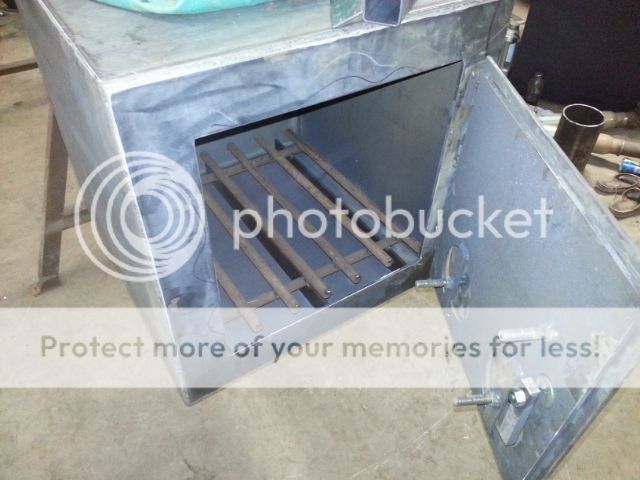
Grate for the wood, still might build a charcoal basket
Another pic of the cooking grate
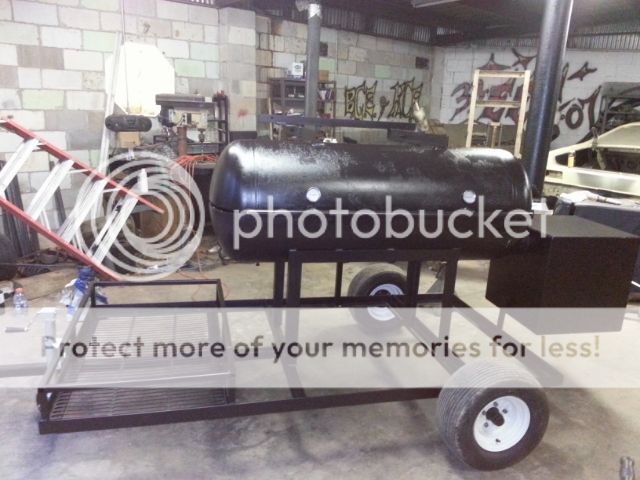
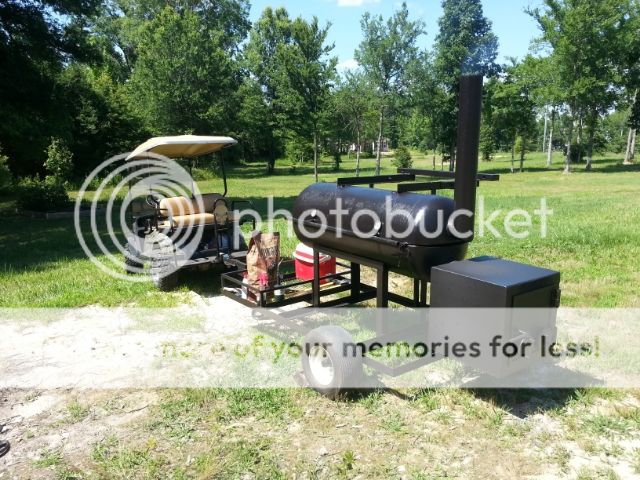
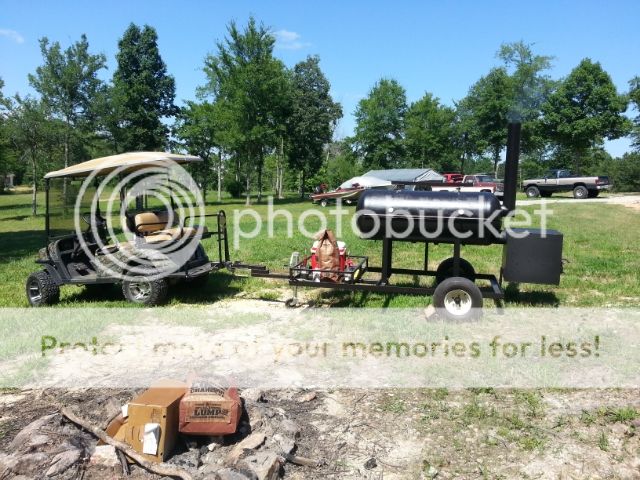
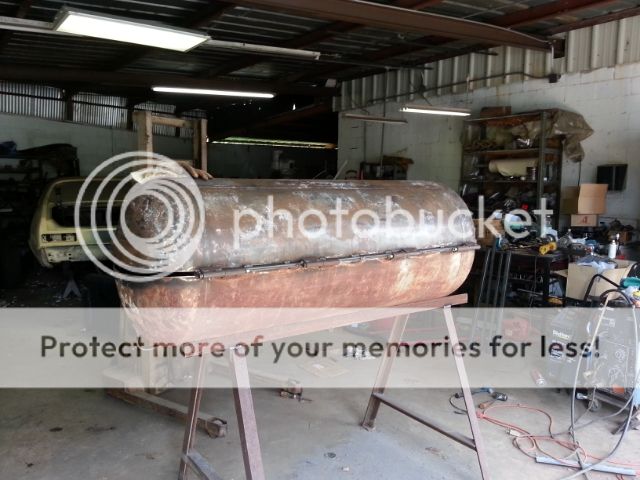
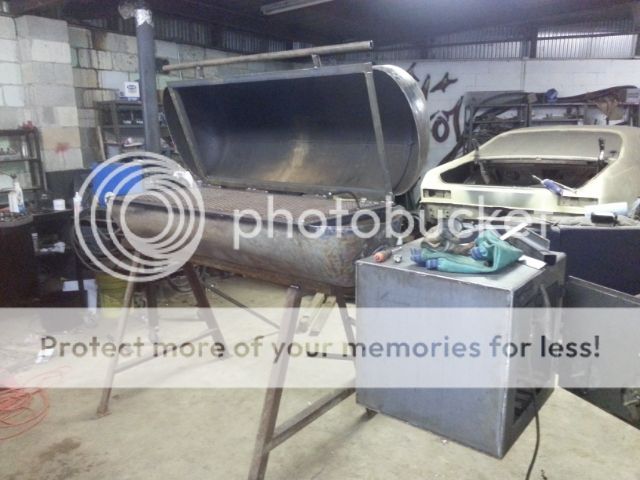
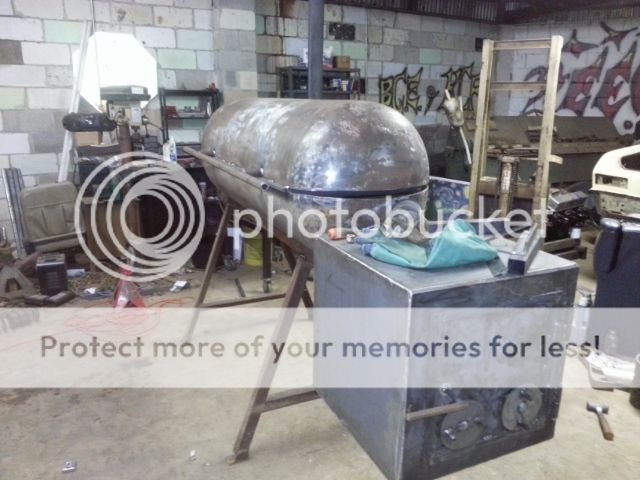
One more pic of the whole thing
Tank cut in half
Box welded up
Box completed...let my wife do some of the final welding
Inner frame welded in with a good seal
Hinges made and welded on
Box welded on
Pipe welded in for reverse flow
Cooking grate and handle welded up
Grate for the wood, still might build a charcoal basket
Another pic of the cooking grate
One more pic of the whole thing