120 Gallon Compressor Tank,Trailer Mounted, Offset Smoker Build - by Huntin Smoke & Pappy (pics) UPDATED

I went to college for two years and got an associates degree for industrial welding.
 
That's awesome. Skills like that are certainly hard to obtain, take me forever tinkering in my garage alone to get to your point, even if I ever could!

Can't wait to see this thing done once again, painting is gonna make it look like a million bucks.
 
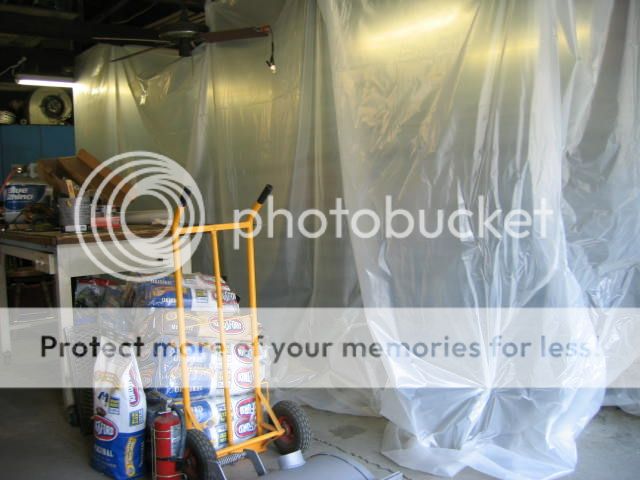
Finally after weeks of bad weather and family events, the smoker is being dropped off to be the sand blasted. We will pick it up after it has been blasted and then spray it with high temp primer and paint. We made a temporary paint booth in the garage to spray the paint.
Will post some pictures later.
 
Looks great. I like all the home done craftsmanship. Also the spring handles on the fire box vents are a nice touch IMO. One thought, I build a similar horizontal for my dad not to long ago. He designed it with tuning plates and stack on either end. Soon we are going to cut off and fill the stack opposite from the fire box and make it a dedicated reverse flow since that is how he cooks with it. We are also talking about making a trough in the tuning plates to drain the grease. Based on our experience that's where we have decided to go. We also have realized the need for more than 2 air intake vents on ours. Overall congrats and looks great. Ton of hard work. Let us know how she cooks.
 
IMG_43841.jpg
 
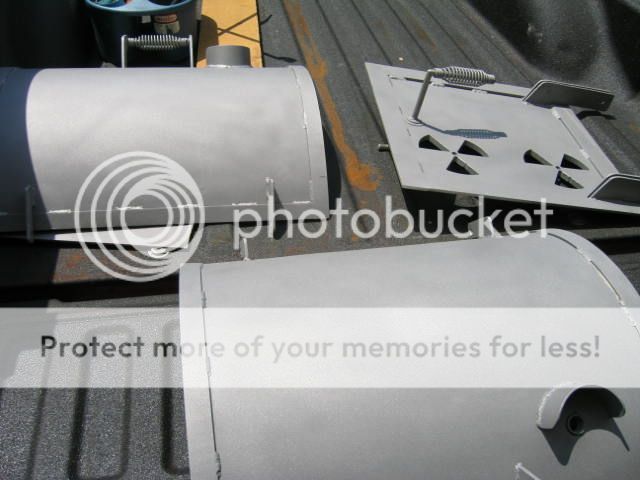
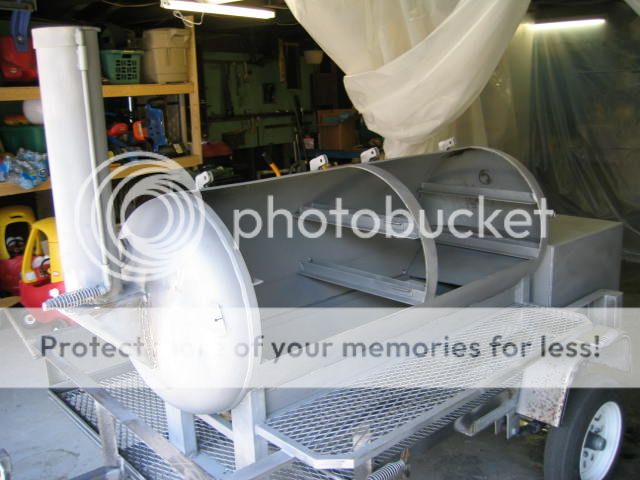
Smoker back from the sand blasting. I have not seen bare metal before. It looked like aluminum. It had a good coating of rust inside. It took 2 hours to blast.

Bare metal
IMG_4385.jpg


IMG_4388.jpg


Homemade paint booth
IMG_4390.jpg


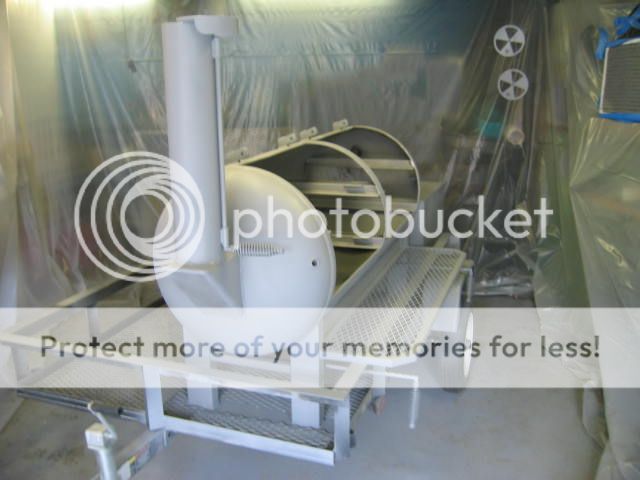
Primer on
IMG_4393.jpg


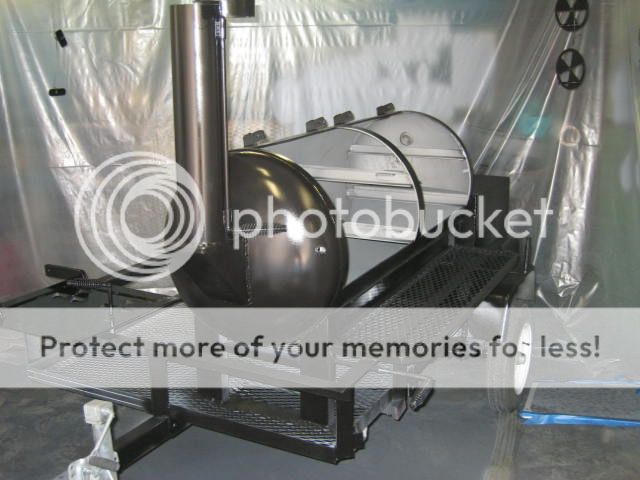
Paint going on
IMG_4397.jpg


IMG_4401.jpg


IMG_4403.jpg
 
Looks like you're getting a good smooth paint finish! Wish I was painting me a trailer smoker!
 
That is gonna be kick-arse georgeous! I've noted your build started almost 9 months ago and now it's coming to an outstanding end. But it's just the start of some really great Q and as you learn your pit and how it wants to cook you will always have the satisfaction that comes with building the cooker and learning how to dial it in. Congratulations - you deserve it!:clap::clap::clap:
PS: get some oil on that interior and get it seasoned, it will last forever!
 
Pappy where's the picture of you taking a nap in the lawn chair while I was painting?
 
hat came out really nice. but you are pumped to have her done. did you name her yet? I can't wait till mine is done. almost. I really like all the small detail work you did.
 
Pappy where's the picture of you taking a nap in the lawn chair while I was painting?

Huh! What! You're too young to know this. It's called "resting you're eyes". :sleep:
I was "on duty" in case you accidendently broke the paint sprayer or dropped a can of paint on the floor.
 
Huh! What! You're too young to know this. It's called "resting you're eyes". :sleep:
I was "on duty" in case you accidendently broke the paint sprayer or dropped a can of paint on the floor.

Now that I think of it you did look like you could spring into action or cover a shirt with drool
 
Put it all back together today, after the paint had dried. Paint has a 7 day cure time. Also sprayed the tuning plates, grates and inside smoker walls with PAM cooking spray to keep the bare metal from rusting. Going to start building the fire basket tomorrow.

IMG_4404.jpg


IMG_4405.jpg
 
Back
Top