What have I gotten myself into??

Awesome looking smoker. Can't wait to see it in action. Love the chain hinges (and the name).

Sent from my Samsung Galaxy S III using Tapatalk 2
 
Well, I dropped by the local harbor freight for some more parts today.

Picked up some wheels and casters, a 2" ball valve for an air intake on the firebox and a 3/4" ball valve for a grease clean-out.

CHI_0943.jpg


A side note, and something I didn't know before hand, is that the 2" ball valve is threaded exactly the same as the 2" hole in the drum!

CHI_0944.jpg


Tomorrow I'll pick up a piece of tubing for an axle, some 2" threaded pipe and my grill material.
 
Well, I took three steps forward and two steps back today! Started off with a trip to the hardware store to pick up the last couple things I need. Next, welder trouble. I spent an hour screwing around with it. It wasn't feeding wire after I changed the spool. Turns out that a piece of wire broke of inside of the torch and was holding things up!

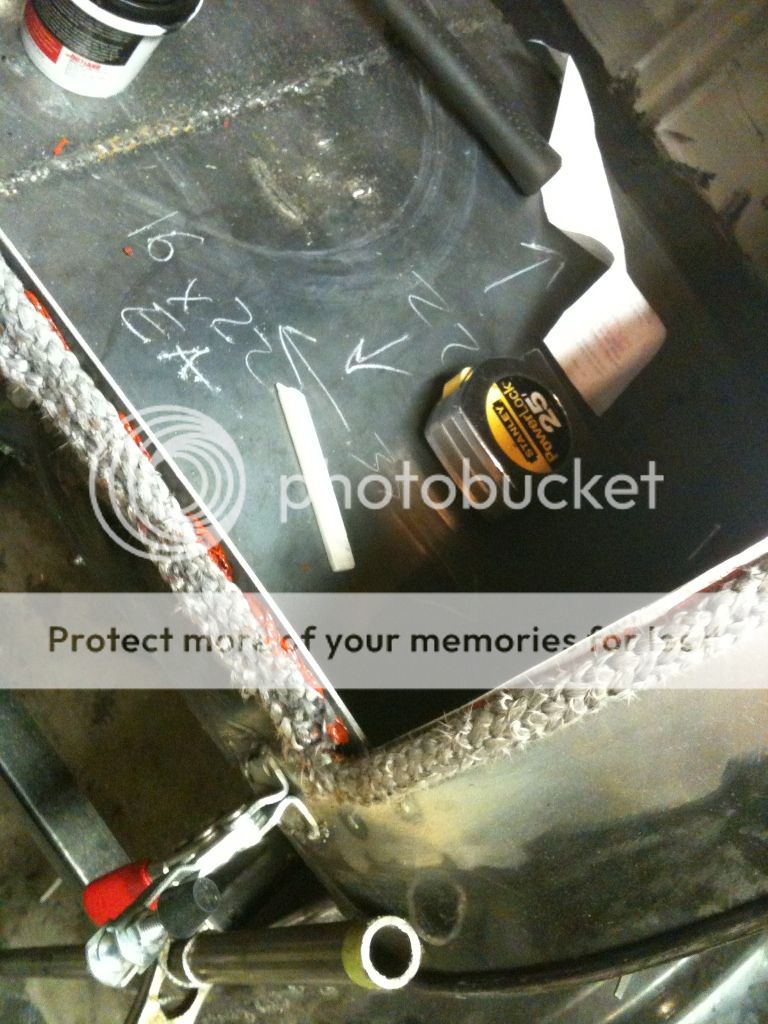
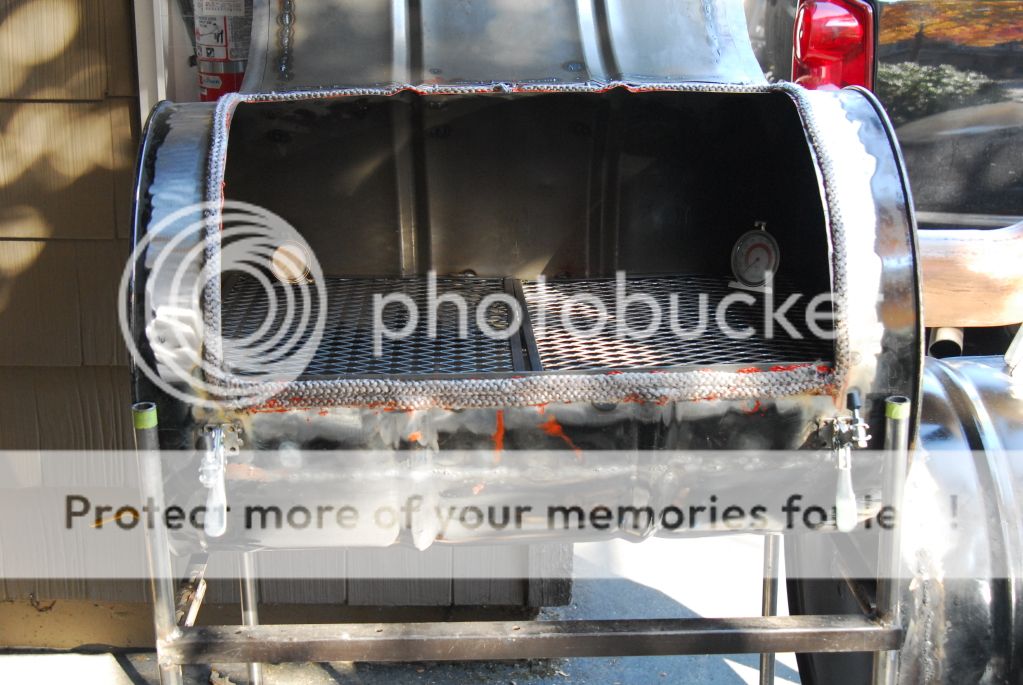
Once I got that figured out I finished up welding on the lid. I moved on to trying the straighten the warped metal on the bottom side of the door opening. This was rediculously frustrating and I never got it all the way straight, but its close enough to seal with a little furnace tape.

Furnace tape.... I'm not sure if the tube of cement I bought was bad, but it sure didn't seem like its working. I put a bead down ( I've never had to squeeze so hard just to get a little tiny bit out of a tube in my life!), lightly dampened the rope, laid it down and closes the door.

5DA5CD46-5910-496A-B4B0-508EC13E42C7-12061-00000791239DD75A.jpg


It seemed to harden up nicely, but hardly stuck to the rope. I guess I'll check it the the morning to see if its gotten any better.

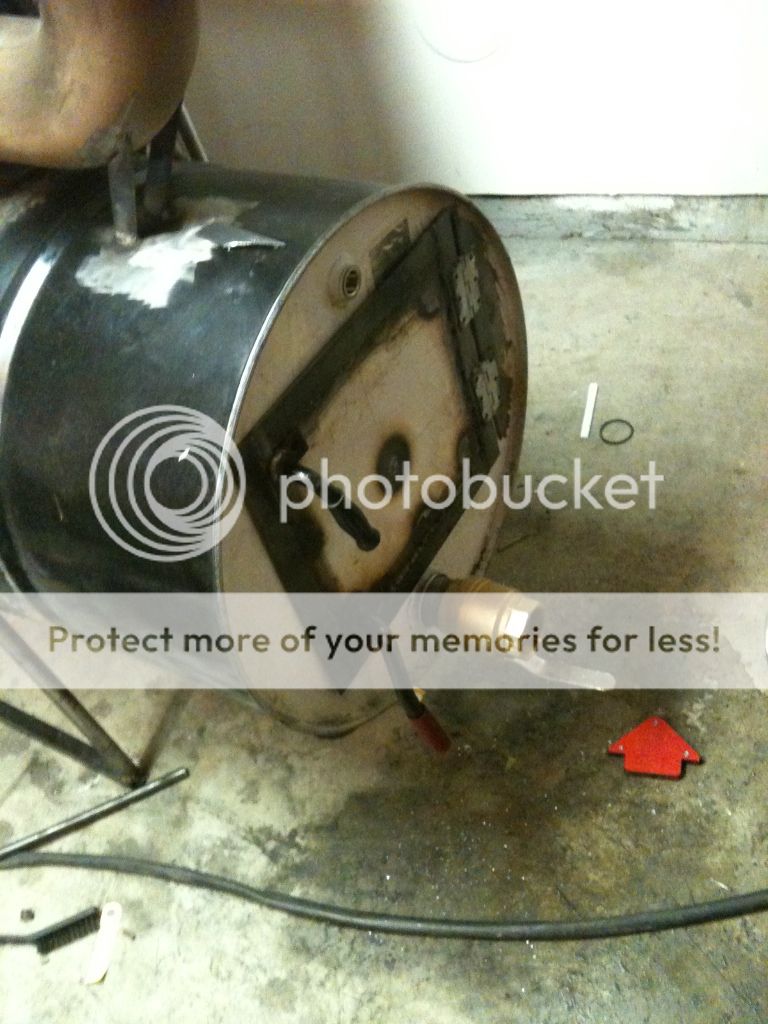
Next I decided to do something easy. I drilled a hole at the bottom of the end of the cook chamber and welded on some 1/2 inch threaded pipe to add my grease drain.

C608F45E-79C1-416B-B7D0-5FB5C3101A2F-12061-00000791167B3655.jpg


That was the only easy part of the day.

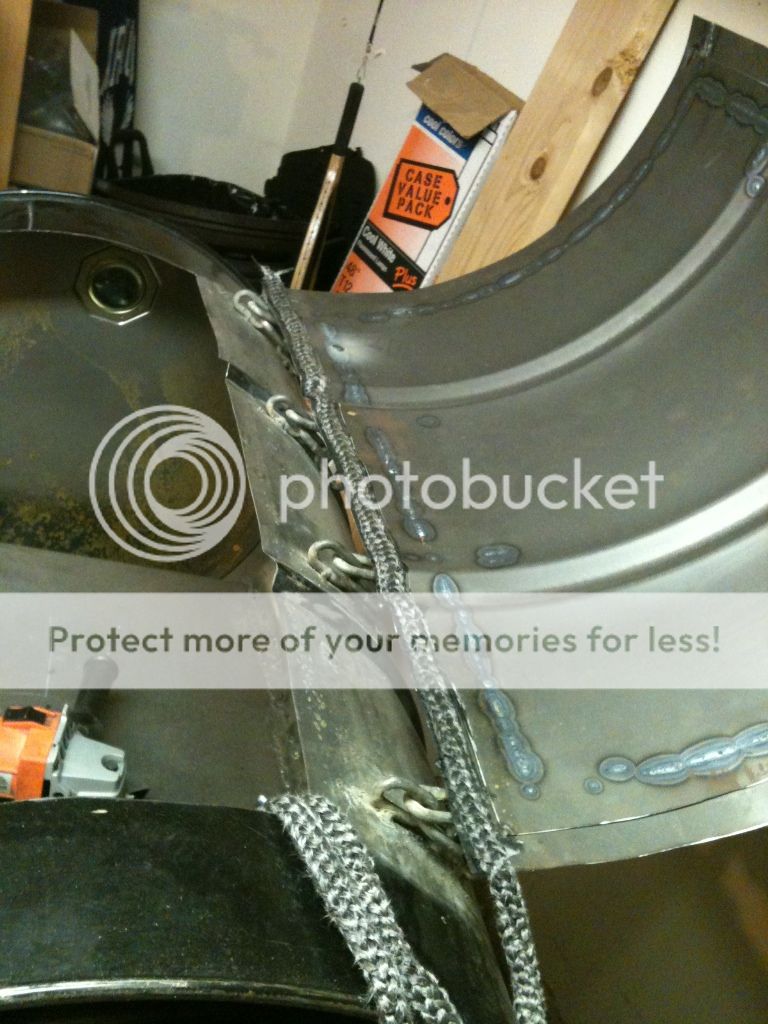
Next I started on the firebox door. I built a square frame out of 1/8x1 1/4 flat stock. Tacked it together, checked for square, then stuck it for good. Next I took the sheet I cut out, centered it up and tacked it in. Just 4 little 1/4 inch beads at the corners. I proceed to tac around, working on one side then moving to the other and so on. By the time I had a dozen tacs it was warped nearly an inch from flat. This is where it gets "fun".

I'll save the details, but I spent about 2 hours getting it straight and decided its time to add the hinge and put it on. Next I figured I'd weld it up tight, but I'll go slower as to not warp the door again....

Well, that didn't happen. It warped again. This time so badly that the lower corner stands two inches off of the side of the fire box when it's closed. Out comes the hammer! I beat on it for a while and got it pretty close, but it's going to need a little more love. That wil have to wait till tomorrow! I spent 8 hours on this thing today. Doing all you see in the pictures.

30B29F98-8E73-472A-9891-5CE7F5EBCD6F-12061-000007912D93C61A.jpg


Maybe I'll actually get to light it up next weekend.

Wow that took a long time to post with my iPhone!
 
Last edited:
You are having too much fun! Lucky you, and good job, bro!
 
Got fed up trying to straighten the firebox door.

I cut it off and put a piece of 1/8" plate in its place. It lays flush as is, but I'll add a bead or silicone sealant to make it air tight.

5268D83A-A951-4480-B579-B3618882CFB8-12738-00000901D4093268.jpg


The stove tape came off immediately. The cement stuck really well to the steel, but it only took a light pull the take the rope off. Back to the drawing board on that one. Maybe I'll use silicone sealant as glue.
 
Nice job. I use a moving blanket over cook chamber on my offset its folded like 3 layers. Works great. Even add tarp when it rains.
 
According to a local BGE distributor, BGE recommends 3M Super 77 spray contact adhesive to attach furnace tape (gasket) to seal the lid on their products. Tried it on my Oklahoma Joe offset, and it does a pretty good job; however, I think using hi-temp silicone sealer is a better choice. Good luck with your build. Looking forward to seeing the finished project.
 
She's air tight! After gluing the furnace rope down with some RTV I stopped by harbor freight and picked up a couple toggle clamps. Locks up tight as a drum.

506CE278-5035-436C-9F1C-FCAC9AD98AC4-743-000001BF0C02EC32.jpg


5ABC3237-A328-43B5-A6FF-4344B39F72B9-743-000001BEF6997E22.jpg


7625492F-C6FF-4215-BA42-7FB60345CDDF-743-000001BEEACEE989.jpg


I also put a bead of RTV on the fire box door. The only way air is getting in or out of this thing is through the valve or exhaust pipe!
 
A successful first burn! I filled the coal basket up about 2/3 of the way and hit it with the torch. I brought the internal temp up to 325 (took about an hour to get there) then closed the air intake to about 1/3 open. I checked it an hour later and it was at 235, where it stayed for the next two hours (I only checked every hour) before it started falling. By this time I was down to 1/3 of the fuel left in the fire box. The third time I checked it, an hour later, it was down to 200 but the coal was all but gone.

99970621-608A-4768-9FBA-3CD802449DE4-1011-0000027D682DFB47.jpg


CHI_0961.jpg


CHI_0963.jpg

Good news is that it seems to be air tight. The bad news is that it will be going through fuel fast.


While it was burning/seasoning I took the time to build the grills.

CHI_0959.jpg


Now its time to paint, but I'll probably cook in it a few times.
 
Back
Top