Tom9193--yes. Enlarge your holes then paint the bare metal. If you used a spray can, just use the same can send spray a small. Amount onto a paper plate and use s small paint brush to brush on the paint
 
Last edited:
Also check your ball valves

Some have very small openings.

I am having a heck of a time getting my UDS up to temp. :confused:

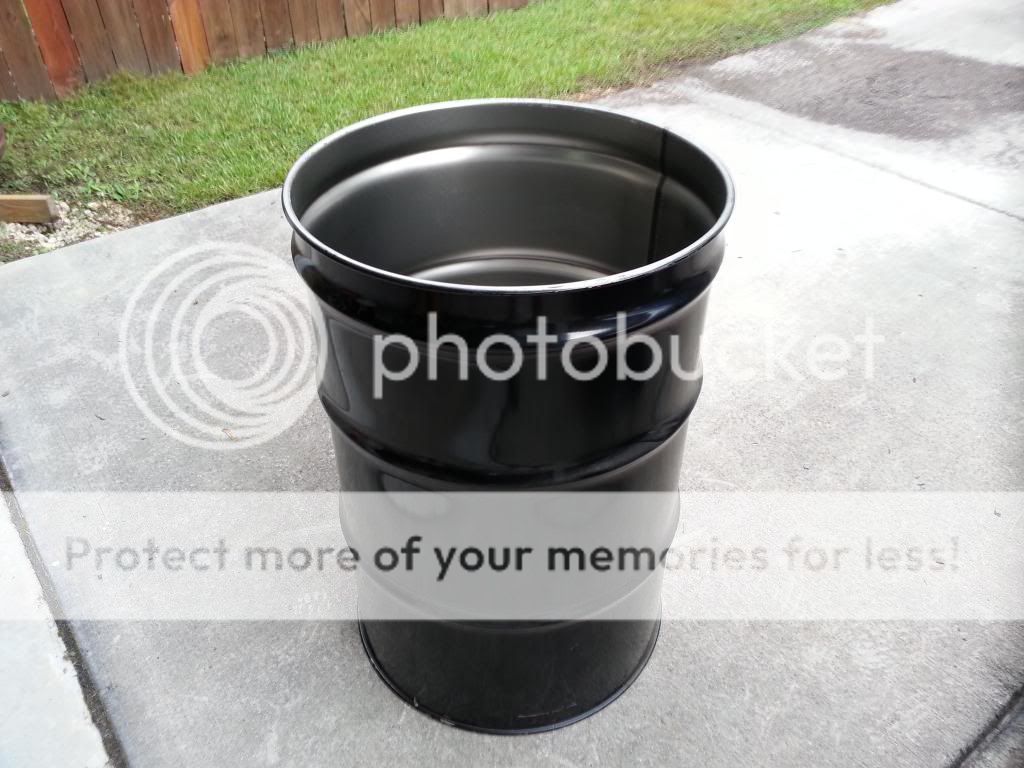
I have 3 3/4 inch intakes, one is just a straight nipple with a cap and the other 2 have an elbow with a 2 foot pipe and a ball valve.

The intake holes are drilled 3 inches from the bottom.

The lid has 4 3/4 exhaust ports.

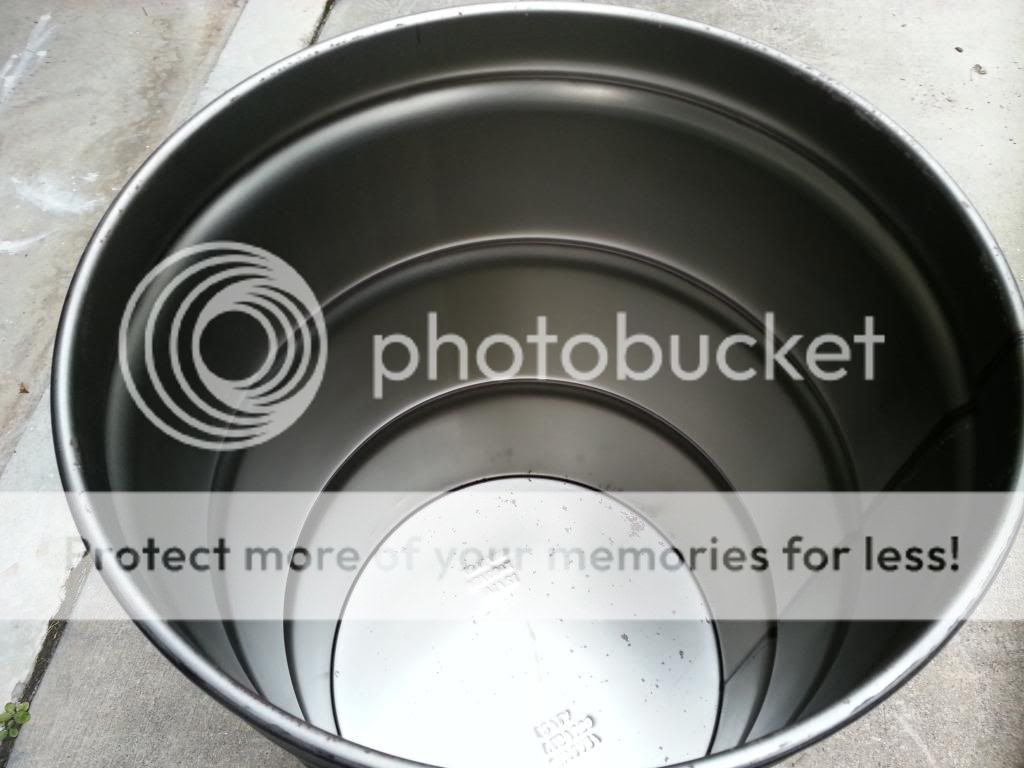
My charcoal basket is a Weber 18.5 charcoal grate as a base and 16 gauge expanded metal welded to it.

I added 4 inch tall legs to the bottom of the basket. I have attached a picture of both my barrel and charcoal basket.

I have tried methods such as lighting a few briquettes and adding to the top and letting them burn down.

Also today I light a whole chimney of coal and poured them on the bottom and add the unlit coals to these.

Both of the methods failed to get the temp up after waiting at least a half hour.

My best guess is to eliminate the legs on my basket? I'm baffled anything will help thanks.
 
Tom9193--yes. Enlarge your holes then paint the bare metal. If you used a spray can, justice the Sam can send spray a small. Amount onto a paper plate and use s small paint brush to brush on the paint


thanks
 
I also tried my original build with risers and found it didnt work well for me. I have since made different tweeks and I also bought a pitmaster iq and will never look back. Some may think it is cheating but I have very little problem controlling my temps. Just my 2 cents.
 
My First UDS

This build was only made possible by all of you... :clap:

Welding and mods all done... off to the sandblaster...
8LfKH8ol.jpg


Back from blasting and ready for assembly...
8O1VaSxl.jpg


Raised Basket for ease of lighting... maybe even some grillin' someday...
MEx0hLml.jpg


An inside look...
rAspbhzl.jpg


After a 3-hour seasoning run the night before...

Let's fire it up..!
6bBoKnHl.jpg


Hard to find good "chunk" around here... working on that... mixed mesquite chips throughout...
l1n4ycsl.jpg


It's alive..! :twisted:
0LpXHcJl.jpg


Ready for cookin'...
Ej25kh6l.jpg


Startin' Low & Slow with some Ribs...
nd8cYQxl.jpg


225-250F average = Great results...
usYAEMzl.jpg


A little Whiskey sauce to finish 'em off...
4rNhO3Tl.jpg


Money Shot...
OCnUroNl.jpg


Thanks everyone. :-D
 
I have read through most of the posts in this thread, thanks to all that have posted for sharing. Putting together a UDS finally and I am seeking some assistance. I sprung for a new, unlined drum in the hopes of avoiding the need to do a burn. From what you see in these pictures, do I need to do a burn or can I start building? The inside feels like bare metal.
20130916_161329.jpg
20130916_161341.jpg


Also, am I OK to paint over the existing paint with high temp? Just directly onto the existing paint?
20130916_161405.jpg


I know this has been mentioned before, but I want to get it right.

Thanks in advance and apologies for the noob Q's.

Mike


Drill your intake holes at bottom and burn that bad boy with some old pallets.

Pressure wash, wire wheel left over paint. Then re-paint with high temp paint.
I'd recommend high temp primer b4 paint.

Assemble, then Cook!!
 
Drill your intake holes at bottom and burn that bad boy with some old pallets.

Pressure wash, wire wheel left over paint. Then re-paint with high temp paint.
I'd recommend high temp primer b4 paint.

Assemble, then Cook!!

No need to burn out a new unlined drum. Spray and wipe the inside down, assemble.

Rough up the factory paint with a Scotch-brite pad, then spray with high heat Rustoleum 2000 degree black. Use as that as a primer, and then paint whatever non heat resistant color you want over that.
 
Nice looking build.......

Thanks.
I read this entire thread along with as many others I could find here.

Took everything in stages and took some time to look for answers here before moving forward again.

"Borrowed" a lot of great ideas from here and came-up with a couple of my own too...

Very happy with the results. :p
 
Thanks.
I read this entire thread along with as many others I could find here.

Took everything in stages and took some time to look for answers here before moving forward again.

"Borrowed" a lot of great ideas from here and came-up with a couple of my own too...

Very happy with the results. :p

Just curious what are those on top of your intakes?
 
Sorry for the dark photo's...

They are breathers designed for hydraulic tanks. [3/4" NPT]
fSt4shnl.jpg


I removed the actual filter media...
0nouupXl.jpg


Just left the stem and bell housing...
EEEjFWel.jpg


Since I'm in Canada, I wanted something on top that would block the rain and snow from entering the intake pipes without restricting air flow... weather conditions around here are not always ideal, so one must be prepared... :wink:
 
Believe it or not, it is easier to level your cooking rack with 3 bolts instead of 4. I used 3 U bolts.

I used three also.

I also put pegs on along the top of the fire basket that lock into the U bolts so that I could bring the fire right up under the cooking grate for direct heat cooking.

Makes a great chicken cooker.
 
What are your opinions on a single 4" exhaust? No adjustment, just a capped/uncapped sort of situation.

Actually, let me rephrase that. I took the vent out of the lid I have for this UDS (it was a 22.5" Charbroil dome). I made a hole out of it and put in a 4" 90* ducting because that is what fit. I can make some little adjustments to the opening inside the lid to shrink it down if necessary, but there are no plans to make it adjustable on the fly.

The intake is 3 3/4" pipe nipples with removable caps and 1 3/4" pipe nipple with a ball valve on it. Will the intake adjustment be enough to tame a 4" opening or do I need to plan on making the exhaust a little smaller?


For the record, the ducting is galvanized. I've read all I can on the subject and feel confident that it will be just fine after hitting it with the weed burner.
 
20130819_173334_zpsf3a211c2.jpg
[/IMG]thanks to this thread here is my attempt at my first drum
20130914_181304_zps07bb9665.jpg
[/IMG]all burned up
20130920_132509_zps8bd7590b.jpg
[/IMG]with diffuser
20130917_174737_zpsf9e71561.jpg
[/IMG]
20130916_173927_zpsc5f64314.jpg
[/IMG]
20130921_120313_zpsdd8ec557.jpg
[/IMG]all done getting seasoned and running temp tests
 
What are your opinions on a single 4" exhaust? No adjustment, just a capped/uncapped sort of situation.
I used a 4 inch hole for the exhaust that I do have adjustment for and 2) 1 1/2 pipe elbows for inlets that are also adjustable. I am able to reach and hold temps from under 200 to over 700 degrees ( the gauge does not read above 700 but the needle goes way past). So yes it does work, but for 350 degrees and lower you will need to control the exhaust. You have to be able to control the air flow at both ends with an opening that large for the exhaust. I do use that large opening to check on the stuff in the smoker without having to lift the lid.
wnkl.jpg
 
Last edited:
Back
Top