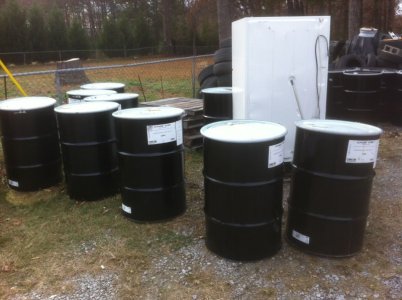
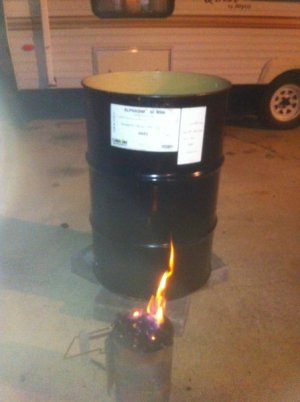
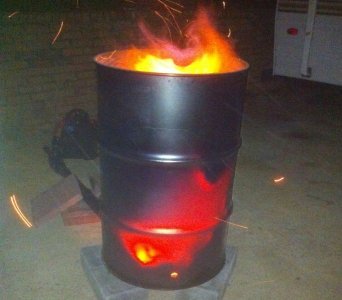
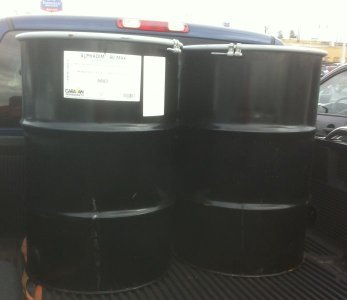
I have built 5 of these pits and on my latest build I drilled only one hole for intake ventilation, put a t-nipple in it and then attached the hose from an electronic temperature controller to it. Game over. No more fiddling with the ball valve, taking nipple covers on and off, etc. I know it costs a bit more but you don't have to drill as many holes nor do you buy the gate valves which can run up to $25. The electronic temp controllers can be bought for as little as $150 and in my opinion, they are worth it for when you want to put the meat on and go to bed.
")