UDS #2 this one is for my dad's place at the lake. Thanks everyone for all the tips.
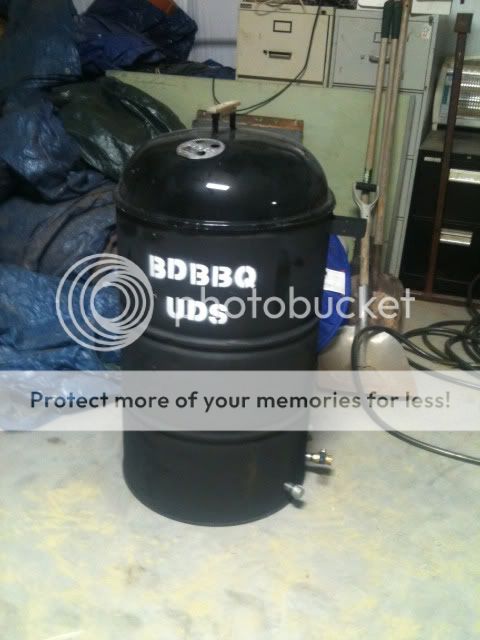
uds.jpg
 
How many people vote to rename this thread "Building the UDS for people in a hurry to cook"
 
I have really enjoyed your plans on the smoker you built. I am wondering is there a complete "how to " set with pictures for the completed project? For example where/how is the fuel placed? I know it is at the bottom but did you build a pan/box to hold it? I have only been smoking for a year or so and still have a lot to learn but I am learning that I need to build/buy something that has room for a larger quantity and maintains the temp better then the Brinkman Vertical that I have now.

Thank you very much for all of your work and being willing to share with us novices.

Jim
 
NorcoRedneck, This is a top knotch thread my man!

Very well done indeed!!! I'm in San Diego and if you ever come down this way, let me know and I'll buy a beer brother!!

Thanks allot for all of your work...
 
where do you find all the stuff

Great thread(over 3 years and people still posting) I have a question about where people find everything like the grates and lids. Are you able to score all these things free or do you have to buy all these? I see the cooking and charcoal grates are available at HD but could not see the lids. I guess it would not be a big deal to use the piece you cut off for a cover anyway.
 
Most people find a donor weber kettle on craigslist and use that for parts. If you can't find one (like me) your other options are to buy a cheap kettle grill from walmart or kmart, and use those for parts, or buy all the grates from HD, and you can buy a replacement weber lid directly from weber.
 
I have really enjoyed your plans on the smoker you built. I am wondering is there a complete "how to " set with pictures for the completed project? For example where/how is the fuel placed? I know it is at the bottom but did you build a pan/box to hold it? I have only been smoking for a year or so and still have a lot to learn but I am learning that I need to build/buy something that has room for a larger quantity and maintains the temp better then the Brinkman Vertical that I have now.

Thank you very much for all of your work and being willing to share with us novices.

Jim
DrumPit Basics.....Or.....How I use my UDS..
http://www.bbq-brethren.com/forum/showthread.php?t=109339
 
Great thread, Norco-Red,
With inspiration garnered from this thread and the "Mother of all UDS threads", on my day off I finally finished my first UDS on Monday and cooked a couple of sides of ribs to christen it. I haven't figured out how to post pron, sorry, you'll have to take me at my word.
An observation: I cut down the "3-2-1" cooking time to "2-1-1", and when I took the ribs out of the foil, one side literally fell apart when I was saucing it and putting it back onto the grill. Nice clean bones fell out all over the place, leaving large chunks of juicy rib meat splattered out all over the grill. I was using a digital thermometer and keeping the temp in the mid 220's. The ribs were on the lower shelf. From now on, unless the ribs are particularly tough and actually need time tightly wrapped in foil, I'm just going with a straight 3 to 3 1/2 hour cook time, with one flip about half way through. I'll gauge the tenderness with the pig-tail meat turner and eyeball the doneness.
I know that mileage will vary with different UDS set-ups, but it amazed me how quickly they cooked on my UDS.
On the top shelf my brother-in-law threw on a 3 pound chuckie that he had marinated in Italian dressing and then used some butt rub. I know that some have complained about getting dried-out chuck when cooked on an offset smoker, but after 2 hours and 25 minutes on Bugly (Butt Ugly DS), it was so juicy and perfect looking that we almost ate the whole thing right then and there. But, he did the right thing and waited for his wife to get home. :clap2:
All of this goes to say that we all just need to learn the ins and outs of our own individual cookers, and instead of being so wrapped-up in asking everyone "how long do I leave it on the cooker", etc. The questions are only good for the first cook, and even then, it's just a general idea, and then you modify from there on subsequent cooks.
I use my brother-in-law's philosophy: just cook the meat until it's done. For ribs, it's when the meat starts climbing up the bone; with chicken, it's when the meat starts climbing up the leg-bone; for beef it's whatever degree of doneness you prefer (I like beef rare, but that's just me).
And, above all, everyone should build at least one UDS. It will change your cooking style forever. I had planned to buy or build an off-set smoker first, and then do a UDA. WRONG! I did the UDS first and discovered I just saved a bunch of money and will never need an off-set or any other kind of smoker! The UDS does it all just fine.
PS: It also uses less charcoal and wood than those other cookers. :thumb:
Oh yeah, and remember to use the KISS method and don't get carried away. Simple is better!

Sly
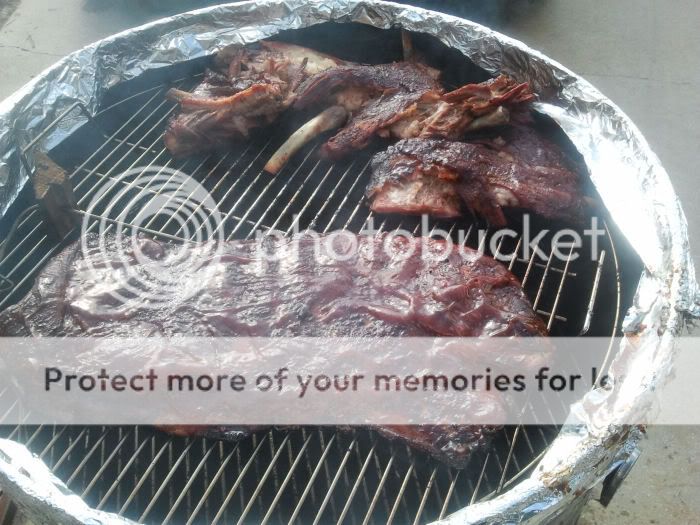
OK so I hope I've figured out the picture thing. The tin-foil around the lip of the drum helps seal the Weber lid.
FoiledRibs10-3-11.jpg

SmokedRibs10-3-11.jpg
 
Last edited:
Great tutorial and build. But i thought being a redneck was a prerequisite to building a uds??:heh:
 
Where did you get that ash pan?

Divide drum into 3 sections

IMG_3029.jpg


IMG_3030.jpg


Layout grill holes.
I chose 1 3/4"" and 8" from top. You should assess the drum you are using.

IMG_3031.jpg


Layout Intake holes.
I chose 2" from bottom.

IMG_3032.jpg


Layout Gauge hole.
I chose 9" (1" below lower rack)

IMG_3042.jpg


Centerpunch marks.

IMG_3034.jpg


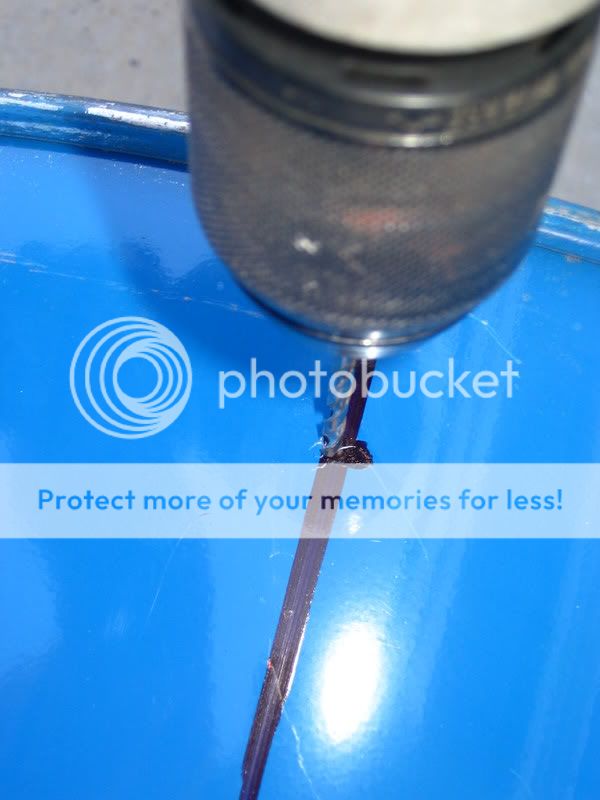
Drill pilot holes.

IMG_3035.jpg


IMG_3036.jpg


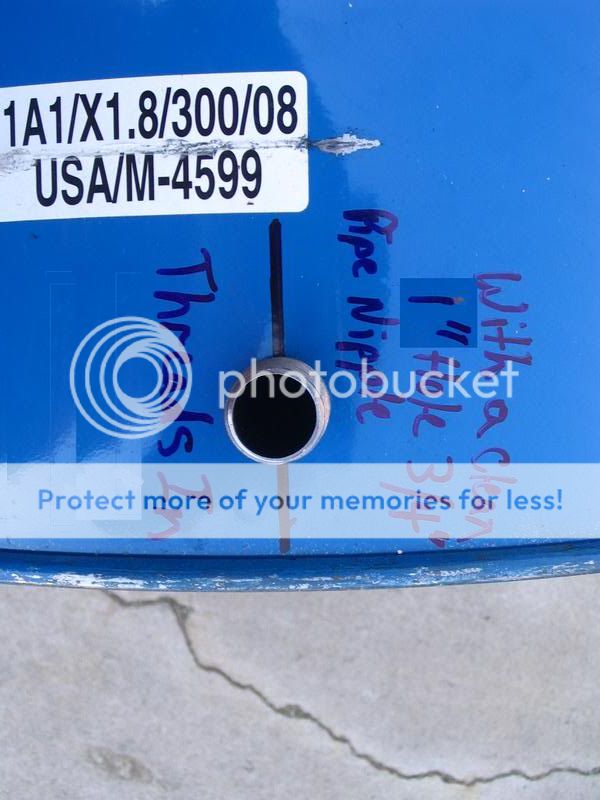
Drill holes for Intake nipples
I use 1" which lets you thread 3/4" nipple (clean round hole)

IMG_3039.jpg


IMG_3040.jpg


IMG_3041-1.jpg


Drill out holes for Grate supports
I am going to use 1/4" bolts. I use Unibit to get clean holes in thin metal.

IMG_3037.jpg


IMG_3038.jpg


Open up hole for gauge.
I use 3/4" hole which is a tight fit for a 1/2" pipe thread.

IMG_3043.jpg


IMG_3044.jpg


Thread in 3/4" close nipples
I use cap to protect threads and screw in as far as possible.
This link will show alternative to welding nipples.
http://www.bbq-brethren.com/forum/sh...2&postcount=40

IMG_3047.jpg


Weld in Nipples

IMG_3049.jpg


IMG_3048.jpg


Install 3/4" ball valve.

IMG_3050.jpg

__________________
Install grate supports.
I use this set up. I go hex head in. It seems to keep grate from slipping off when setting in. Also nice when you spin grate.
I use 1 3/4" for top and 2" for bottom.

IMG_3065.jpg


IMG_3064.jpg


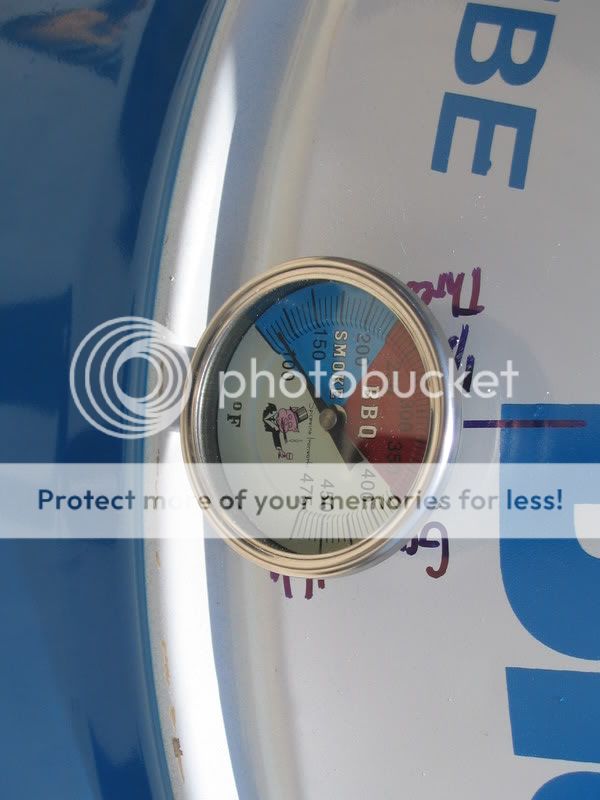
Install gauge.
Again use conduit nut that comes with gauge to lock in.
IMG_3066.jpg


IMG_3067.jpg


Add Handles (optional)
I got these at Home Depot in the Hardware isle by garage door section. Little tip pre-bend ears with pliers past radius of drum so they will bend and hug drum when tightened.

IMG_3071.jpg


Making Charcoal basket
This is the toughest part. I start with a replacement charcoal grate from a 18.5" weber kettle. I purchased at Home Depot

IMG_3089.jpg


This is a view of legs. I chose 1/2" bolts 3 1/2" long. I use 2 washers and 2 nuts to capture grate.
IMG_3095.jpg


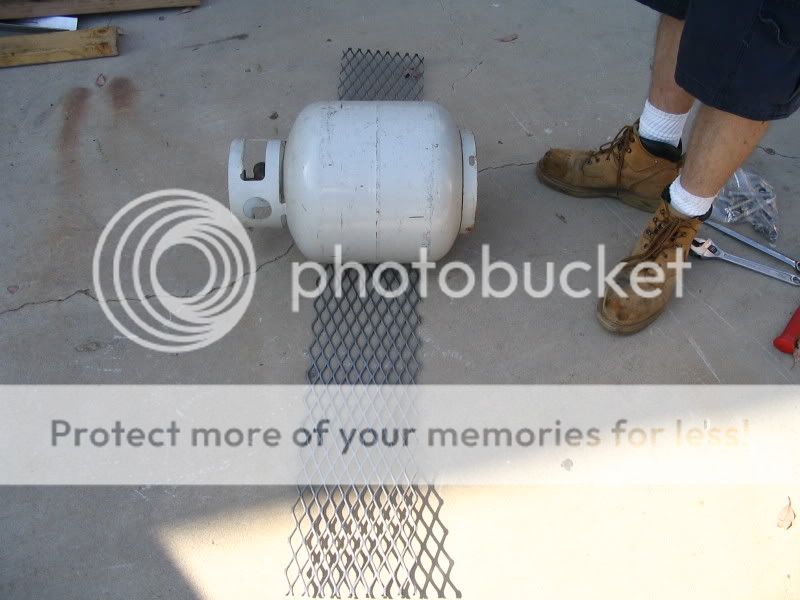
I use a piece of 3/4 #9 expanded metal 8" wide X 44" long.

IMG_3090.jpg


I pre bend it.
IMG_3091.jpg


IMG_3092.jpg


IMG_3093.jpg


IMG_3094.jpg


Attach it to weber grate. I welded but you can use wire and twist and bolt where overlaps.
IMG_3087.jpg


Here is it complete
IMG_3085.jpg


Reworking Lid
The last part would be to drill 8ea. 1/2" holes equally spaced in flat lid. I am using Weber Kettle lids so I am providing pic. of first UDS I built. Some lids have a 2" threaded bung opening that people have threaded pipe intoto make a smoke stack. Here is a link to examples.

IMG_1928.jpg


Now only thing missing is a couple of 22" Weber grills and you are ready to cook.

4276d.jpg

Where did you get that ash pan?
 
That ashpan is just a ten dollar table top grill that you can pick up at a lot of different places , ACE Hardware , Big Lots , and Dollar General come to mind.
 
Smoke, if I remember correctly, Norco's ash pan was the base of one of those cheep single use BBQs that come with the charcoal, a grill and some cheap clip-on legs. The kind you might find at the grocery store or a 99 cent store.
 
I see a lot of UDS posts and most of them have 4 holes drilled for ventilation but have 3 of them capped and one with a valve of some sort to control airflow. Why not just make one hole with a valve or do you take the caps off at first to help it get up to temps?
 
I see a lot of UDS posts and most of them have 4 holes drilled for ventilation but have 3 of them capped and one with a valve of some sort to control airflow. Why not just make one hole with a valve or do you take the caps off at first to help it get up to temps?

I have all intakes (2 capped intakes & 1 w/ball valve) open when starting up. If I want higher heat, I'll leave the cap off of one of them and I can still adjust with the ball valve. If I want a lot higher heat I'll have both caps off, and, obviously, both caps on for lower & slower.
 
Back
Top