dodgeramsst2003
Full Fledged Farker
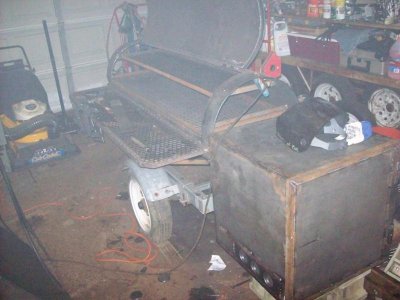
Thanks for the reply's everyone. I guess I need to address a few questions/concerns here. I'm not sure what picture you can actually see the leaf springs in well enough to make a call on it, but they aren't anywhere near sqashed flat, it must be the angle of the picture. The weight of what is on the trailer right now isn't even anywhere near the weight of the machine that came off it. I'll have it weighed when I'm finished and will change the springs/axle if need be. The axle is a 1250, or possibly a 1500lb ( only ones offered on a karavan trailer of this size)
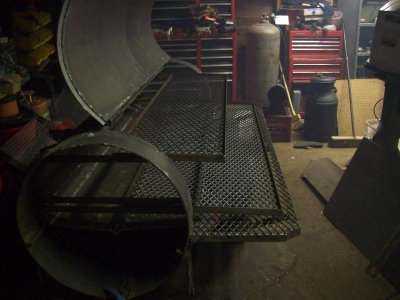
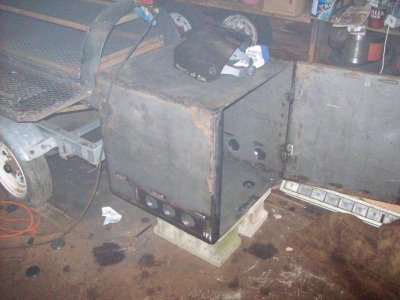
On the counter weight issue, I'm not sure yet, I'm considering it. I can lift the door, and it flips up to rest on a couple of stops that I welded on the other day. It would be nice though to be able to lift it effortlessly.
Should have the steel for the firebox in a week or so, just waiting for the mill to shear it to size for me. I'm going today to pickup some angle iron from a guy on craigslist. 100 ft of 1x1 for $40. Not a bad deal.