And it seems same questions keep coming up I am reposting some of my thoughts on UDS builds.
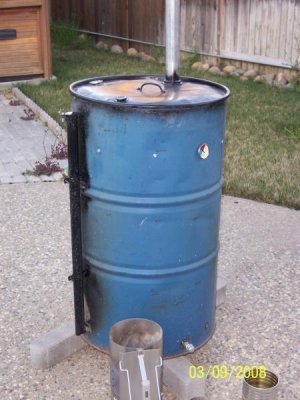
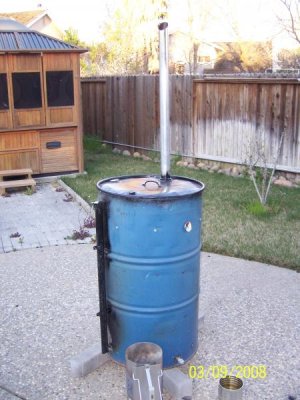
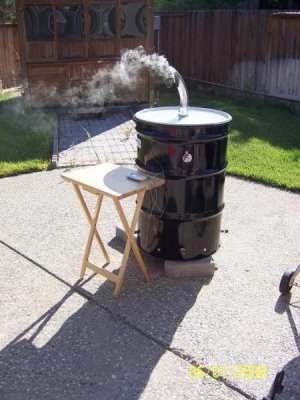
I have not made a drum with tall intakes. But I have tracked builds and first time uses. I noticed 2 things. People that use 1/2 nipples seem to have problems getting to higher temps and take longer to getup, or they compensate with starting a larger fire and make it through. The only long intake drums i have seen work from the get go are ones that use 1" pipe and magnets. I think N8's is like that. Others have used 3/4" and only 2/3 up cans that seem to get control, better with only 1 elbow. People that have intakes near or above top of can seem to have total caos. I have seen people make bigger exhaust and get better temps but I would bet they don't have control. You have to remember all this UDS stuff is modeled after a basic BDS. Ask Thirdeye how easy it is to control and change temps from first burn. Some might disagree but on this forum. I first spotted Mista's drum and one a member started making known as EDS (Eds Drum Smoker). Mistas worked for him but access door leaked and intakes were crude torch cut holes. The EDS used holes with welded in nuts and bolts to plug holes. He also had a door and had sealing issues. I made mine and put a valve on it for control I got the idea from reading about how Stumps smokers controlled temps by controlling air intake and limiting fire. I will tell you from my first burn on the only issues I have had was when i did a trash man slam with my drum and made it slightly out of round. I use the band clamp to seal lid now. The other issue I had was getting temps up and i attributed that to my charcoal drawing moisture. I went to a new bag and problem solved.
Not to say you can't learn to control what you have built but look at the simple builds and notice they are happy from the get go. Look at Swampb who uses conduit plugs much like BDS and he has made several and even passed them on and all are cooking fiends now. Look at NotleyQ and he is cranking out awesome grub time and time again. Look at the ones Smookin has built. Ask Fatdaddy about his drum. I think he was about to back over it with his truck and if i remember right he went twords the basics and learned to use what he made.
All this is just my opinion from following the threads.
It is fun to out cool the next guy but some things work and some don't. I just advise if you are limited on resources and want a cooker that the masses here can advise on, go simple basic build. It will make it through and produce great grub. And while it is chugging away you can work on the mother of all drums and come back and toss my opinions out the door.
Found EDS Ahh Modlemaker
http://www.bbq-brethren.com/forum/sh...ds+drum+smoker
Neils first
http://www.bbq-brethren.com/forum/sh...=barrel+smoker
http://www.bbq-brethren.com/forum/sh...highlight=drum