bob80001
Knows what a fatty is.
This weekend I finally put all the parts together and made my frankenweber/little black egg/weber pizza oven. The build was surprisingly easy, except for my kids yelling that I was making too much noise with the power tools.
Here is the donor kettle. It was in sorry shape and ready for some new life. I found it on the side of the road for free.

Drawing my lines to cut out the bottom. This is the second jig I created to make the circle - you can see the first one didn't work out so well... It was a piece of yarn, and stretched and was not controllable. I never claimed to be much of a builder or handyman, but I get by.

Ugliness removed from the kettle, ready to move on to the lid.
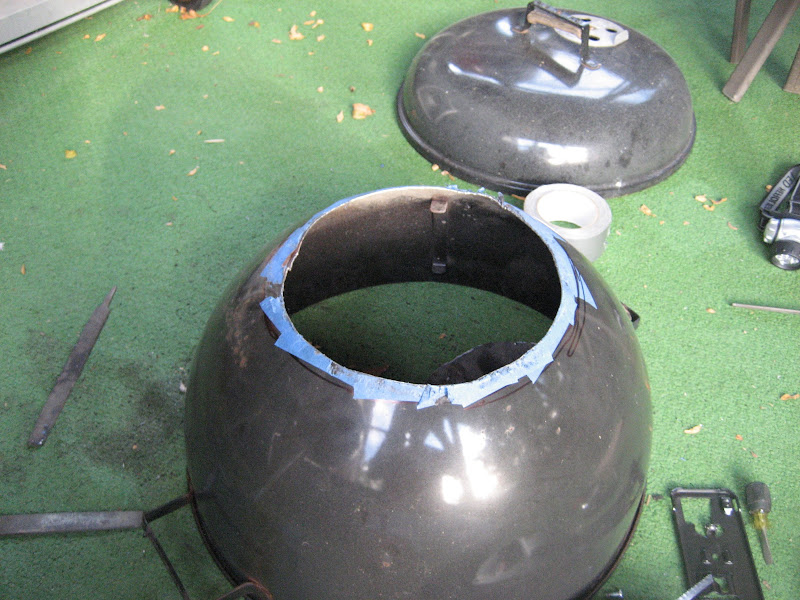
Lid taped up and ready for cutting.

The opening is a little rough. I will clean it up, but I had pizza to cook so no time for that on this day...

One part you don't see in the pic above is the installation of the 16" pizza pan inside the lid. I didn't have my camera available at that stage, so everyone can use their imagination. If someone wants to see it, I can upload some later. Below is the burner I used. It's the Bayou Classic SP 10 that I have seen a lot of others use.

Kettle bottom set in there with bottom grate. Four firebricks set on the bottom grate for the heat shield.

Top grate and pizza stone in place.

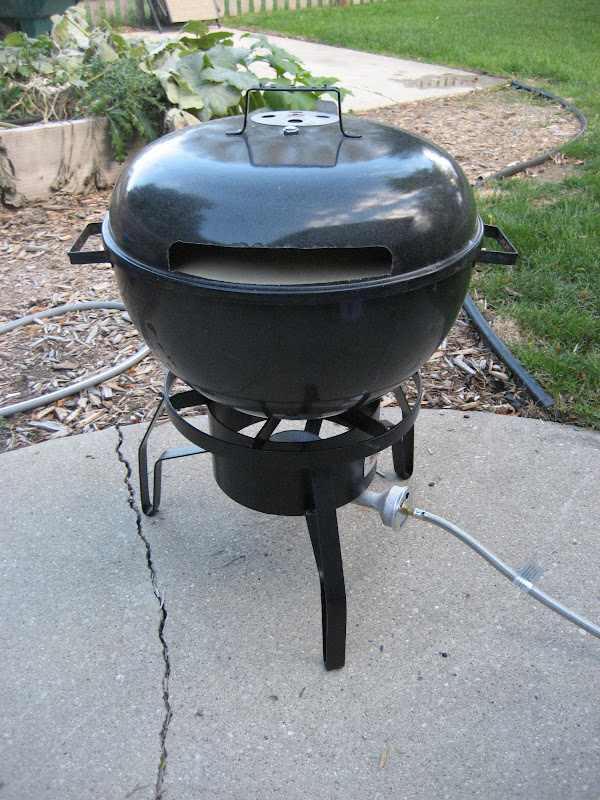
Lid on and pre-heating...
Getting close to temp... My thermometer only went to 699º or something like that. If it got above 700º it just said "HI" so I don't know what temp I ended up at...somewhere in the 750º-850º range I guess. I may need to get a new thermometer.

Finally cookin'

Up close and personal...

Some final product...

This one was mangled by a giant bubble during cooking...

One last pie...
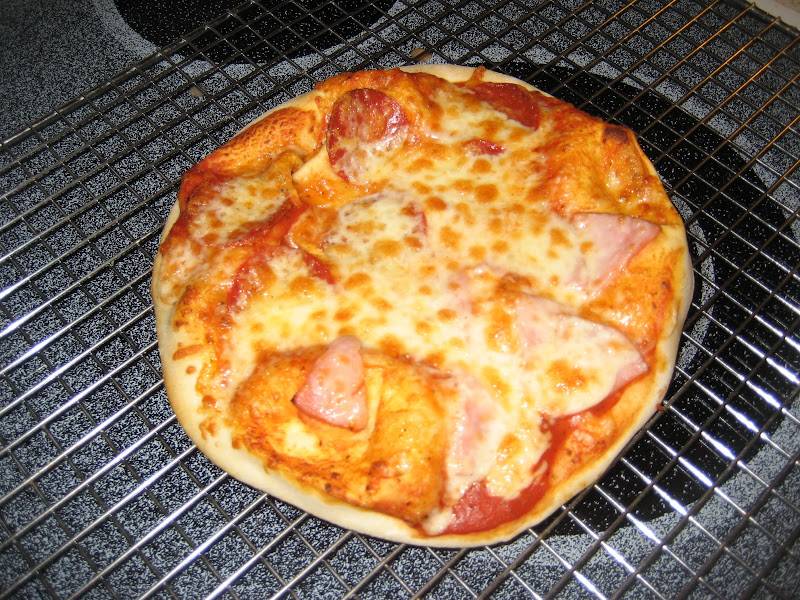
A couple of thoughts and observations about the build/first cook: My toppings were not done enough when the crust was done. I actually burned the first pizza that I made while trying to get the top cooked. As you can see from the first two food pics, the cheese isn't quite done. I like mine with a little brown. The 3rd pic shows it after I put it under the broiler in the oven. Not the way I really wanted to finish off the pies, but it worked, and they tasted great. I don't know if the temp was too high (I wasn't sure that would really be possible) or if I need to foil the lid. It seems that there is not enough heat swirling above. Maybe the stone is too large and not enough heat is getting around it. I'm not quite sure where I am going to go from here to remedy the issue. If anyone has suggestions, please let me know.
And I've got to hand it to my wife for the dough she made. It was perfect! (She seemed a little irritated while kneading it by hand for 15 minutes before letting it rise.) Just wait 'till I ask her to triple or quad the recipe so I can do a little more testing.
Here is the donor kettle. It was in sorry shape and ready for some new life. I found it on the side of the road for free.
Drawing my lines to cut out the bottom. This is the second jig I created to make the circle - you can see the first one didn't work out so well... It was a piece of yarn, and stretched and was not controllable. I never claimed to be much of a builder or handyman, but I get by.
Ugliness removed from the kettle, ready to move on to the lid.
Lid taped up and ready for cutting.
The opening is a little rough. I will clean it up, but I had pizza to cook so no time for that on this day...
One part you don't see in the pic above is the installation of the 16" pizza pan inside the lid. I didn't have my camera available at that stage, so everyone can use their imagination. If someone wants to see it, I can upload some later. Below is the burner I used. It's the Bayou Classic SP 10 that I have seen a lot of others use.
Kettle bottom set in there with bottom grate. Four firebricks set on the bottom grate for the heat shield.
Top grate and pizza stone in place.
Lid on and pre-heating...
Getting close to temp... My thermometer only went to 699º or something like that. If it got above 700º it just said "HI" so I don't know what temp I ended up at...somewhere in the 750º-850º range I guess. I may need to get a new thermometer.
Finally cookin'
Up close and personal...
Some final product...
This one was mangled by a giant bubble during cooking...
One last pie...
A couple of thoughts and observations about the build/first cook: My toppings were not done enough when the crust was done. I actually burned the first pizza that I made while trying to get the top cooked. As you can see from the first two food pics, the cheese isn't quite done. I like mine with a little brown. The 3rd pic shows it after I put it under the broiler in the oven. Not the way I really wanted to finish off the pies, but it worked, and they tasted great. I don't know if the temp was too high (I wasn't sure that would really be possible) or if I need to foil the lid. It seems that there is not enough heat swirling above. Maybe the stone is too large and not enough heat is getting around it. I'm not quite sure where I am going to go from here to remedy the issue. If anyone has suggestions, please let me know.
And I've got to hand it to my wife for the dough she made. It was perfect! (She seemed a little irritated while kneading it by hand for 15 minutes before letting it rise.) Just wait 'till I ask her to triple or quad the recipe so I can do a little more testing.
