SmittyJonz
somebody shut me the fark up.
:thumb: Looking Good.
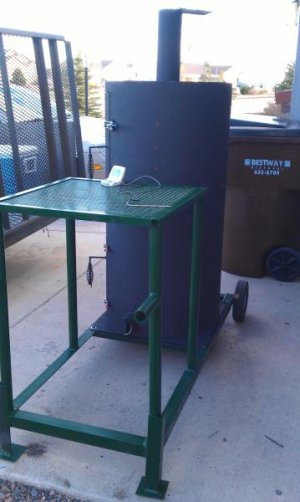
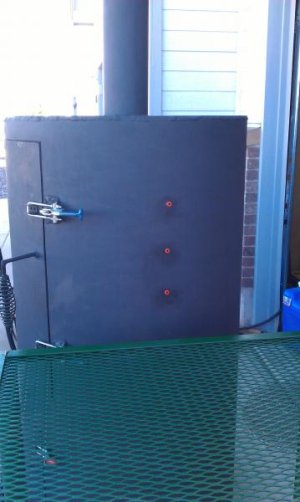
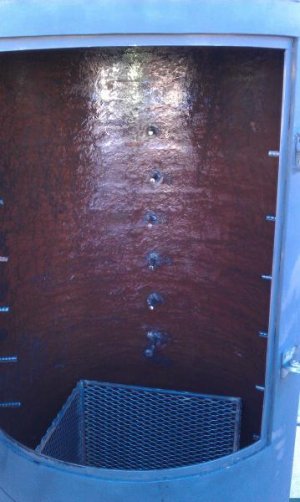
Need a little help in figuring out draft holes in the bottom. Since I am build a vertical I haven't quite figured out what dimensions to put in the field in Feldon's BBQ Pit Builder to get a good answer. using the following dimensions:
Fire crate will be 5" above the bottom
cylinder cook chamber 24" dia x 24 long
fire box dim round 24" X 18" long
fire box intake round 2" holes
it states 7.78 holes which would be 4 holes per side.
With the proper spacing the holes seem like they will be, basically all the way around the bottom of the smoker.
I was looking at putting in 3 x 2" holes on opposite sides at grate level with a sliding dampener. Will that be sufficient enough??
Thanks Dino
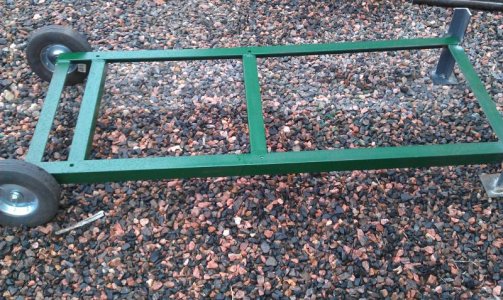
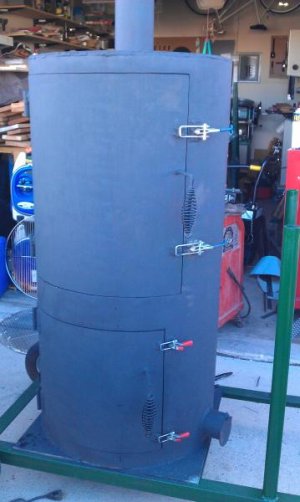
I got a line on an 80 gallon compressor tank- I made an offer and he counter offered - if he gets serious I may go get it this weekend and build my own version :biggrin1:
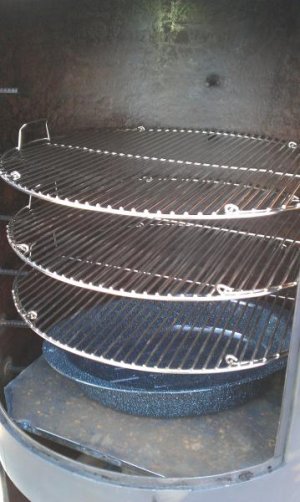
I LIKE IT!! :thumb: Good thing you found this forum before you followed the bad advice from that other forum! :twitch: Have you made your Grates Yet? What kind? What kind of Difusser. I'm gonna make me one After the Holidays!! I'll probally use a 60-80 Air Compressor tank.:mrgreen: