UDS build in process
I'm not sure how many pages I have read on this thread, but they were all inspiring. So far I have one complete barrel that I've smoked ribs, brisket, sirloin roast, whole chicken and one of my favorites... bacon wrapped fingerling potatoes. I almost forgot, I made a couple of fatties as well. I think I have some pics somewhere and I'll try and add to the post.
Here's some pics and comments for my build.
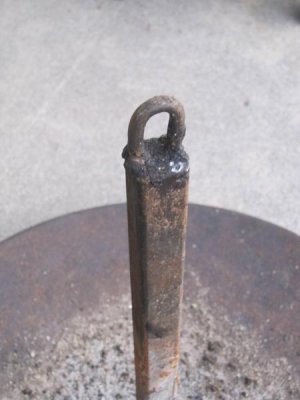
View attachment 51165
This is a pic of the 1' square tubing that I welded to the disc. I welded a chain link to the top so that I can lift the whole basket/disc out of the barrel without spilling any ash.
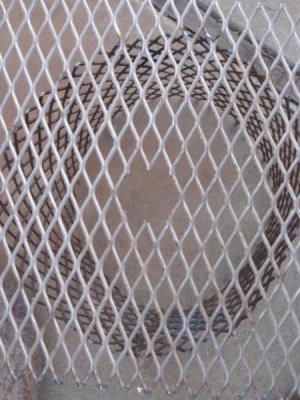
View attachment 51166
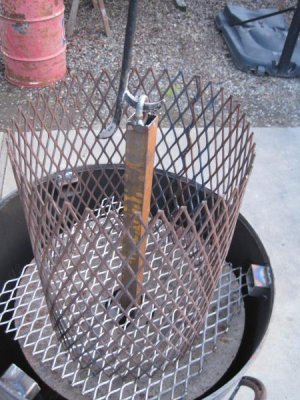
This shows the basket that I welded together from flat-rolled expanded metal. I've made 5 baskets so far, the first two I wrestled into a circle using a come-along and allthread to pull the ends together. That was a pain! The other 3 were bent using the rosebud from the actylene torch to heat and bend the metal, that was pretty quick, but they aren't perfectly round or even close, but they work. Then I welded the raised-expanded metal (base) to the basket and cut a hole in the center of the base piece for the 1" square tubing to slide through.
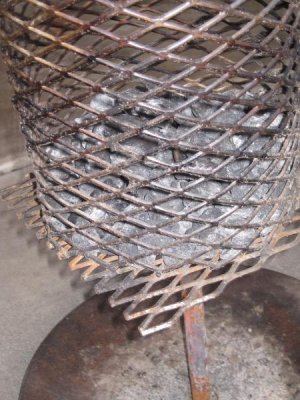
View attachment 51167
This shows a basket with a burned load of briquets that I have dumped the ash from and am now dropping it down over the shaft on to the disc. (The discs were freebies, complements of a local dairyman; they ranged in diameter from 18-20".)
View attachment 51168
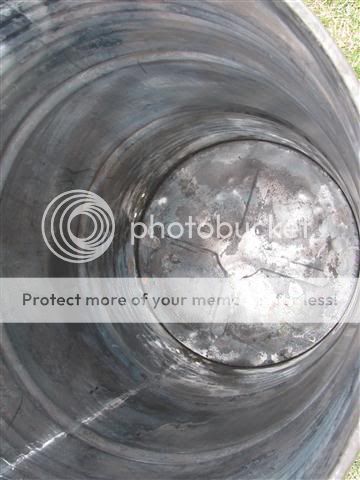
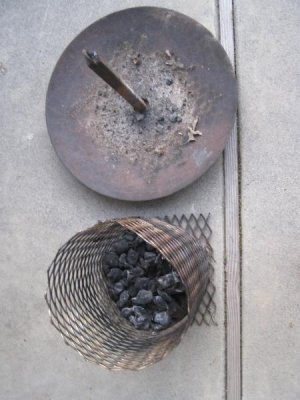
This pic shows the bottom of a disc, I welded three pieces of the square tubing to the bottom for feet. The disc acts as a heat shield, it catches all of the ash and fat drippings and it makes for a quick removal of the briquets and/or ashes. The bottom of the barrel stays pretty clean on the inside.
View attachment 51169
The baskets varied in diameter from 12-13" and in height from 12-14". I cut the shafts several inches longer than the baskets so that the chain link welded to the top of shaft was above the rim of the basket when it is set down on the disc.
View attachment 51170
I use fireplace poker to lift the disc/basket in and out of the barrel. I left the bottom of the basket square so that there is room for the ashes to drop. I didn't put any feet on the bottom of the basket to hold it up off of the disc.
View attachment 51171
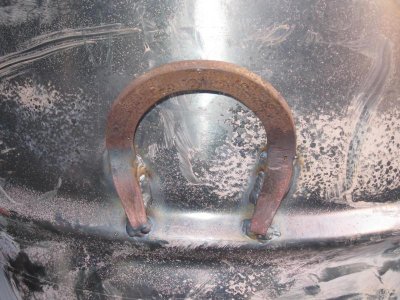
I scored some free horseshoes from a cousin and welded one on each side for handles. I used the rosebud to heat them and hammered them to get the angle I wanted.
View attachment 51172
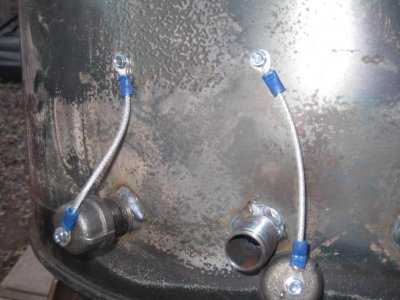
Air vents - I used 6- 1/2"x close blk nipples for air vents. I drilled a hole and then expanded the hole with a jigsaw to the right diameter for the nipples, then welded them in place. I bought a couple feet of 1/16" coated cable ($0.29/foot) and crimped some electrical fittings to each end of the cables, then pre-drilled the cap and attached the caps to barrel as shown.
View attachment 51173
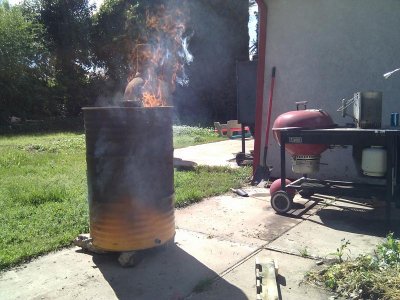
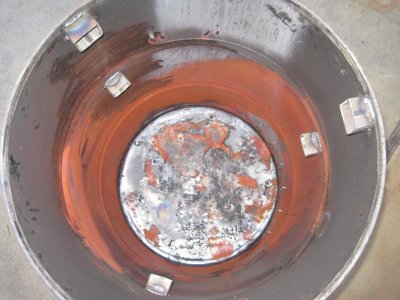
Inside of barrel with 3 rectangular tubing blocks welded at two different heights in the barrel. I can use two grates, if I want. I am going to give it a second burn as there is still some residue from the barrel coatings. (barrels were freebies from a fruit wax service company, the content was oleic acid, which I believe is an animal fat used in the fruit wax)
View attachment 51175
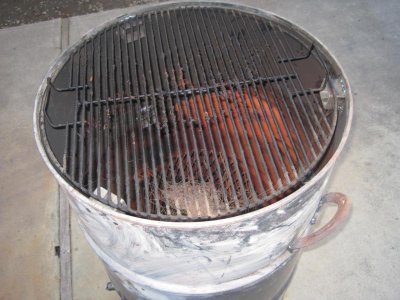
22.5" weber grill fits on the top rack.
View attachment 51176
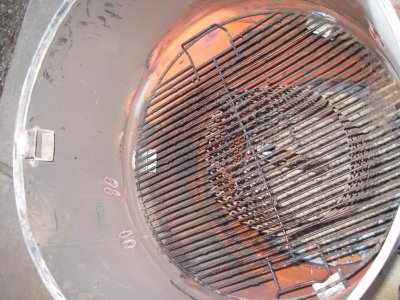
Inside look with the grate on the bottom rack with the basket and disc below.
View attachment 51174
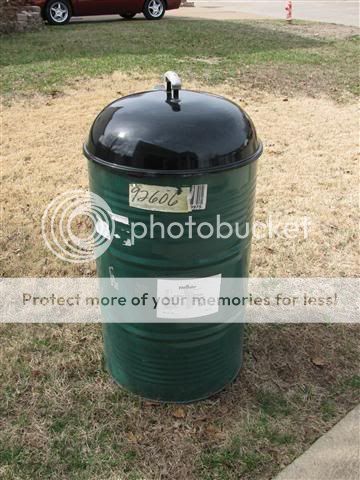
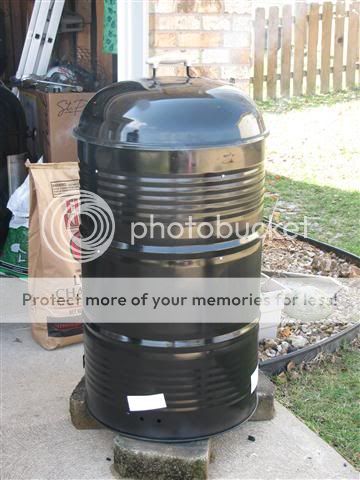
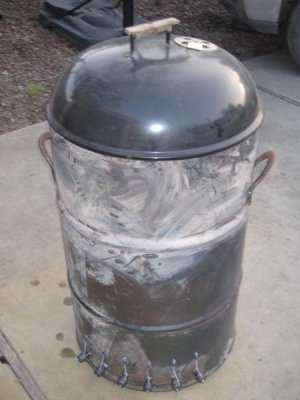
Mostly completed barrel, just needs some paint, a thermometer, maybe a cutting board, possibly some wheels, a beer bottle holder, a stereo, etc...
Costs for material is as follows:
Discs - $0
Barrel - $0
Weber lid and grate - $0
Basket - $22-24
Air vents - $4 ea
A MIG welder, actylene torch, jigsaw were the primary tools that I used.
So far, the one barrel that I've smoked in holds the heat at 225-250F with 4 of the airvents open. I don't know how hot it will get with the six vents, I still need to test that. I burned a full basket of briquets over night (about 14 hours), just to see how long it would burn.


 Along with why you have 6 nipples on the same side of the drum.