As promised earlier, here's an overview of my Ugly Drum Smoker build. I hope the cut/paste from my blog comes out OK.
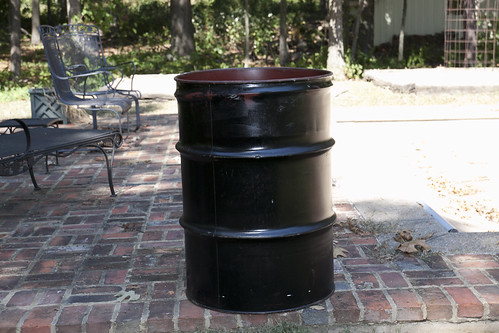
This is one of my two drums. They were both similar. I purchased reconditioned, food grade, open headed drums. You can see the dreaded red liner on the inside. This stuff is tough, and needs to be burnt/scraped/burnt out. Try to avoid it if you can!
One thing that irked me about this drum - check out how uneven the top rib is. Is that normal?

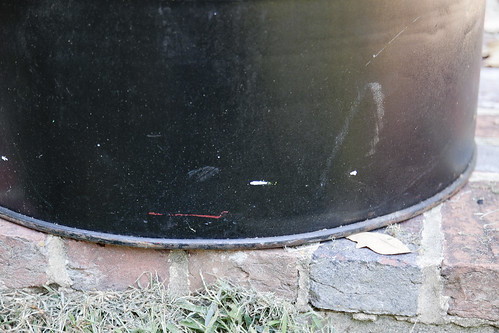
Here's a close-up of the tough liner.
Used a Metal Writing Pen to mark up where to drill my holes. In this instance, it's a 1" hole measured 2" from the bottom of the drum.

Using the Harbor Freight Weed Burner to take off the outside paint. The Turbo mode makes quick work of the outside paint. It's not tough enough to get all of the red liner, though. You can really see how uneven the top rib is with this pic.
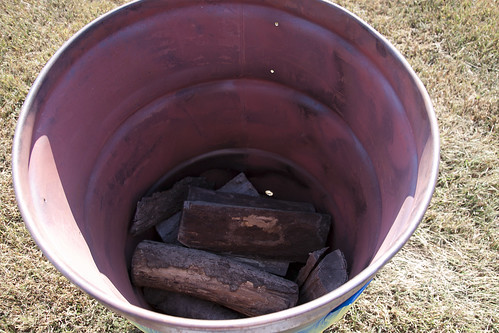
Here I am loading up the barrel for a big burn. This was mostly old pine, since that's what my friend wanted to get out of his yard. While this looks like a lot of wood, you're going to want a lot more than this to burn out the red liner. You can see how the liner is somewhat powdery - the weed burner was able to do some damage to the liner and if I did a wash/scrape before the fire it would look a little cleaner.
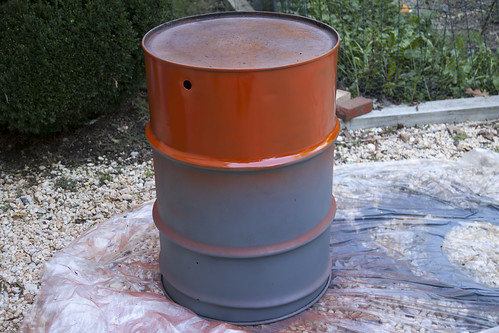
After all of the burning, pressure washing, and wire brush, it's time to paint. First, I hit the drum with high temp primer. On this drum, I am doing the bottom in Orange.
For anybody who wants to know, it's about 1.5 cans of spray paint per drum.

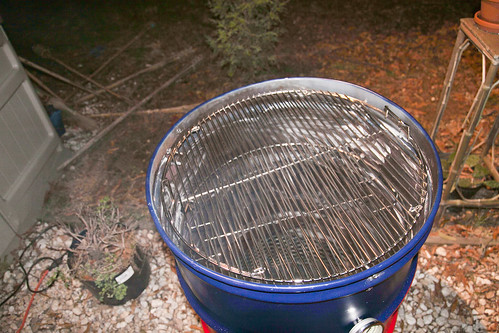
Here I am fitting the old Weber kettle lid to the drum. The
rubber mallet mod has you flatten out the lid on a hard surface like concrete, and then re-form it to the drum. This drum has a thick lip, so I've been partially successful with this. I may end up grinding down the lip or using a ring from the old kettle when I feel like re-modding the smokers.

On my last scheduled build day, it started to rain on me while I was painting. So this guy is half painted so far. I also plan to double back and add more conduit nuts to better keep the nipple pipe together. Right now they are not air tight. When I re-do the pipes, I'll finish up the painting, too.
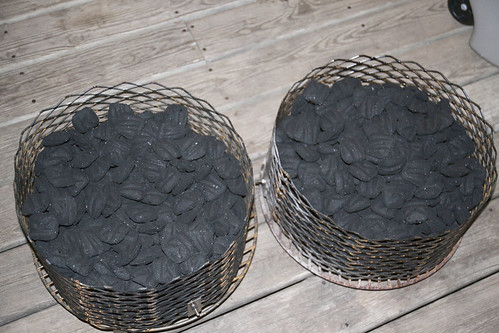
Here are the two charcoal baskets. The Expanded Metal was done shaped and welded by a friend. It's 16" in diameter, and then I used stainless steel fasteners to attach them to the 16.5" Charcoal grates from two Weber OTS kettles. One basket uses bolts to raise the basket 2" off the ground. The other uses fasteners.
FYI - This design will hold 20lbs of Kingsford no problem. These have about 17-18lbs in them.
Here's my tri-color UDS ready for it's maiden voyage. I larded it down really good with cheap, generic vegetable shortening. It will never be so nice and shiny ever again! lol

This thermometer was left outside when it rained on me. You can see that it's all fogged up. I guess that I need to take this guy apart to get the moisture out of there.
FYI - I went with 3" dials, and think they look really good on the Ugly Drum Smoker.
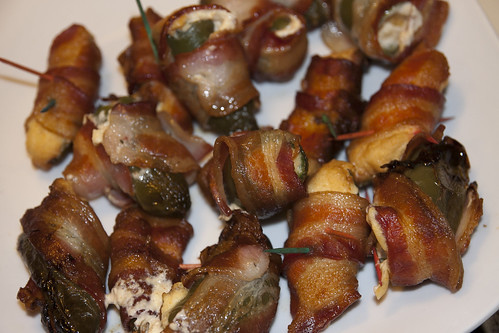
Wifey suggested that I not let an active smoker go to waste, so we had some Atomic Buffalo Turds. This was the first time that we ever made them. DW prefers to chop off the top, stuff and wrap them, and then line them up on a flat skewer to keep them from losing the cream cheese.

I also threw on a piece of Top Round (London Broil). This isn't a traditional BBQ cut, but it still came out pretty darn good. The moisture from the meat combined with the rub to make a sweet sauce, and the drier meat had more concentrated flavor. Overall, not bad!