ebijack
Babbling Farker
ThanksCan you give more info on your elbow vents? What size and material list did you use? Looks great.
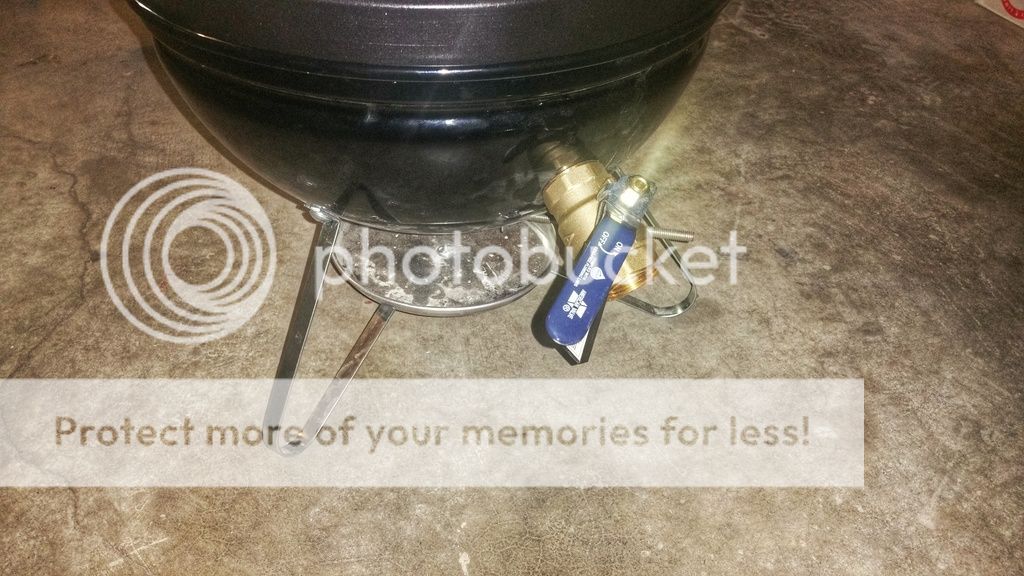
(3) 3/4" black pipe elbows. I can get any temp I want. If I add extra air by opening the bottom vent with the 3 elbows, it really takes off. The lid vent is the restriction and you'd have to put angle sheet metal or rebar across the top to hold the lid up( like someone around here :clap
") . You should be able to easily do small pizza's. I drilled the elbow holes where the coal grate meets the Weber bottom so I have air below and just above the grate so ash can not choke it out. Also on long smokes (6hrs) the elbows partially fill with ash but do not close off. I only need one elbow for most cooks, but during long cooks, if the coals are only burning on one side I can switch which elbow I want as an intake and direct the heat doing that and the lid. The elbows also stop direct wind blowing in and messing with the temp. Same thing I do on my UDS's only larger elbows.
. You should be able to easily do small pizza's. I drilled the elbow holes where the coal grate meets the Weber bottom so I have air below and just above the grate so ash can not choke it out. Also on long smokes (6hrs) the elbows partially fill with ash but do not close off. I only need one elbow for most cooks, but during long cooks, if the coals are only burning on one side I can switch which elbow I want as an intake and direct the heat doing that and the lid. The elbows also stop direct wind blowing in and messing with the temp. Same thing I do on my UDS's only larger elbows.I have a personal concern of hot ash/coals escaping so I eliminated that from happening. I burned the heck out of my foot once standing next to another Weber I had, never saw the hot coal that escaped and it burned into my heel. Lesson learned.
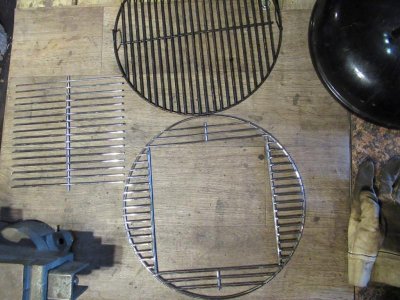
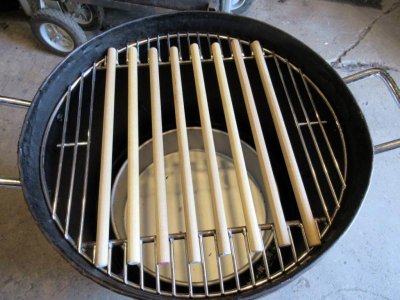
This is a photo from my first mini showing the grate/intakes. I was just a bit more careful with location this time as the first one was an experiment.

Last edited: