R
RazBarlow
Guest
Actually mine is an "invert" so I can get it from both ends . That didn't sound too good did it ?
Raz
Raz
IMO.....if your getting drums that have had the bladders or food grade materials inside, save the burn and just go straight to the wire wheel.
Saves a burn and all that black ash and the liner comes out pretty easily!
Then you don't have to repaint the outside either! :lol:
Actually mine is an "invert" so I can get it from both ends . That didn't sound too good did it ?
Raz
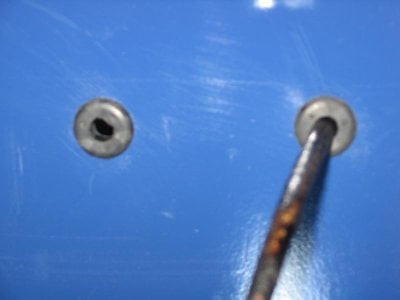
I bought one of those water tight connectors for my probe wires but I got a 1/2 one. So for a 1/2 conduit I would want a 3/4 hole correct.


I would like to do a single intake (to keep it simple) running to the center.
Exactly. As for the other option of putting a butterfly style intake on the bottom of the barrel, that is Plan B. It also makes it simple in that it not only serves as air intake, but a way for the grease to drip out!!!:biggrin: I could put a coffee can or something underneath the unit to catch the drippings. Actually. The more I talk about it, the more I like that idea!:idea:Like a 2" pipe that runs through the side of the barrel along the bottom to the middle of the bottom?