You are using an out of date browser. It may not display this or other websites correctly.
You should upgrade or use an alternative browser.
You should upgrade or use an alternative browser.
Ugly Drum Smoker
- Thread starter jgh1204
- Start date
Pole D
is one Smokin' Farker
If you light from the bottom, you will have out of control temps because your whole basket will be on fire. If you leave a stovepipe in the middle, then pour the lit coals in it to the bottom, it will do the same thing. You want only part of the coals burning at any one time during the cook. It will take about an hour for the little bit of coals you start on top to get enough of the coals around them burning to get the drum up to temp. Then when you choke the air back, it slows the rate at which more coals catch up. That is how you get the extended burn times, and the lower temperature.
What you want to do is just get about 15 briquettes white hot, then pour them right on the top of your coal basket. Keep them together, not spread all over the top. I usually put them right in the center.
This way, the coals will catch up slowly, and you will be able to hit the temp you want on the way up more consistently. You will always use less coal during the cook.
How/where do you space any wood chunks you may be using in the basket?
H
Hugh Jorgan
Guest
How/where do you space any wood chunks you may be using in the basket?
If I have chunks, like almost fist sized, I'll usually put one in the middle, under the lit coals, and one over right against the side. If I have smaller size, like chips, I load some charcoal then load some chips, then more coal, like a lasagna.
H
Hugh Jorgan
Guest
Like this...


Then I light about 15 coals and pour them on top when they are ashed over.

My grills always look so dirty!
Then I light about 15 coals and pour them on top when they are ashed over.
My grills always look so dirty!
biggs98
is one Smokin' Farker
Why is your 2nd toe bigger than your big toe?????? LOL:eusa_clap
H
Hugh Jorgan
Guest
That's my wife's toes. She says it's means that she's the boss.
Really a snapping turtle bit off the tip of her toe when she was a little girl.
Really a snapping turtle bit off the tip of her toe when she was a little girl.
biggs98
is one Smokin' Farker
LOL....Nice!!!
B
Burk504
Guest
burn out help
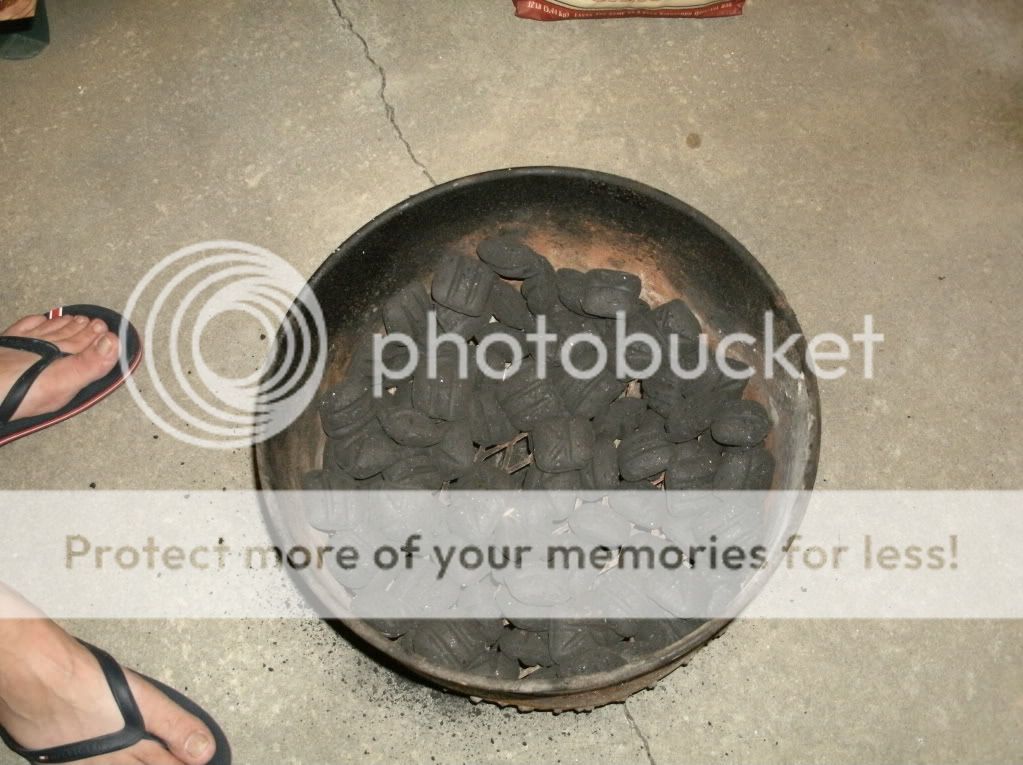
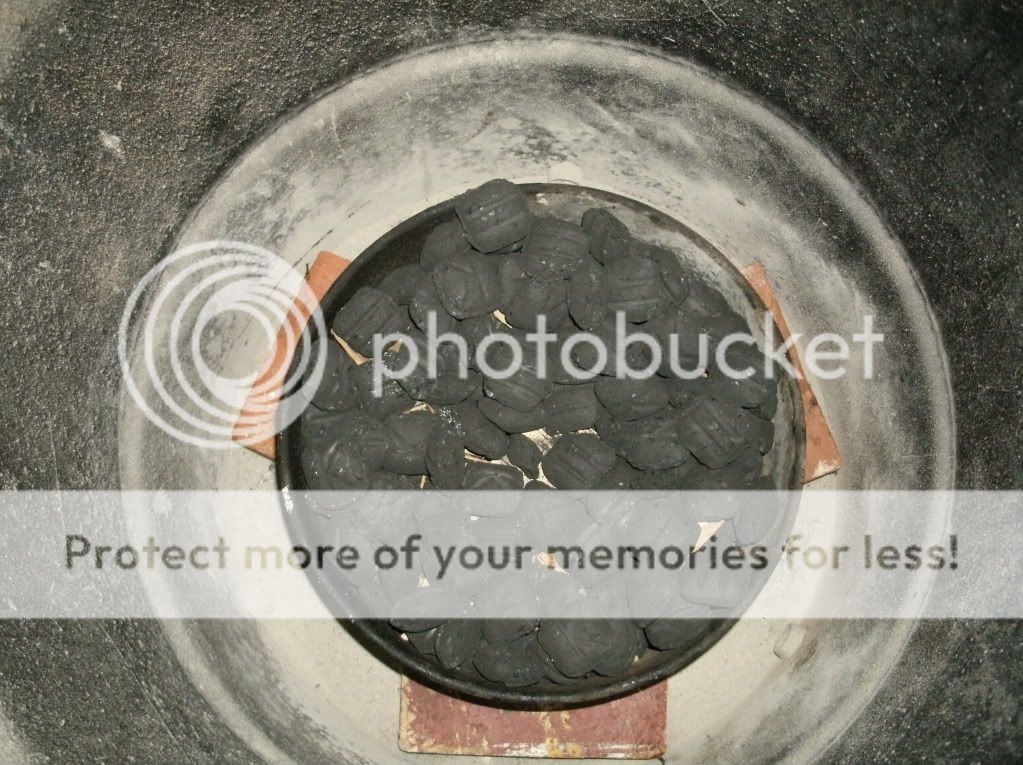
So I burned out my new drum yesterday and am unsure if I got everything out. All of the paint on the outside burned off except for about an inch of it at the very bottom. It burned for a good 2 hours at what I would consider pretty high heat.
Inside of the drum, in some areas I can see the raw metal and in others there are small spots that are peeling a very little bit. I took a sander with a brillo attachment and knocked off any of the loose stuff and you can see in the pic what the result is.
jetfxr27
is one Smokin' Farker
Where you see rust is where its right. If it doesnt rust in a day or two in reasonably humid conditions, it aint right.
You have a lot of liner left to get out. Have you drilled your holes?
You have a lot of liner left to get out. Have you drilled your holes?
B
Burk504
Guest
Where you see rust is where its right. If it doesnt rust in a day or two in reasonably humid conditions, it aint right.
You have a lot of liner left to get out. Have you drilled your holes?
I have drilled 4 1/4" holes....don't have my step-bit yet to drill any larger. Should have by next weekend.
I guess I'll do another fire once the holes are a full 1". That should let it get a little hotter.
Any other advice?
QuietOne
Full Fledged Farker
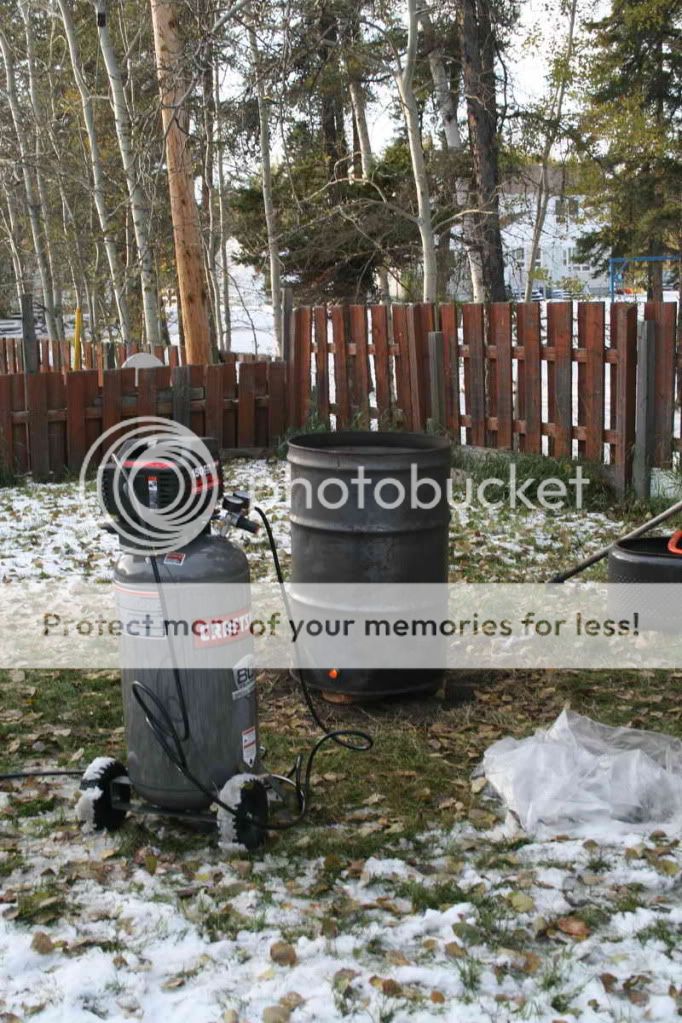
Use a compressor for added air. WHOOooooboy.
When you weld the line to the air connection blower/duster use at least 2 metres for the addition to the duster tip, you want to stay at least that far away when you stick the "wand" in the hole and zap the air in. Go with welders gauntlets not fabric and neoprene/ polyester work gloves.
At 1 metre I toasted off a LOT of split ends, and my eyebrows are no longer bushy at all. I even have a rosy glow to my forehead and cheeks.
I've got 1" close nipples, I used a 1/2" shank 10 Step Irwin Unibit, drills from 1/4" to 1 3/8" and a 1" close nipple just fits, with a bit of work. I'm hoping that is enough air going in.
I tried a bimetal hole saw and snapped off two bits, then went and bought the Unibit pricey but worth it. I'm looking now at investing in a knockout cutter if I can find one in the proper size(s). Cutting the air exhaust in the lid is now my next issue. I want at least 2".
If you don't have an air compressor a shop vac with metal extension and exhaust blow it might work. The wife just asked me why I didn't try that rather than lugging the compressor up the stairs and back down etc. .... Cuz you weren't home to tell me that dear.... The bruise on my shoulder will heal.
The End Of My Second Burn
Last edited:
H
Hugh Jorgan
Guest
Use a compressor for added air. WHOOooooboy.
I've done that too. Works pretty good if you can stand the heat. The wand extension is a great idear.
C
crundle
Guest
Thanks for all of the great information on your forum about Ugly Drum Smokers!
I was led here by an Australian homebrewing forum, where someone had built one of these and just had to give it a try, and I am not disappointed.
I had my drum sand blasted and drilled 3x1" holes 2" up from the base, and have a lid with 8x1/2" holes for the exhaust. I have gone the easy path and just use fridge magnets for controlling the intakes, and gave it a try yesterday with a couple of beer can chickens (using my own beer of course).
It cooked them perfectly, using briquettes and a chunk of Hickory. The flavour of the smoke was incredible. I am looking forward to using this thing over summer for family get togethers, and have 3 grills in it to allow for flexible cooking.
No photos unfortunately, but looking over the thread there are hundreds so I don't really need to add to that. Thanks once again for the great information, now I have a few more people interested in building an Ugly Drum Smoker of their own!
cheers,
Crundle
Paul B
is one Smokin' Farker
Thanks for all of the great information on your forum about Ugly Drum Smokers!
I was led here by an Australian homebrewing forum, where someone had built one of these and just had to give it a try, and I am not disappointed.
I had my drum sand blasted and drilled 3x1" holes 2" up from the base, and have a lid with 8x1/2" holes for the exhaust. I have gone the easy path and just use fridge magnets for controlling the intakes, and gave it a try yesterday with a couple of beer can chickens (using my own beer of course).
It cooked them perfectly, using briquettes and a chunk of Hickory. The flavour of the smoke was incredible. I am looking forward to using this thing over summer for family get togethers, and have 3 grills in it to allow for flexible cooking.
No photos unfortunately, but looking over the thread there are hundreds so I don't really need to add to that. Thanks once again for the great information, now I have a few more people interested in building an Ugly Drum Smoker of their own!
cheers,
Crundle
Crundle....as they say......no pics, it didn't happen!!!!:biggrin::biggrin:
Paul B
Rich Parker
Babbling Farker
Use a compressor for added air. WHOOooooboy.
When you weld the line to the air connection blower/duster use at least 2 metres for the addition to the duster tip, you want to stay at least that far away when you stick the "wand" in the hole and zap the air in. Go with welders gauntlets not fabric and neoprene/ polyester work gloves.
At 1 metre I toasted off a LOT of split ends, and my eyebrows are no longer bushy at all. I even have a rosy glow to my forehead and cheeks.
I've got 1" close nipples, I used a 1/2" shank 10 Step Irwin Unibit, drills from 1/4" to 1 3/8" and a 1" close nipple just fits, with a bit of work. I'm hoping that is enough air going in.
I tried a bimetal hole saw and snapped off two bits, then went and bought the Unibit pricey but worth it. I'm looking now at investing in a knockout cutter if I can find one in the proper size(s). Cutting the air exhaust in the lid is now my next issue. I want at least 2".
If you don't have an air compressor a shop vac with metal extension and exhaust blow it might work. The wife just asked me why I didn't try that rather than lugging the compressor up the stairs and back down etc. .... Cuz you weren't home to tell me that dear.... The bruise on my shoulder will heal.
The End Of My Second Burn
You have snow already??? You lucky farker.
I have used a leaf blower to get things going before. That is quite exciting.
Babyboomerboy
is one Smokin' Farker
You have snow already??? You lucky farker.
I have used a leaf blower to get things going before. That is quite exciting.
Just move to Kansas, we have enough air blowing to keep any fire going.
R
redbandit98
Guest
well, as promised here is a pic of my uds smoker. I did find out the problem, it turned out to be the charcoal. For whatever reason, it sucked up some moisture. I picked up a new bag and was burning at 230 degrees with no fluctuation or need to adjust the valve. Here she is with a crappy paint job..

biggs98
is one Smokin' Farker
Paint job looks good to me.
HARRYSTOWN
Knows what a fatty is.
redbandit98, Thats what I have been doing wrong, I was putting the pig INSIDE the drum smoker.
R
redbandit98
Guest
On the inside? Its ok, its a common rookie mistake. hahah
Similar threads
- Replies
- 22
- Views
- 859