Neonnblack
Full Fledged Farker
I realized i never posted my UDS yet, well its a drum, and it smokes meats. Aint much else to it.
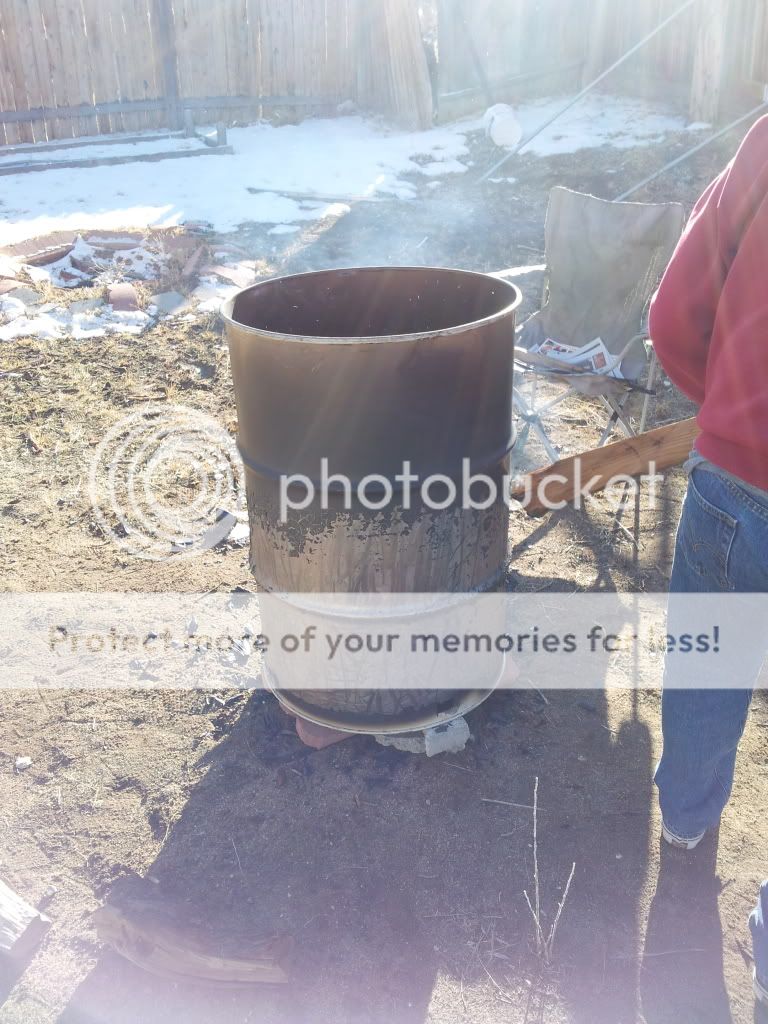
When i picked the barrel up, had the damned red liner (at this time in my infancy i didnt know it was going to be bad).

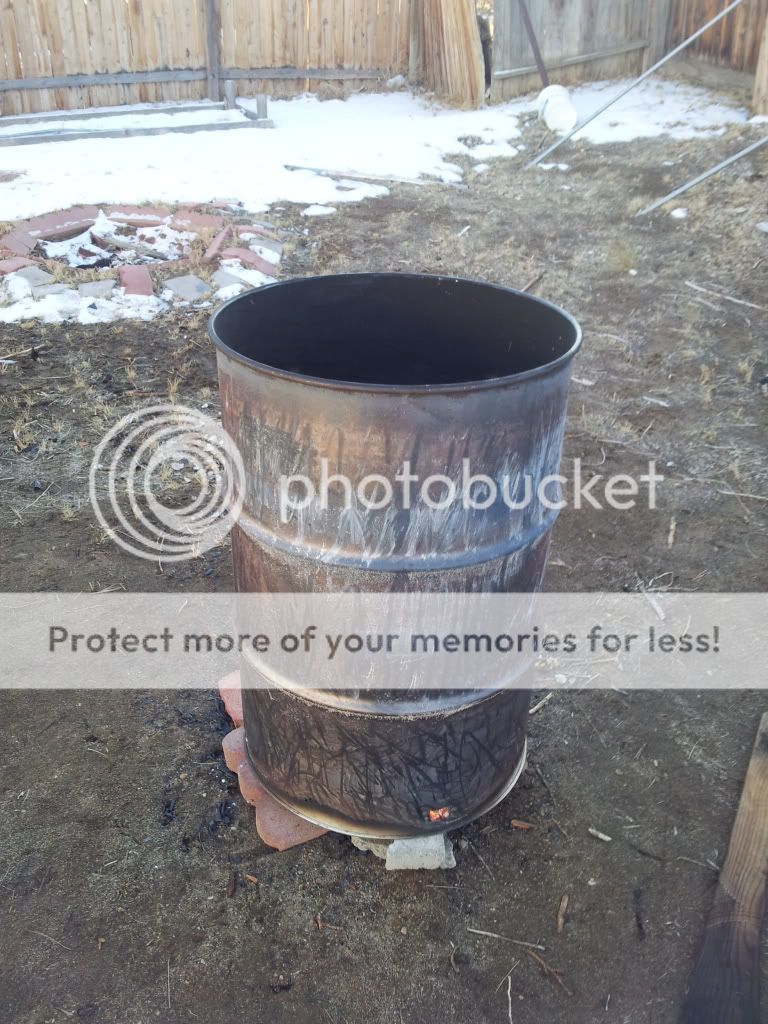
During the urn out, where i was like yeah cool that red liner will be banished!(not so).
While i had the barrel burning I started on my basket. Had my makeshift brake (which is very handy, just a piece of angle clamped to a piece of steel)

And it turned out this.

Cool, i thought, im near ready to be smoking it up! Then i hit a road block, that damn red liner, never came out. So, im cheap and dont value my time very much so instead of taking it to a shop to have it sandblasted, i decided i'd flap disc it all out. It wasnt fun, VERY dirty and took about an hour or so, just grinding away. My suggestion for any new UDS guys: get an unlined drum, or an old oil drum and burn it out a few times.
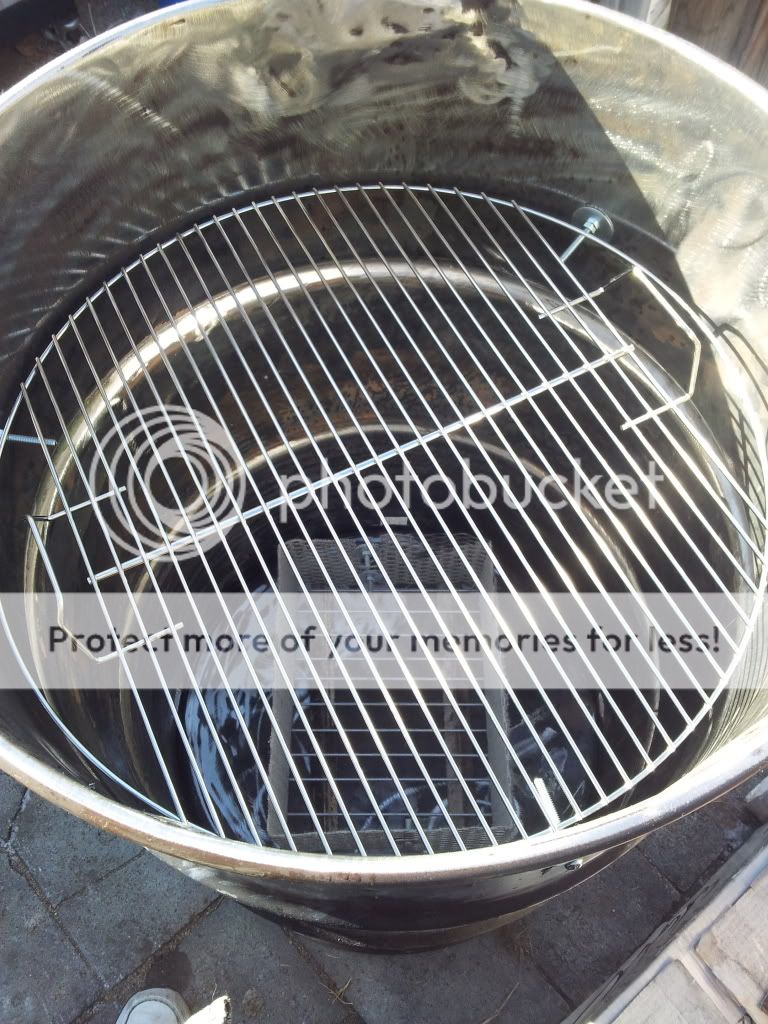
So after all that i drilled my wholes, and set the top grate in and decided to revel in my confidence that i just made something badass.
Ran a couple test fires through it, as well as seasoning it. then i found out on here, my basket is way to small -_-. First rebuild.
So here was the new basket next to part of the old basket.

Obviously a massive, but needed difference.
At this point for venting all i had were holes cut in the drum and planned on using sheet magnet, it didnt work, i struggled through two cooks using those damn magnets, one fell off in one cook and it shot to like 400 degrees before i caught it. So i changed them into what i thought would be a great, cheap idea.
And once again, they sucked and fell off, didnt seal very well, etc. So another redesign sent me this way. With my makeshift brake again i came up with this (and partly from another design).
Bent the sheet up.

I also stabbed my finger with the drill.

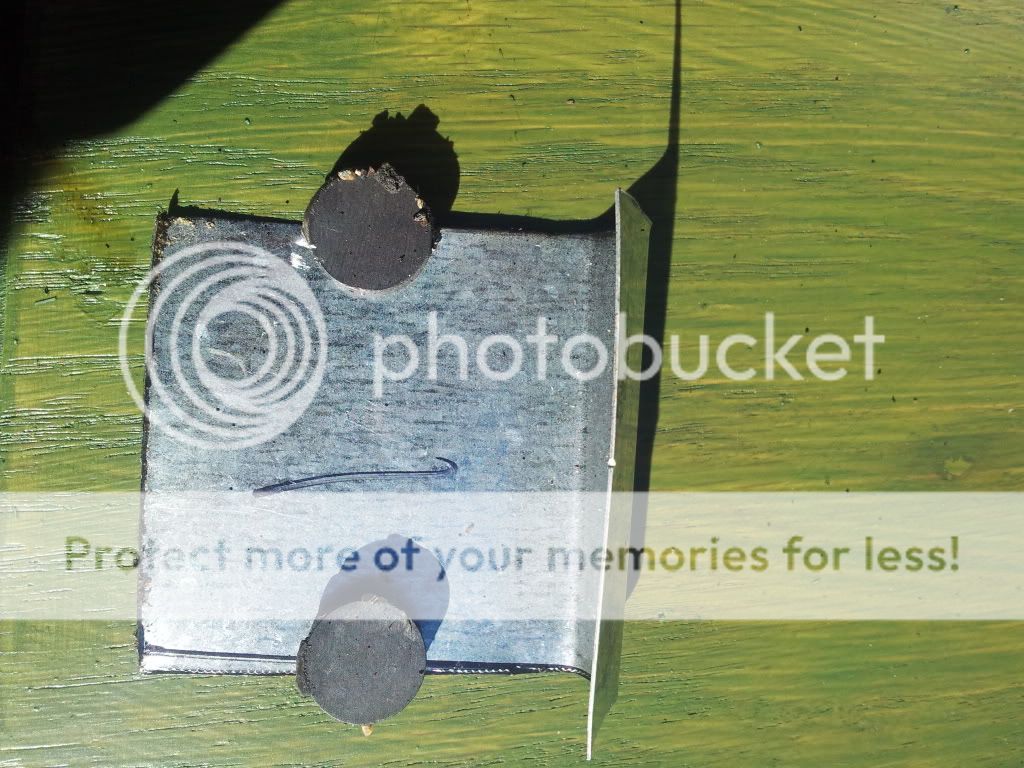
Cut a hole in it, a cover plate and we ended up with this. Open.

Closed.
This is by far the best design ive came up with (i dont want ball valves and pipe on mine, wanted a bit of a cleaner look) and so far has been flawless.
I used it just like this for a few weeks before i decided i needed a table on it, so i got a bed frame, a piece of 3/4 oak plywood and a router from work, for the grand total of....wait for it.... 20 bucks. The router even had some US made bits with it. So i bolted up the frame after cutting and drilling the extra brackets off.

Then i got to work on the oak for the tops. I didnt picture most of this because i messed up a few cuts And i got really irritated with it and had to ghetto one side together. But i did take a picture of the routed side while i was doing that.

And then i stained it ponderosa green. No pics of this either.
Screwed the tops down and we are at this point.(just imagine it without the dome lid on it, hehe)
Now, talking about that dome lid, i was surfing CL and found a 22 inch kettle style Q for 25 bucks.

Figured i would use the top for mine and the bottom for another barrel thats being built.
This is where things got a little tricky, this q was only 22 wide, and not 22.5 like the weber. So i had to get creative with how to fit the lid. What i came up with keeps it sealed (i hope i havent used it yet with the dome lid) And makes the drippings drip in the barrel and not down the side. ( a few of these pics are the same, sorry)
Edge pounded out flat.
Still didnt have enough to remake the lip like this so i had to keep thinking of a solution. I tried making it like a cone by bending the flat lip down, which didnt work at all. then i thought well maybe i could push the lid into the barrel instead of having it sit on the barrel, so i grabbed some pliers and bent the flat lip up. and set it in.

This is what i had to work with, so i clamped the lid to the drum in two spots and started reshaping the ring. and ended up with this.
It sits nicely, and with the dip inside the barrel nothing can leak out. I still need to get the clamp ring that has a bolt on the outside to clamp and not the lever like i have now. Also, i need to rework the hinges of the dome so i can use them on the drum also.
And thats pretty much it so far, im up to this point now with the drum. Have performed successful cooks and hope to keep churning out bbq.
I still have plans for wheels, and a few other storage type things on it. One step at a time.
Thanks for looking at my build thread, folks.
When i picked the barrel up, had the damned red liner (at this time in my infancy i didnt know it was going to be bad).
During the urn out, where i was like yeah cool that red liner will be banished!(not so).
While i had the barrel burning I started on my basket. Had my makeshift brake (which is very handy, just a piece of angle clamped to a piece of steel)
And it turned out this.
Cool, i thought, im near ready to be smoking it up! Then i hit a road block, that damn red liner, never came out. So, im cheap and dont value my time very much so instead of taking it to a shop to have it sandblasted, i decided i'd flap disc it all out. It wasnt fun, VERY dirty and took about an hour or so, just grinding away. My suggestion for any new UDS guys: get an unlined drum, or an old oil drum and burn it out a few times.
So after all that i drilled my wholes, and set the top grate in and decided to revel in my confidence that i just made something badass.
Ran a couple test fires through it, as well as seasoning it. then i found out on here, my basket is way to small -_-. First rebuild.
So here was the new basket next to part of the old basket.
Obviously a massive, but needed difference.
At this point for venting all i had were holes cut in the drum and planned on using sheet magnet, it didnt work, i struggled through two cooks using those damn magnets, one fell off in one cook and it shot to like 400 degrees before i caught it. So i changed them into what i thought would be a great, cheap idea.
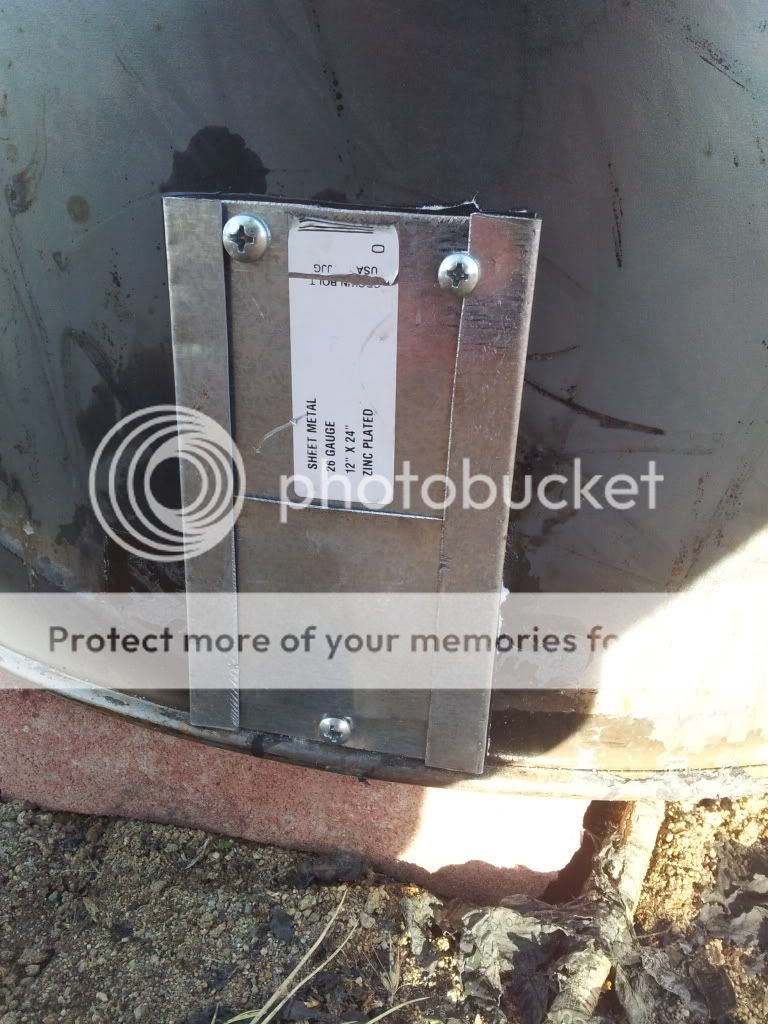
And once again, they sucked and fell off, didnt seal very well, etc. So another redesign sent me this way. With my makeshift brake again i came up with this (and partly from another design).
Bent the sheet up.
I also stabbed my finger with the drill.
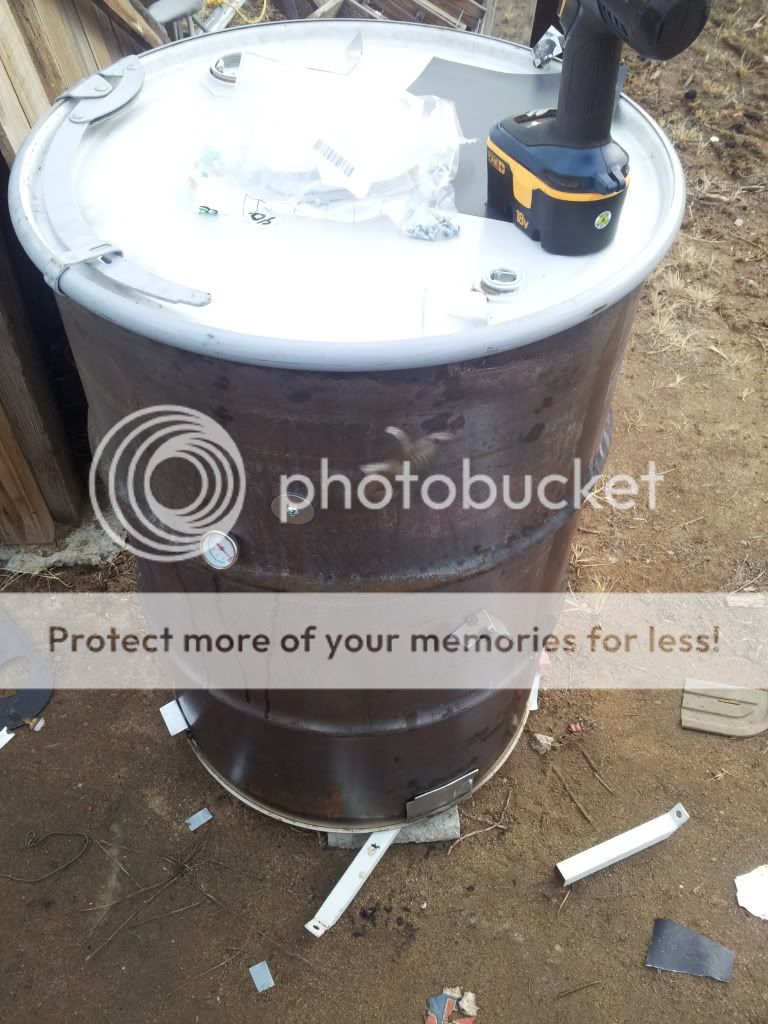
Cut a hole in it, a cover plate and we ended up with this. Open.
Closed.
This is by far the best design ive came up with (i dont want ball valves and pipe on mine, wanted a bit of a cleaner look) and so far has been flawless.
I used it just like this for a few weeks before i decided i needed a table on it, so i got a bed frame, a piece of 3/4 oak plywood and a router from work, for the grand total of....wait for it.... 20 bucks. The router even had some US made bits with it. So i bolted up the frame after cutting and drilling the extra brackets off.
Then i got to work on the oak for the tops. I didnt picture most of this because i messed up a few cuts And i got really irritated with it and had to ghetto one side together. But i did take a picture of the routed side while i was doing that.
And then i stained it ponderosa green. No pics of this either.
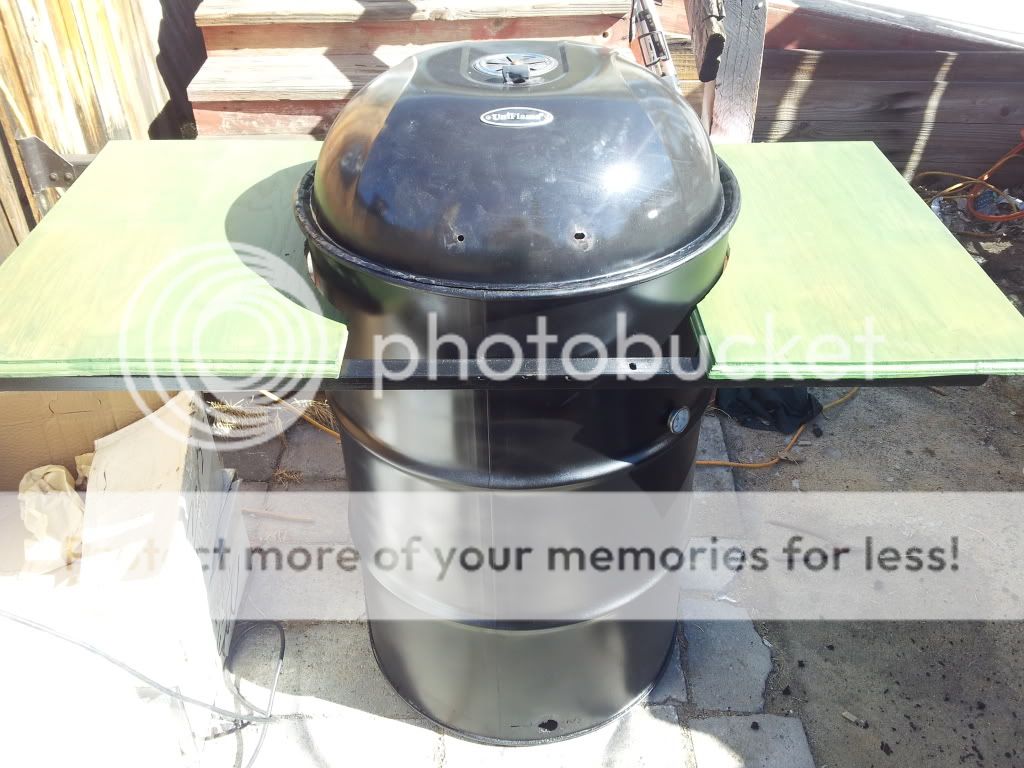
Screwed the tops down and we are at this point.(just imagine it without the dome lid on it, hehe)
Now, talking about that dome lid, i was surfing CL and found a 22 inch kettle style Q for 25 bucks.
Figured i would use the top for mine and the bottom for another barrel thats being built.
This is where things got a little tricky, this q was only 22 wide, and not 22.5 like the weber. So i had to get creative with how to fit the lid. What i came up with keeps it sealed (i hope i havent used it yet with the dome lid) And makes the drippings drip in the barrel and not down the side. ( a few of these pics are the same, sorry)
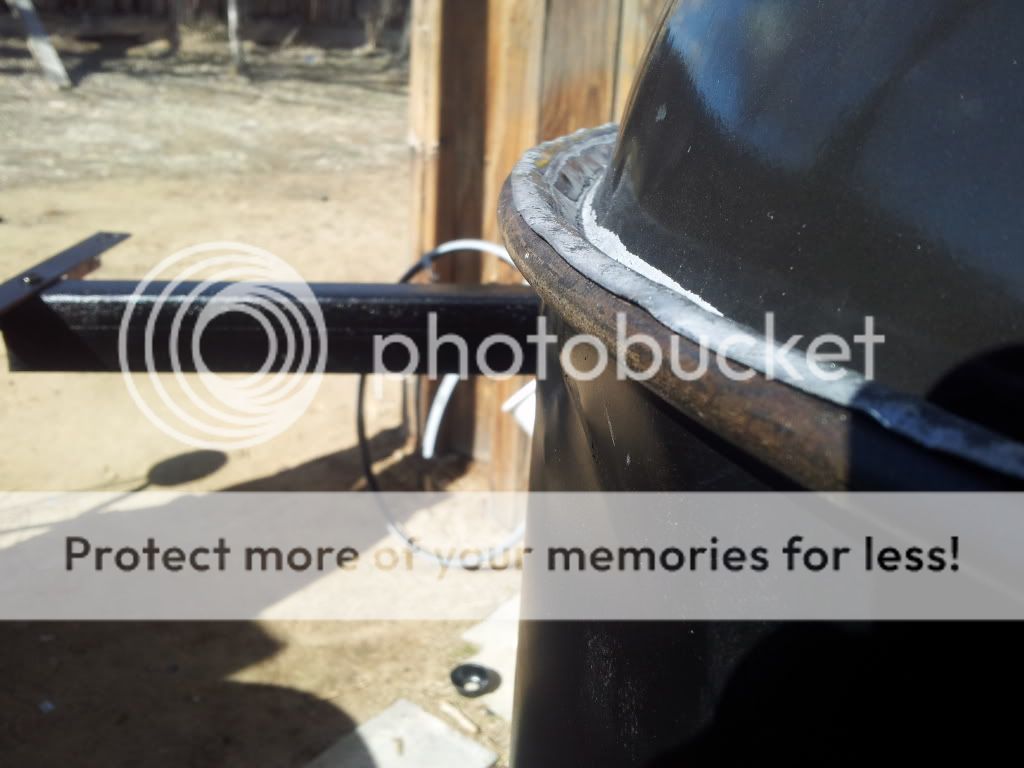
Edge pounded out flat.
Still didnt have enough to remake the lip like this so i had to keep thinking of a solution. I tried making it like a cone by bending the flat lip down, which didnt work at all. then i thought well maybe i could push the lid into the barrel instead of having it sit on the barrel, so i grabbed some pliers and bent the flat lip up. and set it in.
This is what i had to work with, so i clamped the lid to the drum in two spots and started reshaping the ring. and ended up with this.
It sits nicely, and with the dip inside the barrel nothing can leak out. I still need to get the clamp ring that has a bolt on the outside to clamp and not the lever like i have now. Also, i need to rework the hinges of the dome so i can use them on the drum also.
And thats pretty much it so far, im up to this point now with the drum. Have performed successful cooks and hope to keep churning out bbq.
I still have plans for wheels, and a few other storage type things on it. One step at a time.
Thanks for looking at my build thread, folks.
