stl-rich
is one Smokin' Farker
You can't get a 2" black iron nipple??
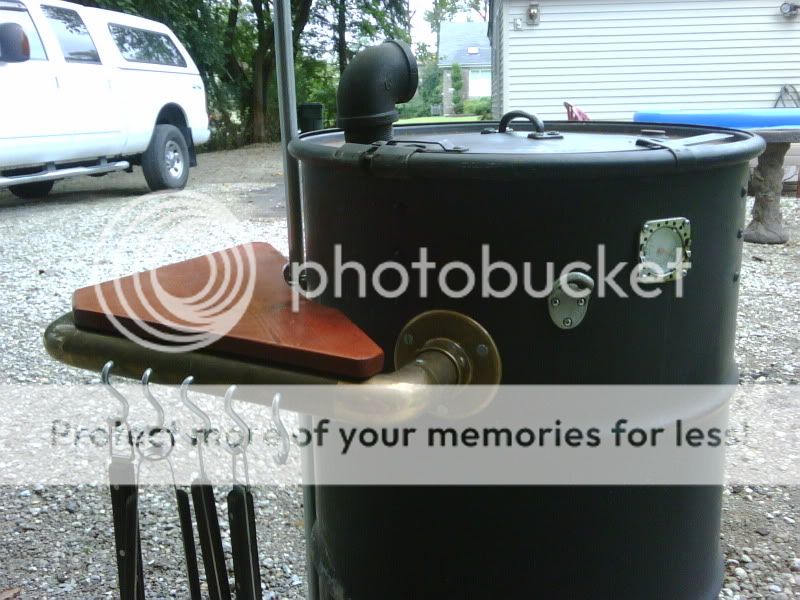
I just got my drum to build my UDS.
I had a buddy pick it up for me, and when he dropped it off, the cap for the 2" bung was missing.
I have googled trying to find a replacement, but only come up with plastic ones.
I also googled for 2" pipe to just skip the cap and make a stack, but stainless is the only thing I found (other than plastic or galvanized) and that stuff is pretty expensive.
Where do I go from here?
What material are others using to build their stacks?
One more question... I have decided to use a BGE draft door for my air intake. How are you guys attaching these to the drum? Rivets? JB Weld?
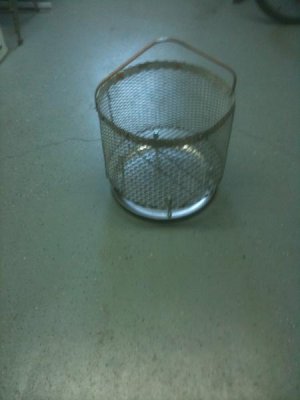
Something tells me that I'm looking at a huge PITA to clean these guys out tomorrow. The pressure washer should help a lot. Do you think that I'll need to re-season them after I get them washed out and home?
I use selftaping screws and no need for sealant.One more question... I have decided to use a BGE draft door for my air intake. How are you guys attaching these to the drum? Rivets? JB Weld?
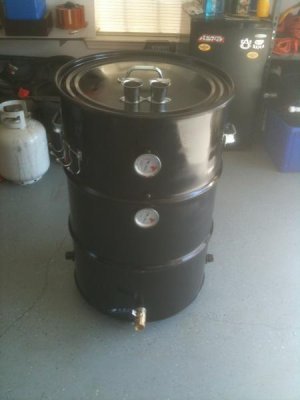
The business sells them for $10. They are clean because the glue and silicone that comes in them is bagged. They do not even have scratches or dents. :-D
I do not. The business I am refering to is Adaseal which is near our town.Hey Brewski,
Do you by chance work for a window manufacturer?
I used to sell sealants to window builders that came in straight sided drums...
Nice looking drum, BTW.
Chris
I just got my drum to build my UDS.
I had a buddy pick it up for me, and when he dropped it off, the cap for the 2" bung was missing.
I have googled trying to find a replacement, but only come up with plastic ones.
I also googled for 2" pipe to just skip the cap and make a stack, but stainless is the only thing I found (other than plastic or galvanized) and that stuff is pretty expensive.
Where do I go from here?
What material are others using to build their stacks?
I have updated the template I used in construction of my DrumPit and would like to share it with y'all...It's in PDF Format...I found it handy to have and use....
View attachment 41275
The File, once downloaded should look like this....
View attachment 41276
Full Scale measures 25"x25"
If you own a Postscript Printer you can tile print it at 100% scale and tape the pages
together, if not, you can take the file to a Print Service Bureau that has Large Format Capability
and have it printed and laminated.
This link shows how I used the template for layout of the holes to drill...
http://www.bbq-brethren.com/forum/showpost.php?p=415743&postcount=62
On page 432 of this thread (post #6478) a tip was to use Easy-Off oven cleaner. I tried this on my lined barrel and it did not remove the liner. It did however completely remove the outer paint on the outside of the barrel cleanly and effortlessly. The barrel I purchased was made in 2010 for the Concord juice company and it shipped grapefruit juice. The liner is not red, but more like a very deep red wine color (near deep brown with hint of red) and feels more like a hard enamel than paint. I can scratch off the paint of my truck easier than the liner of this barrel. It's like it's between automotive paint and the truck bed liner paint.
I pre-sanded the area for testing with a few patches I took down to bare metal. Not even the thin areas around the bare metal edges were affected. I tried both the heat treatment and the cold over night method. None of the methods even came close to removing any of the liner or layers of the liner. But it did great removing the outside paint.
I purchased this when I thought all I had to do was burn it out. Now I know better. My goal now is to either find a bare metal barrel cheaper than $40 (and keep the one I has as a trash burn barrel), or pay the $40 for sand blasting it out. Which the economy can't be that bad. Out of 8 local slandblasters from the yellow pages, only two returned my phone call and I called them all at least three times each. And one of them said, it wasn't worth his time; politely though.
Not sure how old your daughter is (or her boyfriend or her boyfriend's dad...) but the movie "Napolean Dynamite" is a cult classic for us late 30 - early 40 sometings:

Any time I see a "Pedro" reference, that's where I go.
I just used a short 2" pipe nipple for my smoke stack. A empty corn can (right size) will keep any rain out. That said, I have a 2 1/4 tractor muffler cover on mine. A small magnet below the hinge will get it to lock open when you are cooking.
----
Fire needs O2. One person hooked up a shop vac to his nipple as a blower :thumb:- impressive resulting burnout. That said, if you do that to a lid, I highly suspect it will warp.
(fire plus injected air = blast furnace)
Can't say that I have seen that before but I could have missed it. There are plenty of people that do stack drums though. Basically you want to cut the drum around the rib where the drum flares out. Then it will sit on the lip of your normal UDS and provide a decent seal. As far as the door, I like the idea but I fear you might have some serious air leaks. Especially if you want the door big enough to access large racks. Perhaps check and see how some people have made theirs stackable with different sections. This would essentially allow you to have 2-3 racks per section in the standard lift-out configuration.