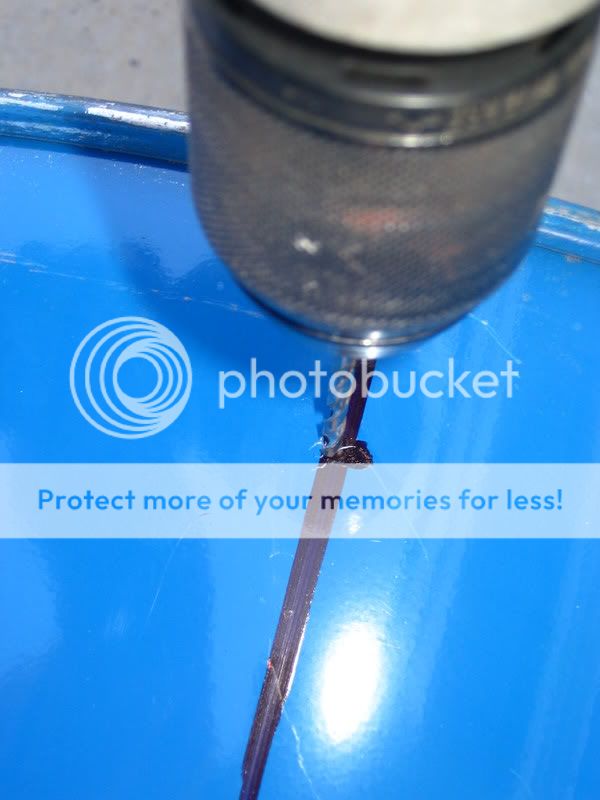
OK been wanting to say something but bit my lip. Most hardware you get at a standard hardware store is Steel that is either Zink plated or Cadium plated. This is those Bolts, nuts, washers, ect. in the bins, Eyebolts, brackets and what not. Things that are galvanized are usually thin cheap metal for outdor use. I was told by an old guy that they started galvanizing water pipe because it was poor quality iron and the galvanize coating sealed it and also provided a rust protectant. Zinc and Cad are also bad for you. I don't know if it gets hot enough to outgas or not. If I did not have access to the stainless I use I doubt that I would spend the probably 3X the amount of what I refer to as "'K" bolts (as in Kmart). To be safe I would hit with torch and wire brush. People might argue but that is my feeling on the matter. Those Conduit nuts are probably zinc plated. Most things with threads are Zinc not galvanized. Galvanizing is a coating that adds thickness and would plug or foul the threads. You will also find things like that that are made out of what I refer to as Pot metal. It is a really low grade aluminum alloy of sorts. It is light and looks like aluminum but it is not. Think the bottom of old Hot Wheels cars. That is pot metal. Cheap to use in manufacturing and does not rust.
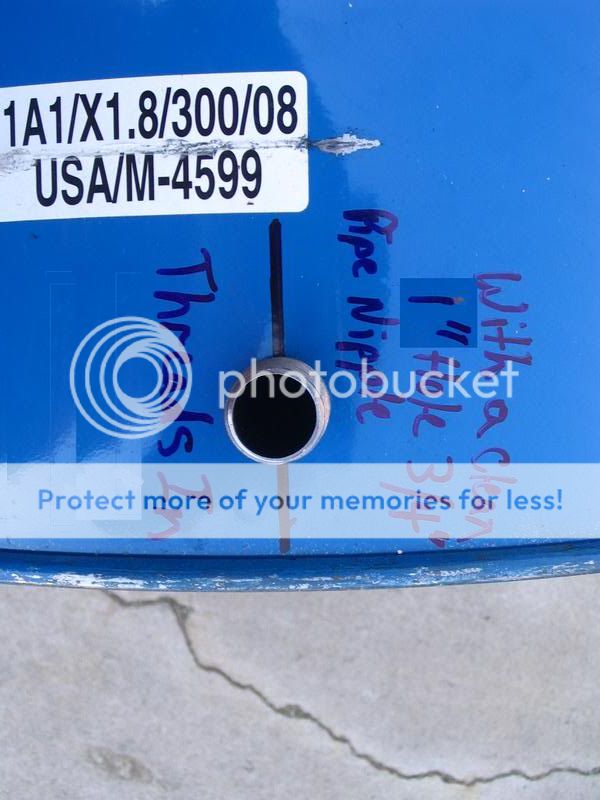
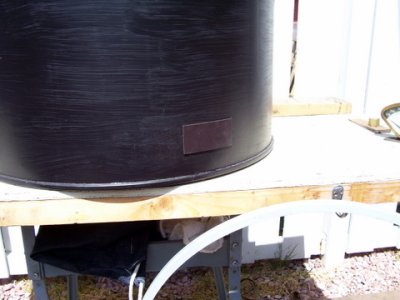
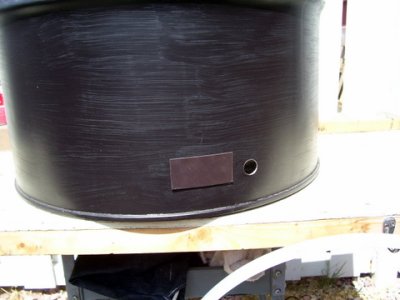
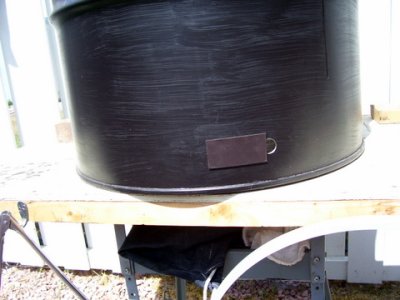
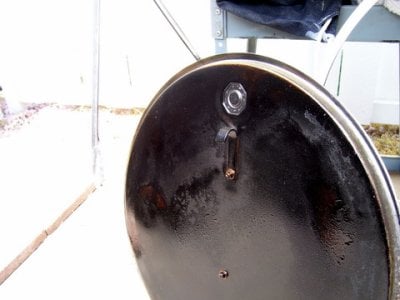
Now on the Plugs. To increase temp you just pull a plug. The screw set up Swampb came up with just makes it easier. To lower you install a plug. From one plug to 2 is a large increase but in between can be obtained by choking exhaust. Maybe Swampb can chime in and give better details.