Lol, more 'quickie' time last night. Got the 3rd wheel on and flipped upright:
Finally ready to burn it out! Gonna try to do that this morning before work. Just have to figure out how to get it out of the garage as it's a few inches too tall...
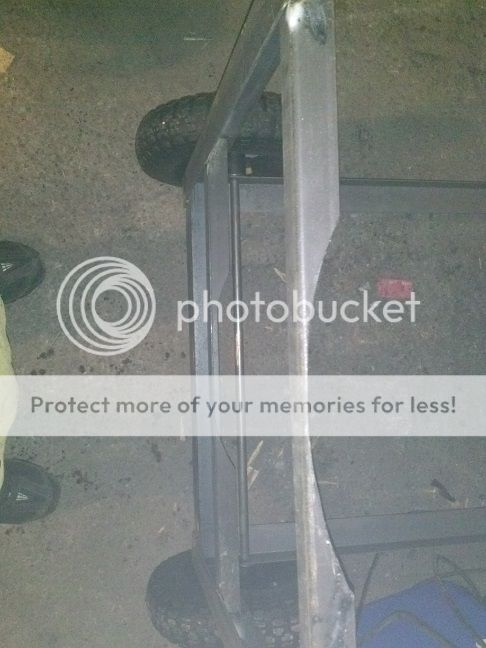
While I'm at it- seem to be having an issue with the 3rd wheel. The piece of angle I welded it to twists from the weight it's under, causing the bottom of the legs to drag on the ground. Any ideas for a fix? I was thinking of just running another piece of angle from the inside of the wheel mounting plate up to the bottom of the tank to support it better...
Yea, i considered doing that too, but it's a little out of my price range and fabricating ability.
I am seriously thinking about adding an LP assist, tho. To help with pre-heating and maintaining higher temps/during colder weather. It would only cost me another $30 or so in parts if I use the tank I already have...
The tires are all "no flat" solid tires- they don't deflate. Luckily, the rig just barely fit out the door on the wheels with no modifications. So long as I don't add anything that exceeds the current height, I will be able to store it in the garage over the winters.
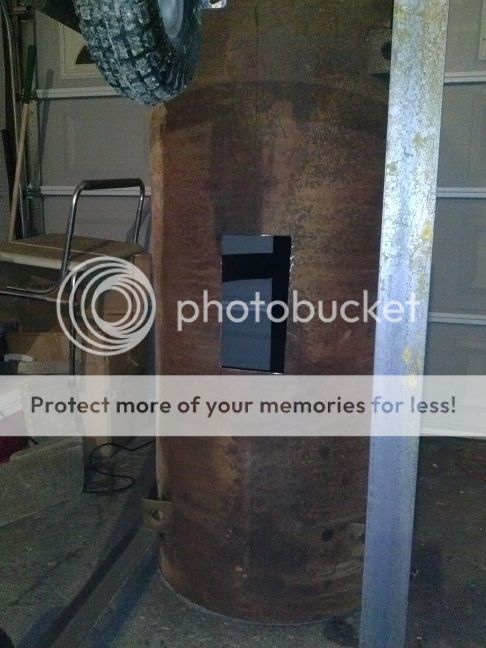
Here's a shot of the burn-out:
The doors made pretty good air intake controls. The burn turned the lime green paint into a disgusting OD yellow. Can't wait to sand it off. More to come...
Don't be fooled by th pics- my skills were minimal and i learned alot by on-the-fly trial and error. If it werent for the Brethren and my retired welder/fabricator neighbor, i would never hve had th confidence to attempt this build. That being said- dont let anything stop you from persuing your dream pit...
I was thinking the same thing lol. I remember burning out a drum I used for a woodstove. Worst farkin stink ever, and I'm sure I'm dumber from smelling it!
Smokers comin along nice Sean, but the weather there looks like chit!
Got the supports for the firebox cut and welded in:
Cut the hole for the smoke transfer tube in he bottom of the cooking chamber:
Test fit fire box:
Hole for the transfer tube needs to be widened a little, but eveything is linig up really good.
I have to stop somewhere tomorrow and pick up some angle to reinforce the caster- its a beast to steer/manouver by myself and its only going to get heavier from here on out.
Also got the mounts installed on one side of the cooking chamber and 4 brackets partially assembled:
I just welded pieces of angle to the adjustable brackets that hang on the mounting strips. I need to attach the rights to the lefts with a couple pieces of flat stock or something to keep the glides straight while the cooking grates move in and out.