dwfisk
Quintessential Chatty Farker
I think my first run was successful, but not quite 100%. Here is what I did with a lot of advice from ButtBurner & others here on the forum.
Here is the basic concept of this style retort.

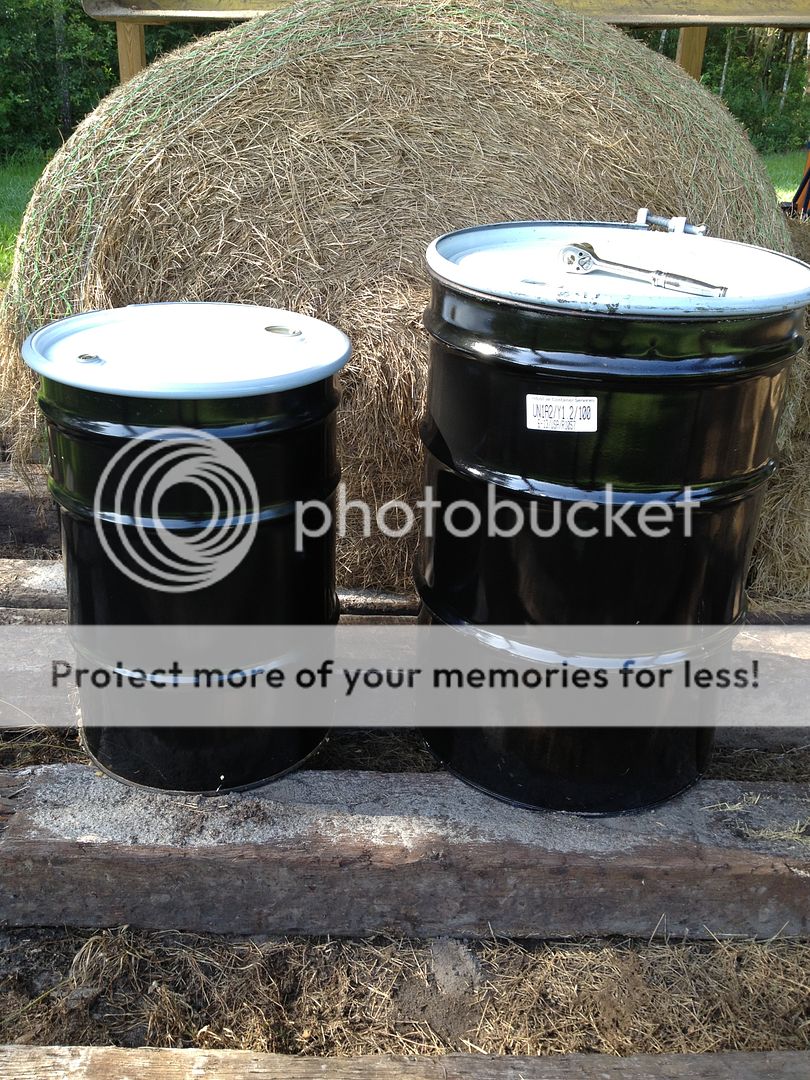
Finally got my drums 55 & 30 gallons, reconditioned, painted exterior, bare metal interior.

Made the exhaust into the top of the 55 gallon drum and drilled 16@1 inch vent holes about 3-4 inches from the bottom of the drum.

Cut my wood down to uniform sizes, this is oak, air dried for over a year.

Packed the charcoal wood into the 30 gallon drum, pretty tight but I think there was enough room for circulation of the wood gasses.

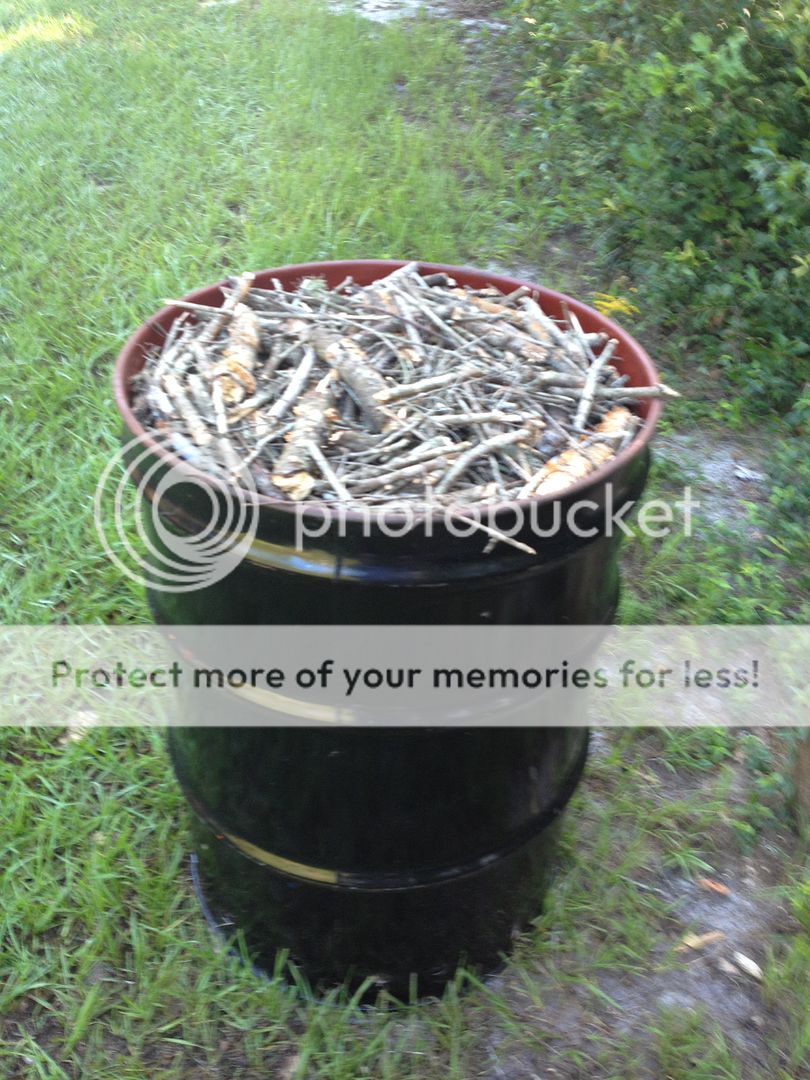
Put the 55 gallon (inverted) over the 30 gallon (upright) and flipped the whole thing then filled the annular between the 30 gallon and 55 gallon drums and on top of the 30 gallon with burn wood, just scrap branches from the wood on the farm.


Fired it up at about 10:00 AM.

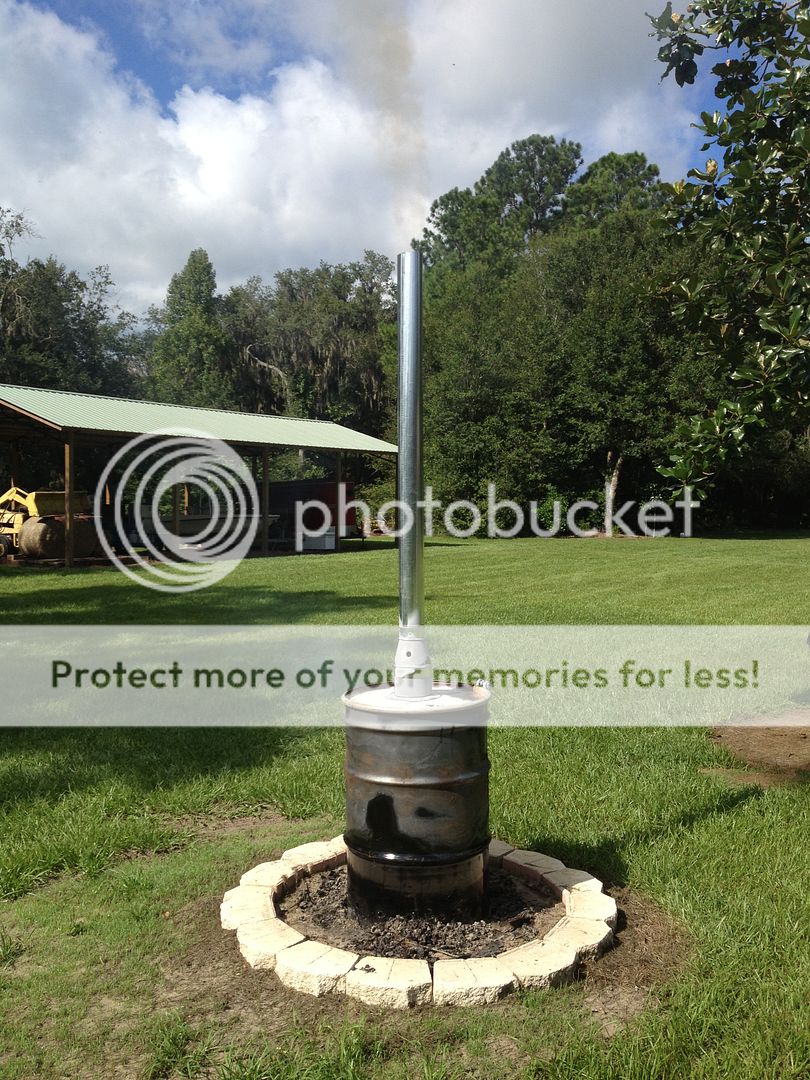
This is about 1-1/2 hours into the burn at 11:30 AM. You can see by the paint burning off the exterior of the drum the fire has made it a little more than 1/2 way down. I could see through the vent holes quite a bit of wood gas being pulled up through the annular an burning off, not quire a jet engine but definitely audible gassing. It burned really hot for about 3 hours and I think the burn wood was pretty much consumed but it stayed hot for another 3 hours with obvious clear exhaust gas at the top of the stack. It was still hot to the touch after 8 hours. I just let it sit overnight.

And, just a word of caution, this thing gets hot. I had a couple of readings of 1000*.

Here is the result about 24 hours later.


I did not get 100% charcoal from the oak, I'm thinking I'll take a few of the better chunks and fire it up for some burgers tonight to see how it burns, but I'll probably reload the retort and do another burn to get everything down to good lump. I'm real happy that the wood chunks held there shape and have not crumbled down into little shards - we will see after the second burn.
I would appreciate any advice or critique.
Here is the basic concept of this style retort.

Finally got my drums 55 & 30 gallons, reconditioned, painted exterior, bare metal interior.

Made the exhaust into the top of the 55 gallon drum and drilled 16@1 inch vent holes about 3-4 inches from the bottom of the drum.

Cut my wood down to uniform sizes, this is oak, air dried for over a year.

Packed the charcoal wood into the 30 gallon drum, pretty tight but I think there was enough room for circulation of the wood gasses.

Put the 55 gallon (inverted) over the 30 gallon (upright) and flipped the whole thing then filled the annular between the 30 gallon and 55 gallon drums and on top of the 30 gallon with burn wood, just scrap branches from the wood on the farm.


Fired it up at about 10:00 AM.

This is about 1-1/2 hours into the burn at 11:30 AM. You can see by the paint burning off the exterior of the drum the fire has made it a little more than 1/2 way down. I could see through the vent holes quite a bit of wood gas being pulled up through the annular an burning off, not quire a jet engine but definitely audible gassing. It burned really hot for about 3 hours and I think the burn wood was pretty much consumed but it stayed hot for another 3 hours with obvious clear exhaust gas at the top of the stack. It was still hot to the touch after 8 hours. I just let it sit overnight.

And, just a word of caution, this thing gets hot. I had a couple of readings of 1000*.

Here is the result about 24 hours later.


I did not get 100% charcoal from the oak, I'm thinking I'll take a few of the better chunks and fire it up for some burgers tonight to see how it burns, but I'll probably reload the retort and do another burn to get everything down to good lump. I'm real happy that the wood chunks held there shape and have not crumbled down into little shards - we will see after the second burn.
I would appreciate any advice or critique.

