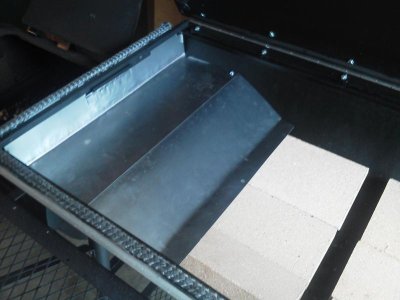
Lowering the exhaust is a double edge sword! By Lowering the exhaust you force the smoke and heat to the bottom of the pit but it don't take care of the hot spot at the FB side & it interferes with the draft. Stick burners are all about a free flow: the faster you move the air the more efficient they are just like Engine in a Funny car the better they breath the more efficient the combustion the faster they go. Lowering the exhaust causes the Dirty air to back up to the fire box thereby reducing the combustion rate. This is why you you hear " I can't get the temp above???? I have to run with the firebox door open to get up to temp and control temp with the size of my fire I hate this thing, ect... A baffle at the fire box and some tuning plate will allow the (I use this loosely) Pit master to control the temp with just the intakes provided the fire box isn't leaky like a Screen door.
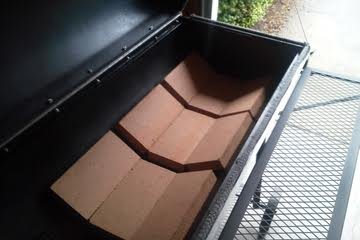
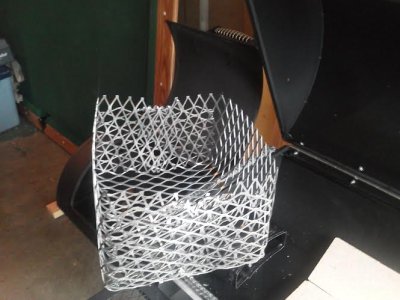
This is from experience I tried all that basket with lump and chunk lower the pipe BS and went to war every time I fired up. Then my brains came in and I tore all that nonsense out. I built a log rack installed a "Horizion Style" baffle / tuning plate results even temps +/- 3 deg end to end front to back and 1 split every 45 min complete control over the temp with the intake.
Cruisin at 300 on post oak intake is open about 1/4 of the way