• working on DNS.. links may break temporarily.

Rebuild Log: $25 Weber Performer CL Find (Lots of pics)

FlashJim

Knows what a fatty is.
Joined
Jul 8, 2012
Messages
106
Reaction score
36
Points
0
Location
Houston, TX
I hope this rebuild log helps someone with their rebuild or at least gives them an idea what to expect with a used Weber from Craigslist.

I had been searching on Craigslist for a while for a Weber Kettle of some sort. I actually gave up and bought a OTG from HD. When I got home, I sat down and thought I'd look on CL one last time. I stumbled across an ad for a "Weber Grill - $25". I quickly emailed them and asked for pictures.

Photo from the CL ad:
1.jpg


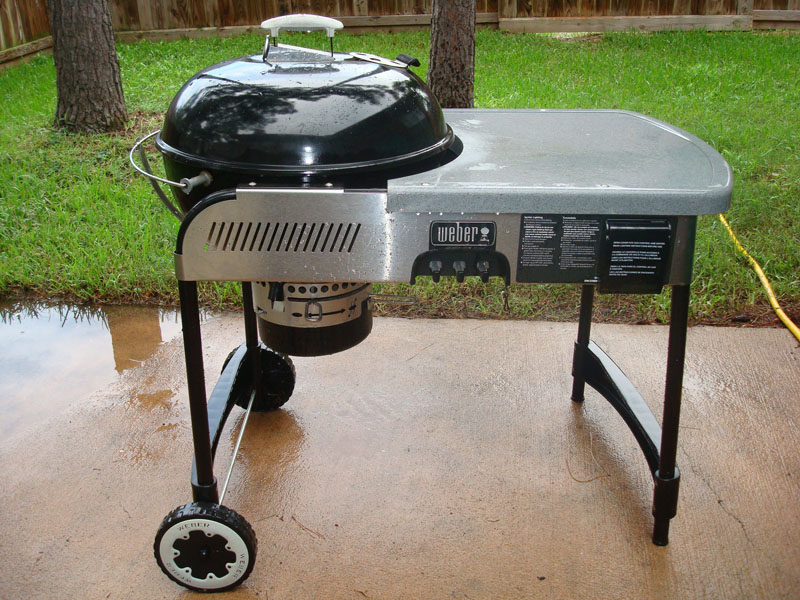
Needless to say, I had the grill at my house within an hour. I had just bought myself a 2009 Weber Performer with Touch-N-Go Gas Assist! Ok, so the handle on the lid was pushed in, it had no front casters and no bottom rack. But it was cheap. :becky:

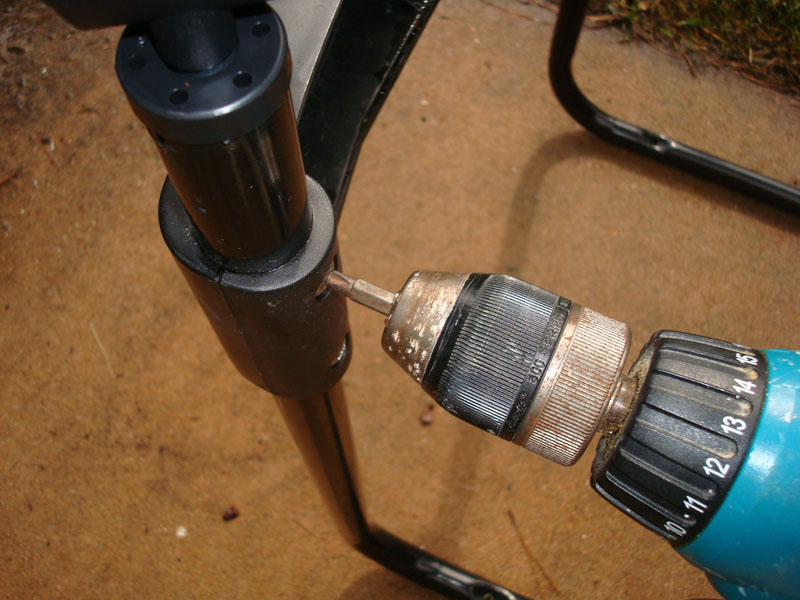
Time to evaluate what I actually bought.
DSC08731new.jpg


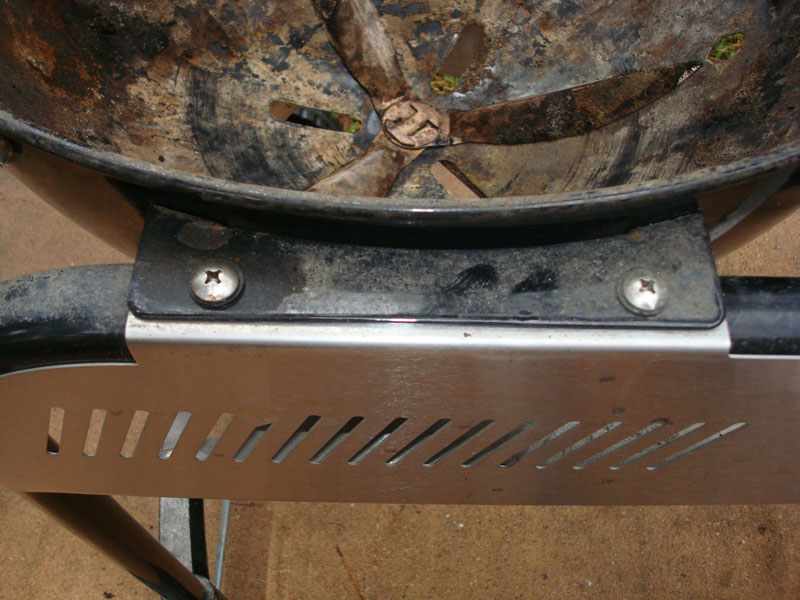
The cooking grate has to go, but the charcoal grate is fine.
DSC08735new.jpg


The center of the lid is pushed in.
DSC08737new.jpg


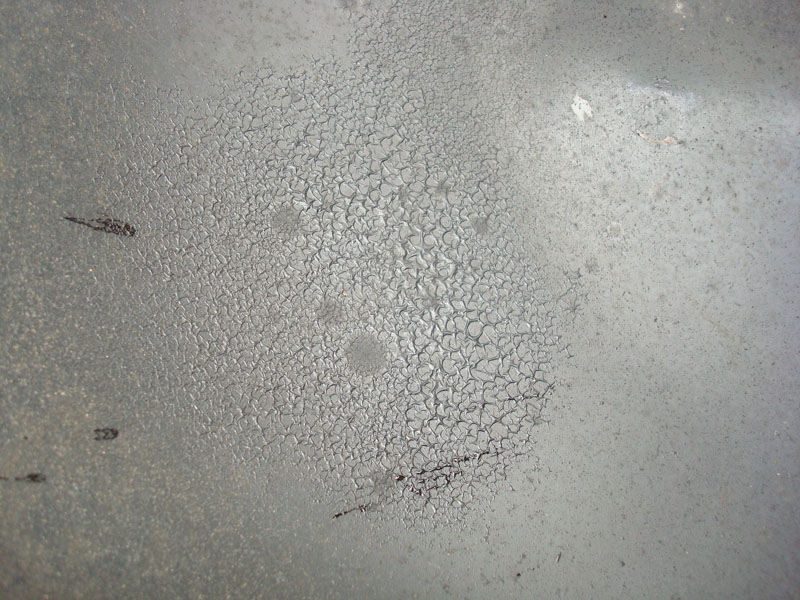
What looks like peeling paint underneath the lid, isn't. It cleans off.
DSC08739new.jpg


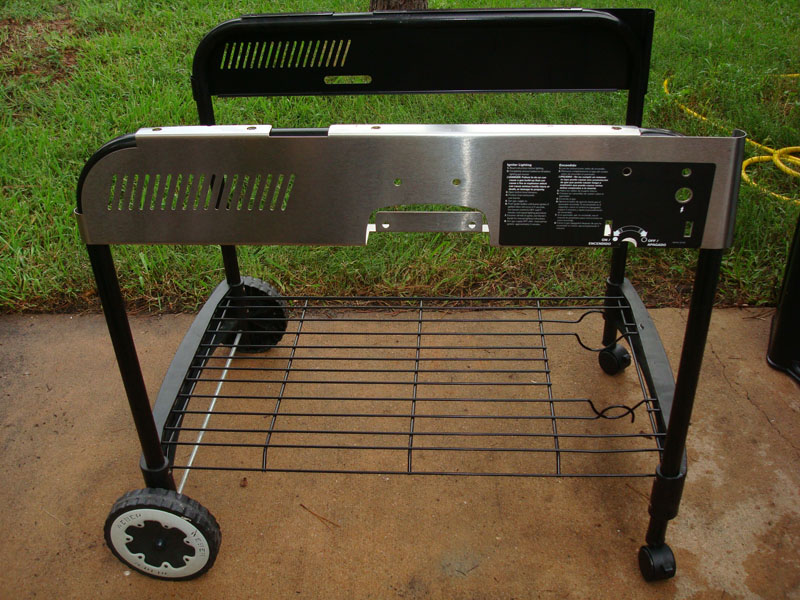
Top view of the Performer.
DSC08753new.jpg


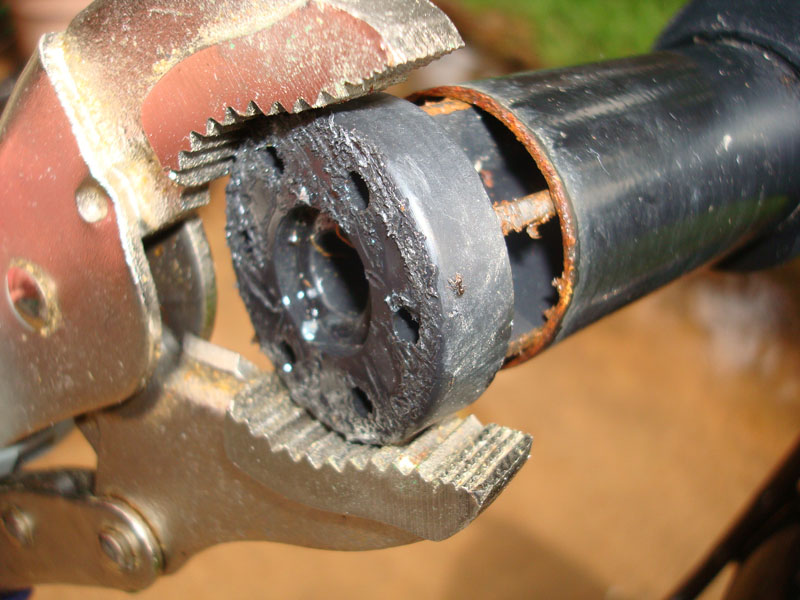
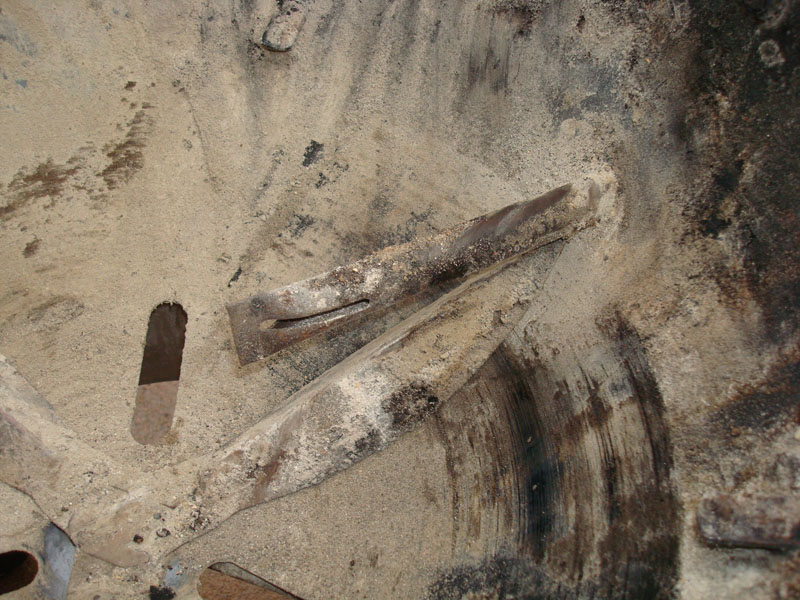
The ash catcher had rock hard ash that was stuck to the metal.
DSC08769new.jpg


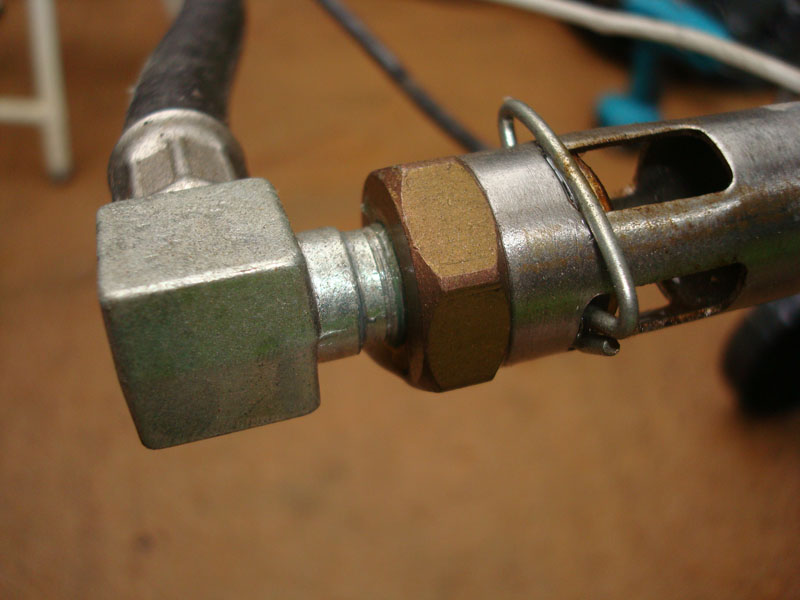
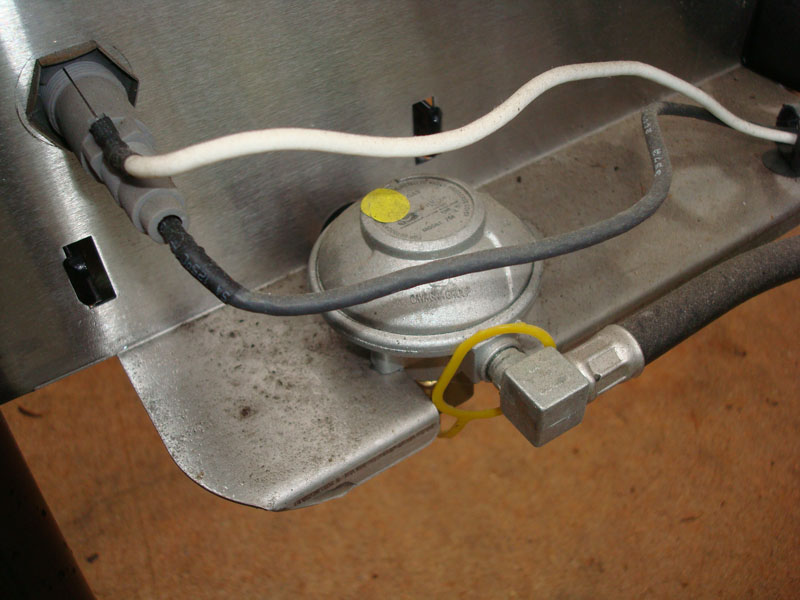
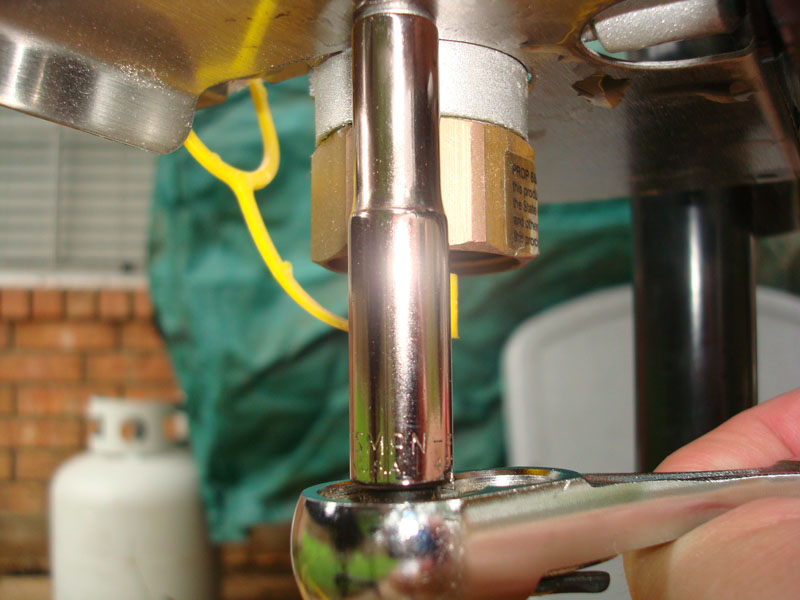
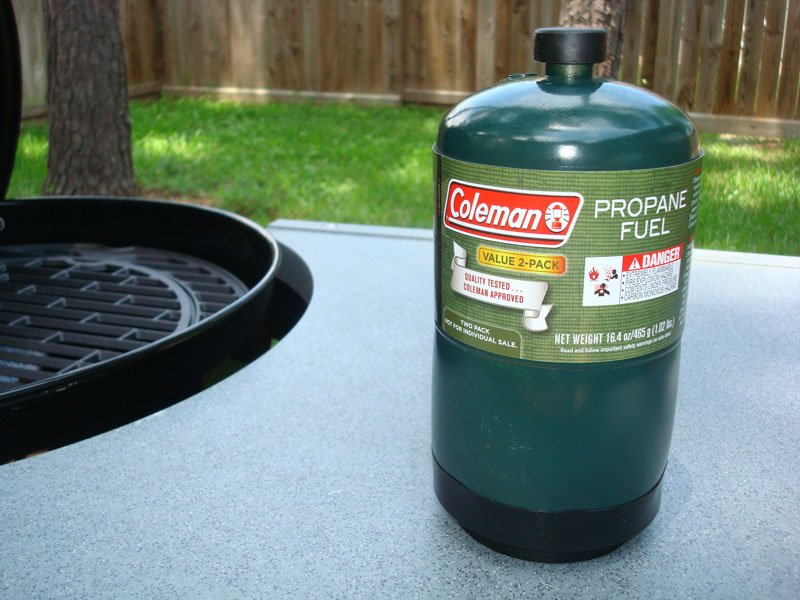
The "Gas Assist" burner was actually in good shape.
DSC08774new.jpg
 
Let's clean this sucker up and rebuild it!

I started the rebuild by removing the table.
DSC08776new.jpg


With the table out of the way, you can access the burner assembly.
DSC08778new.jpg


This shows how the wires connect to the burner tube.
DSC08781new.jpg


I used a 1/2" socket and a screwdriver to remove the burner assembly from the kettle.
DSC08786new.jpg


With the two bolts removed, the burner assembly slides right out.
DSC08788new.jpg


Close up view of the hose/burner connection that's held together with a retainer clip.
DSC08782new.jpg


Use pliers to remove the clip and the hose can be pulled out of the end of the burner tube.
DSC08791new.jpg

DSC08794new.jpg


Next I unscrewed the igniter from the burner tube.
DSC08795new.jpg


Now it's time to remove the spark generator and regulator from the front panel.
DSC08780new.jpg


After unplugging the wires, remove the nut to remove the spark generator.
DSC08799new.jpg

DSC08803new.jpg


You'll need a 1/4" socket to remove the regulator. I left the hose connected so I didn't have to
reseal the connection.
DSC08804new.jpg

DSC08806new.jpg

DSC08808new.jpg


The knob slips through the front panel, so there's no need to remove it.
DSC08812new.jpg
 
The next thing to remove is the tool holder. It's held on by four 1/2" nuts.
DSC08816new.jpg

DSC08817new.jpg


The control panel door is held on by two 1/2" nuts and two tabs.
DSC08822new.jpg


Four bolts are removed to allow the kettle bowl to be lifted out.
DSC08825new.jpg

DSC08829new.jpg


Lift the front and rear panels straight up to remove them.
DSC08831new.jpg


I dropped the kettle bowl back into the frame to make it easier to clean.
DSC08832new.jpg


A 1/2" socket is used to remove three nuts that fasten the lid holder to the bowl.
DSC08836new.jpg

DSC08838new.jpg


The ash catcher ring is removed by releasing the three tabs behind each leg stub on the kettle bowl.
DSC08840new.jpg
 
Now that most of the grill is dismantled, it's time to start cleaning and repairing.

Standard off the shelf Easy-Off was used to clean the bowl and lid. The after photo is after letting the Easy-Off do it's work for 20 minutes.
DSC08842new.jpg

DSC08848new.jpg


I used a citrus based cleaner on the entire grill after I rinsed the Easy-Off off. Now that it's all shiny and clean, it's time to fix everything that's broken and reassemble. The correct casters for the 2009 Performer is Weber part # 68238. The inserts are round.
DSC08866new.jpg


The original insert had seen better days. It looks like the grill lost it's casters a long time ago.
DSC08871new.jpg


To replace the insert, use pliers to twist and pull it out of the leg. Not much force is needed. Chances are it can be done by hand.
DSC08872new.jpg


This is definitely the correct replacement part. The new insert just pops right in.
DSC08877new.jpg

DSC08878new.jpg


The replacement caster clicks in with little effort.
DSC08881new.jpg


The next thing to address is the bent front frame. It appears that something heavy hit the lid and table.
DSC08887new.jpg


I measured the rear frame and bent the front to match. Adjustments were easy because the frame is easily bent.
DSC08889new.jpg

DSC08894new.jpg
 
The replacement bottom rack arrived bubble wrapped and is painted black for this year Performer.
DSC08885new.jpg


To install the rack, the side panel is removed.
DSC08896new.jpg


One end of the rack is slipped into the side panel and pushed in as far as it can go. The remaining side panel is reinstalled after the rack is slipped into it.
DSC08898new.jpg


The frame is straight and the rack and casters are installed.
DSC08903new.jpg


Slide the front and rear panels down onto the frame rails to reinstall.
DSC08906new.jpg


With the panels in place, the bowl can be bolted to the frame.
DSC08908new.jpg


The burner was cleaned up in less than a minute with nothing but sandpaper.
DSC08912new.jpg

DSC08913new.jpg


The igniter is screwed into the burner and the assembly is reinstalled and bolted to the bowl.
DSC08915new.jpg


The regulator and igniter button are reinstalled and the wires are reconnected. The connectors are unique and there is only one way to plug everything in.
DSC08917new.jpg


The tool holder, gas assist door, charcoal bin and table are reinstalled. The grill is almost done!
DSC08921new.jpg
 
Very cool. Looking forward to seeing your finished Performer on its first cook!
 
I chose to keep the original charcoal grate. It was rock solid.
DSC08927new.jpg


The original grate was in bad shape so I opted to buy new. I felt this was a good time to try out one of the cast iron grates on the market. The cheapest cast iron grate for the 22.5"/18.5" Weber Kettle is the replacement unit from Char-Broil. This is a two piece unit and I bought it from Academy, Part #: 7315453, SKU #: 0021633896
DSC08925new.jpg

DSC08929new.jpg

DSC08932new.jpg

DSC08935new.jpg


The last remaining parts to reinstall is the ash catcher assembly.
DSC08938new.jpg

DSC08939new.jpg

DSC08944new.jpg


The grill is complete! Beginning to end the rebuild/cleanup only took about two hours.
DSC08949new.jpg


I found a spare Coleman propane cylinder and screwed it in place. The grill fired right up with the first attempt.
DSC08954new.jpg

DSC08955new.jpg
 
... and i've thought i'm the only nut (according to my wife)!

excellent job!!!
 
looks good!

I want details about that cast iron kettle grate. I have been kicking around getting one. let me know how it works for you.
 
looks good!

I want details about that cast iron kettle grate. I have been kicking around getting one. let me know how it works for you.

Let me get a few more uses out of it and I might start another thread for it. I've used it twice and I love it. My friend just bought the Gourmet system and just judging by the pics he sent me, you can't go wrong with that option.

With my grate, adding coals after the center grate in place is a pain. I'll figure it out. I haven't needed to yet, but I like the option.
 
Great post. I have the exact same Performer (not as clean though ha ha)
 
What was the final cost when you were done?

CD
 
great job ! did you do anything special to the table ? weber warns not to lift the table end by using the table, it will crack/break. even they know its made of cheap plastic.
 
great job ! did you do anything special to the table ? weber warns not to lift the table end by using the table, it will crack/break. even they know its made of cheap plastic.

Thanks!

No, but I think the originally owners moved it around by lifting on the table. The next time I take it off I'll snap a couple of pics. There are ribs underneath it to strengthen it. Ok, not by much, but at least they molded some support into the table.

I'm still doodling up a new table for the grill. I want to build a really nice table for the grill that's close to cost of a replacement unit. It's going to be a fun project.
 
Looks good. Nice score

Sent from my Galaxy Nexus using Tapatalk 2
 
Back
Top